
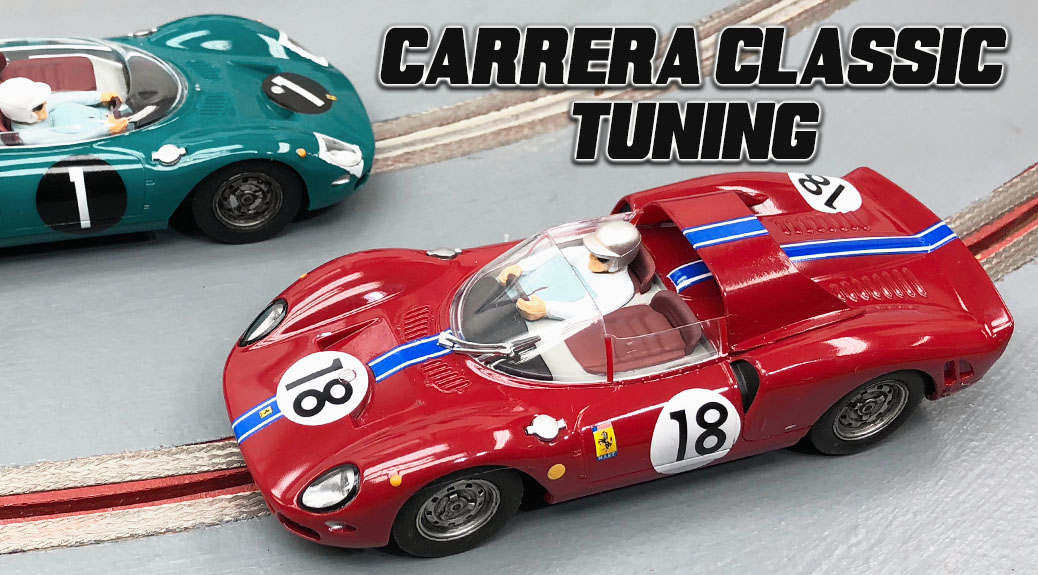
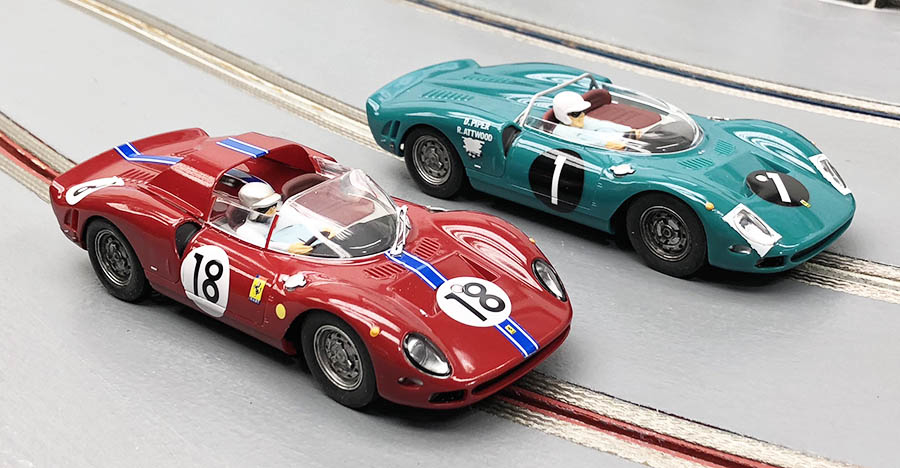
These classic Ferrari’s from Carrera are nicely done and have plenty of potential for non-magnet/wood track racing. Here is my approach that resulted in very pleasing results.
CAUTION: The following modifications WILL void your model warranty.
Video summary of this project.
There are a few items I will change to improve performance, yet keep some to minimize added costs.
- Keep the stock wheels/axles.
- Keep the stock chassis, just modify.
- Achieve chassis float with minimal body work.
- Change the motor for a milder/classic performance.
- Change the front guide system to set ride height correctly and reduce freeplay.
- Change rear tires to suit our track surface.
So why not change the wheels? Simple answer: I do not need to. Upon inspection they seemed very round and true and only a sanding session on my Tire Razor is all that is needed.
This is WHY I have a wheel/tire machine in the first place. To improve existing stock wheels to reduce costs.
Parts List: Click the links below for reference.
Sloting Plus Universal Sport Guides
Paul Gage Urethane Tire #21094 XXD
CG Slotcars Carrera Guide Adaptor
![]()
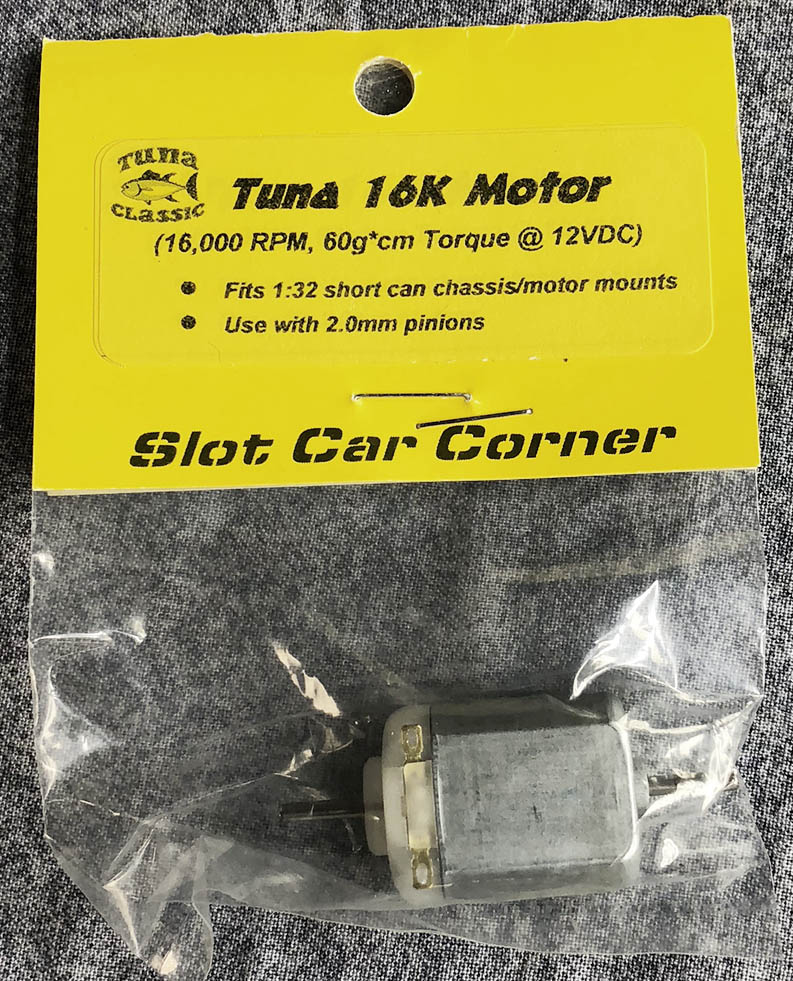
This motor is one of the shining stars of the SCC line up. More power and speed than a “NC-1” style motor, yet milder than stock. Sort of a balance that I like for the classics nowadays.
Here is our “Motor Round-Up” Report
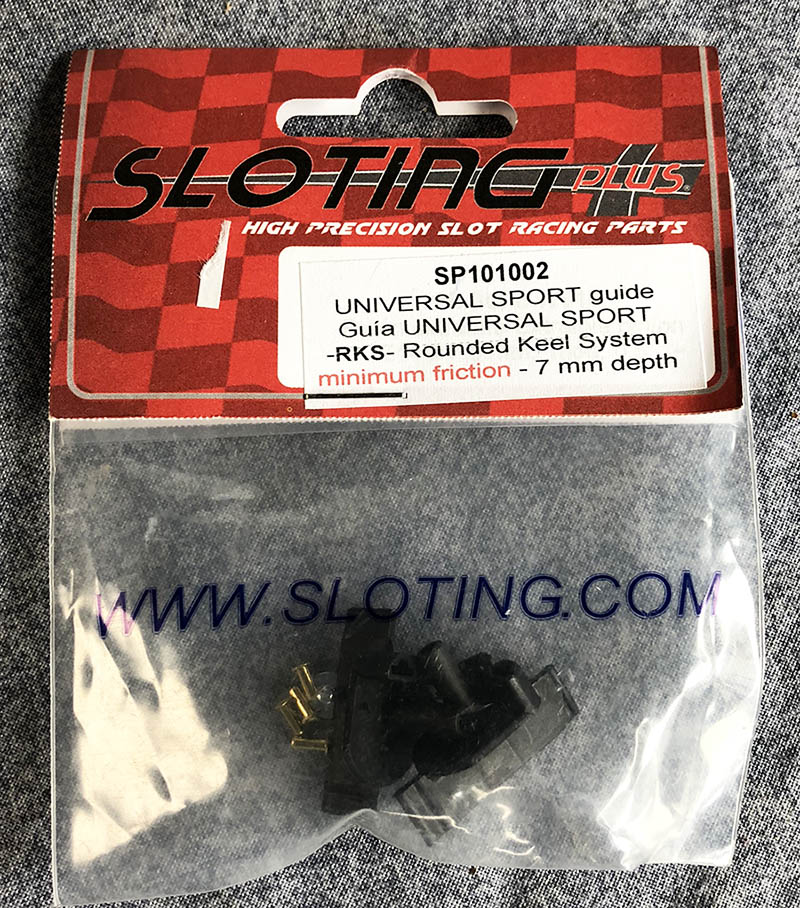
Sloting plus makes a wide variety of guides. I like to try different types in projects. These work just fine for a model like this.
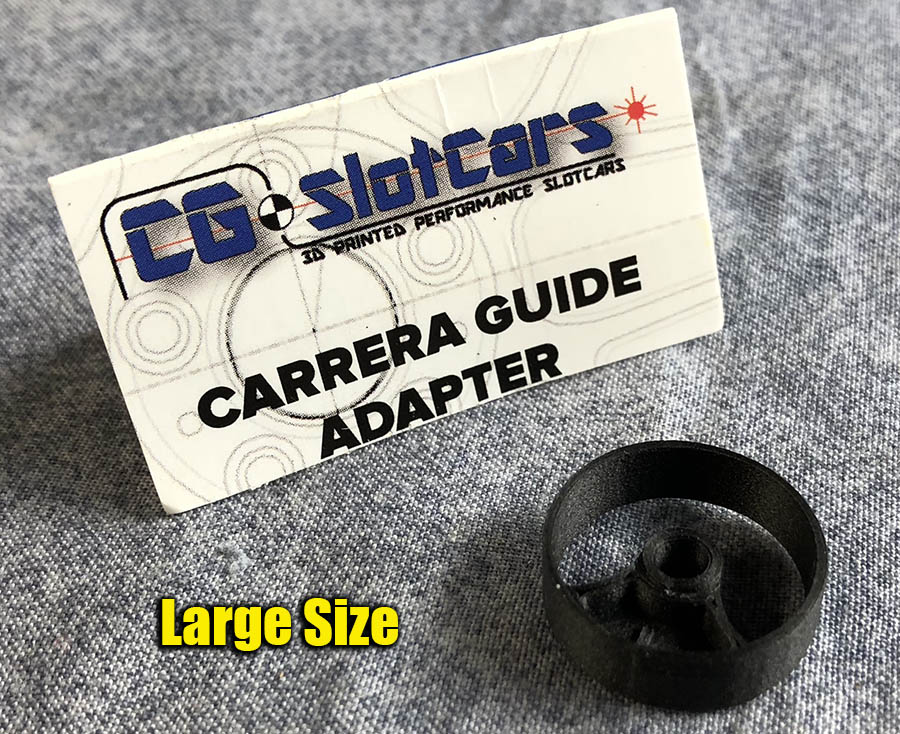
This is one of the best parts we have available in 3D today. It makes guide conversions on Carrera models a breeze. When ordering I like to pick the combo pack. Never know what size you will need for those spur of the moment projects.
Body/Chassis Modifications
*Disassemble The Model. Remove Motor/Wiring/Axles/Wheels
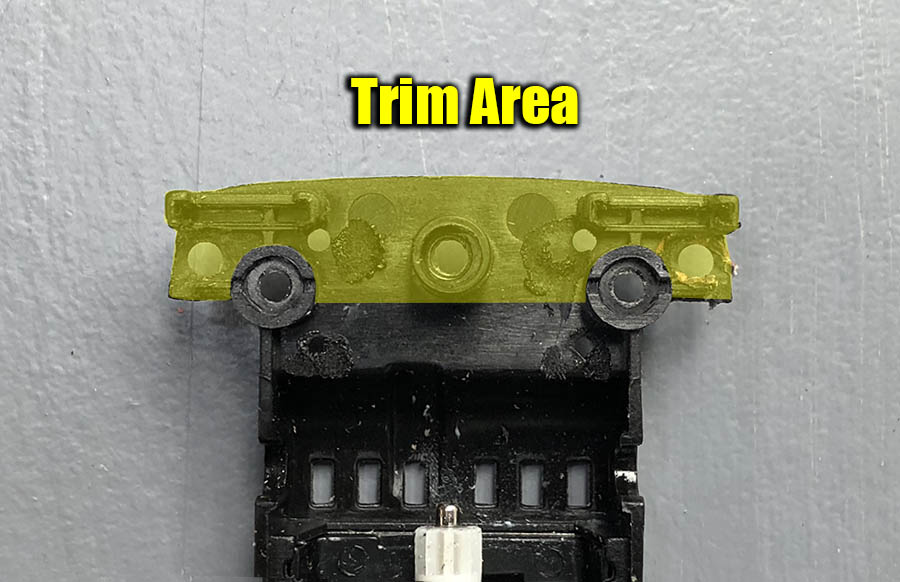
In order to free up the chassis and allow a little float, the rear of the body that is mounted to the chassis should be removed and remounted. Sanding and modifying it can be tricky, so take your time. In the end you can’t see the modifications and really helps achieve that float.
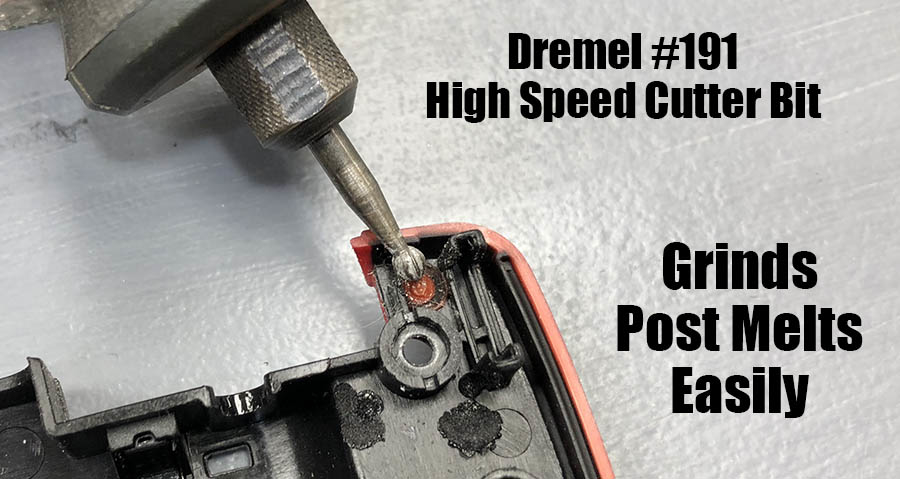
My favorite tool for the job is my trusty Dremel and a small cutter bit. It grinds the post melts away easily.
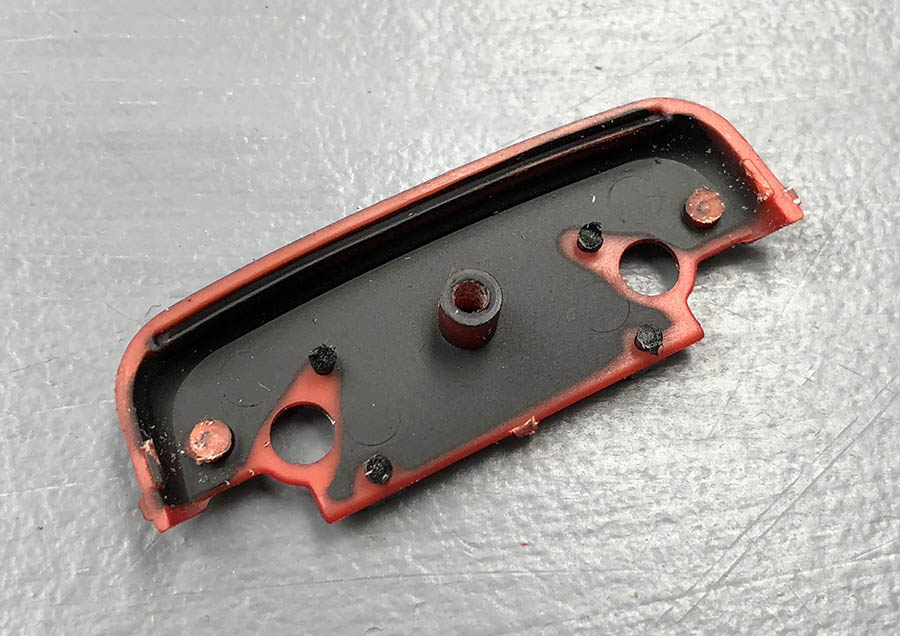
Removed and ready for trimming. Sand away the post melts for the exhaust pipes for removal.
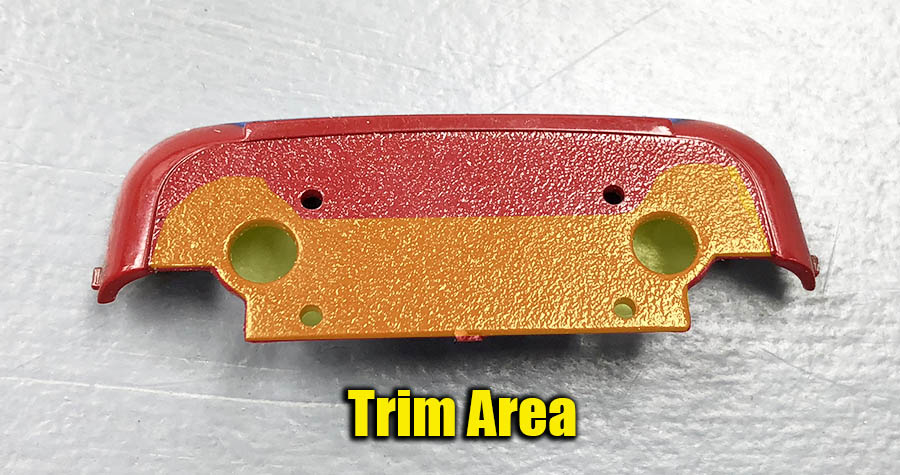
You will do the same for the exhaust. Set them aside for now and trim the body panel as shown. My goal was to leave one mount hole and enough material to glue the exhaust back on.
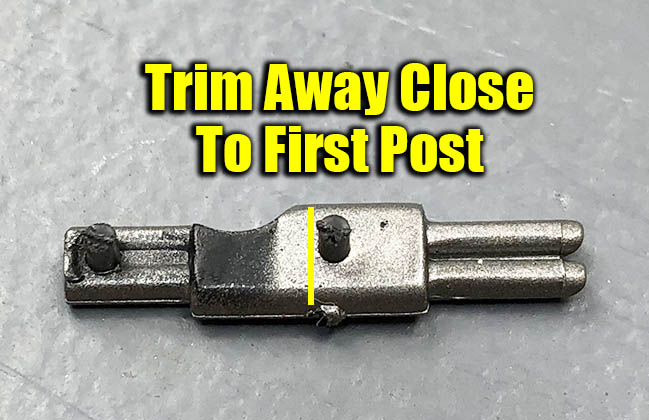
Trim right behind post.
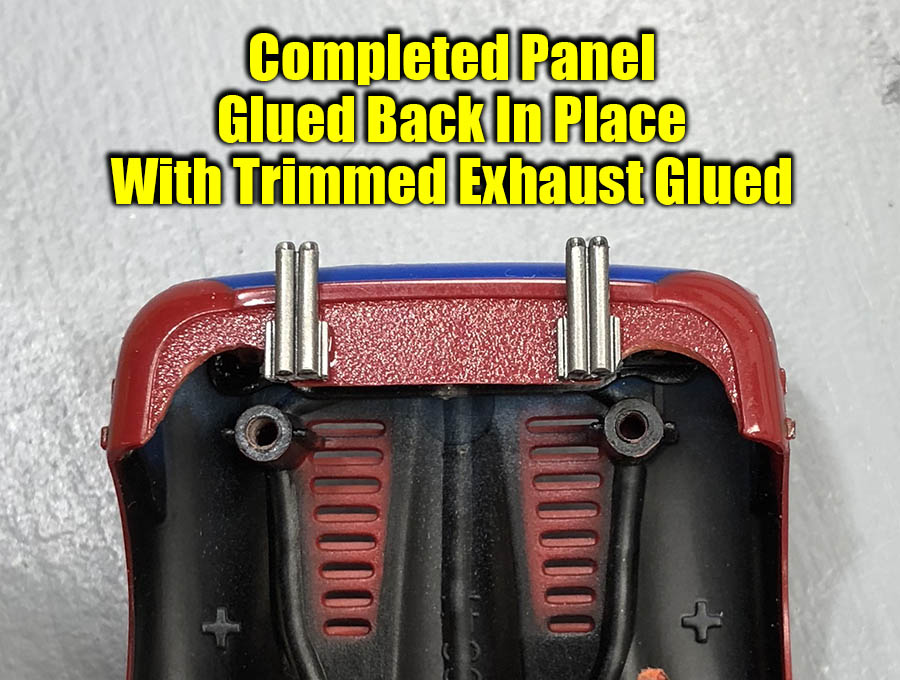
Glued and installed. Ready to shape the chassis.
Looks odd, but that is the shape that accomplished my mission.
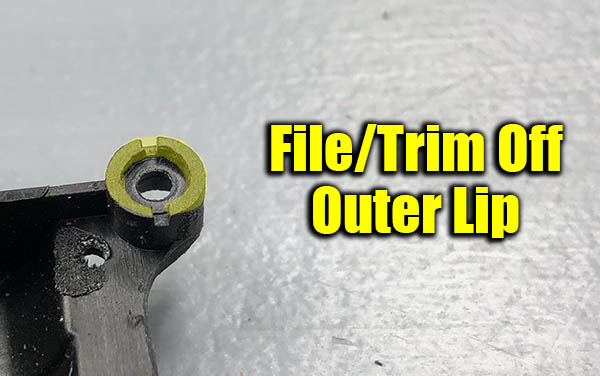
Now this step is more important that you might think. Carrera has these “lips” around the base where the body post slides in. We have been sanding these off for YEARS because all it does is prevent float due to the tight fit. You can sand/file by hand and not affect ride height. Which we are not due to motor to underside interior clearance.
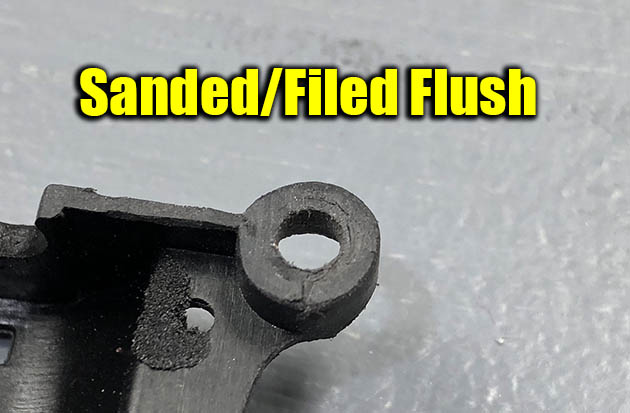
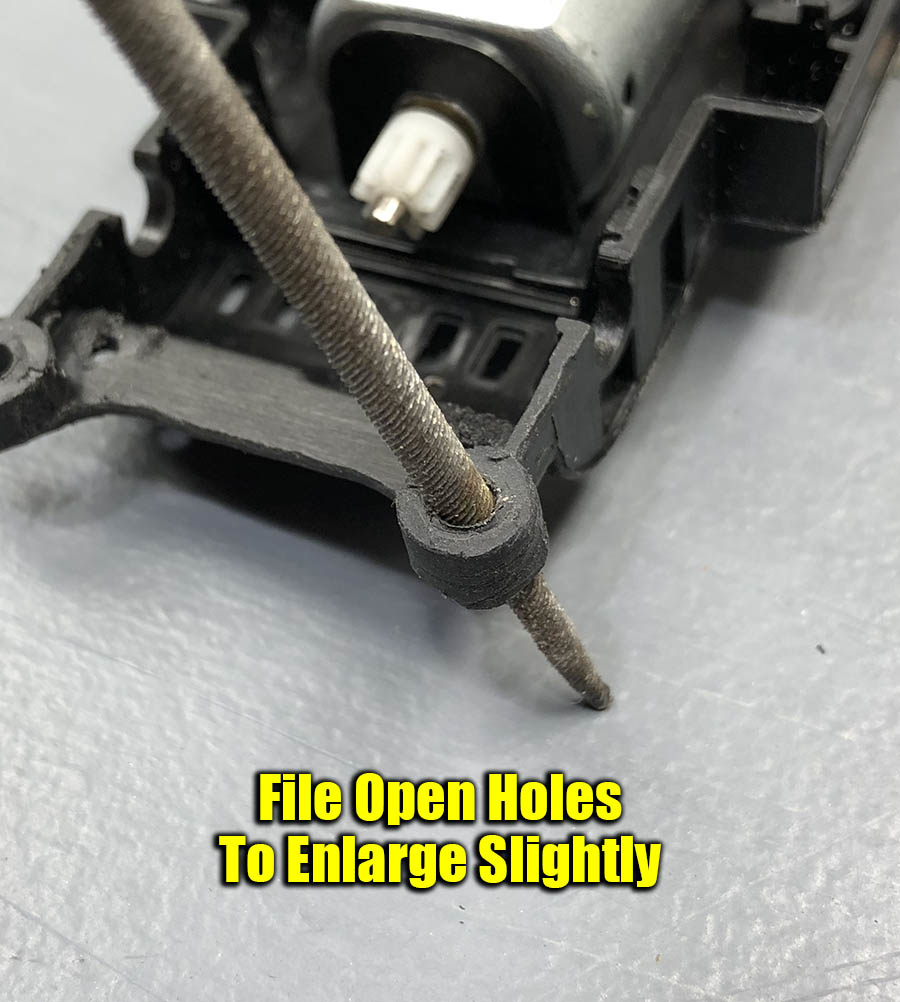
This is an equally important step. Use a small round file or Exacto blade and slightly enlarge the screw openings. Not too far, just a little to allow the chassis/body to move up and down freely over the screws.
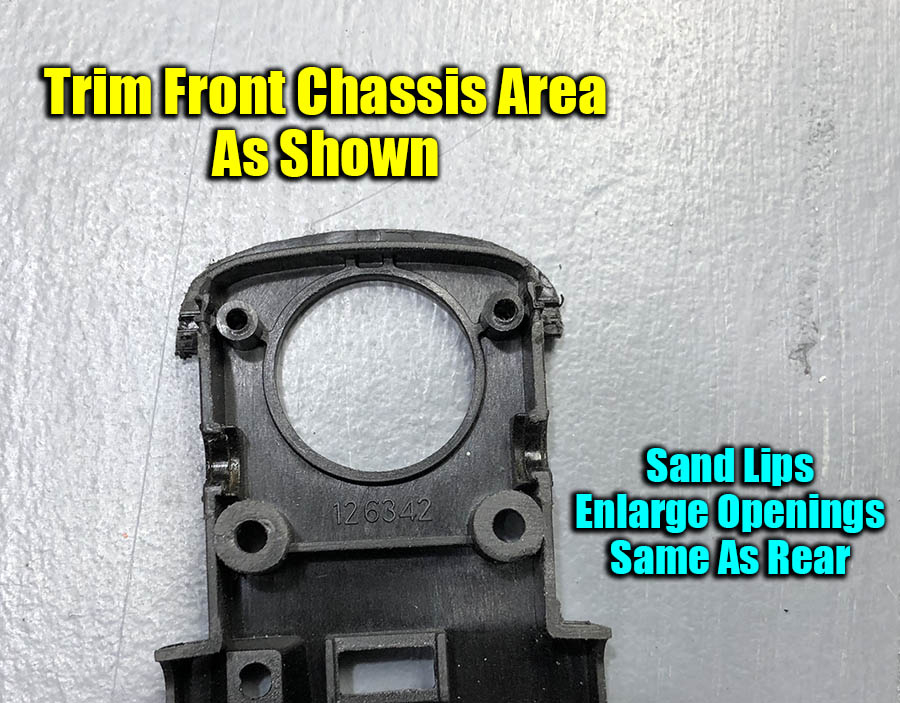
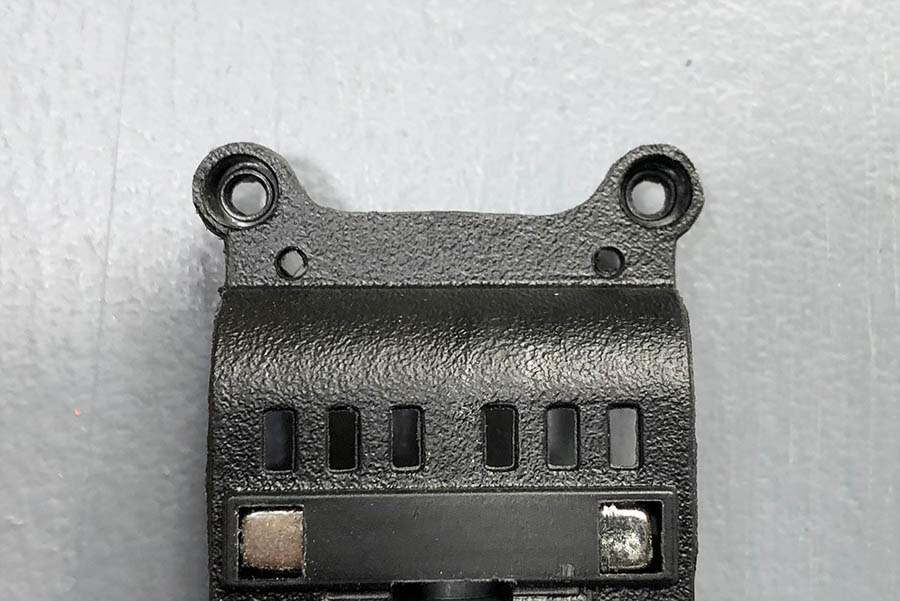
Time for the front. I sanded the outside edge up front and cleaned the tops of the chassis mounts the same as the rears.

Before test fitting the chassis. Check the body posts. Most often they have some flash molding sticking up from the screws being inserted. This small amount of plastic can affect the float/level of the body on chassis. A quick sand to clean that up and you are ready.

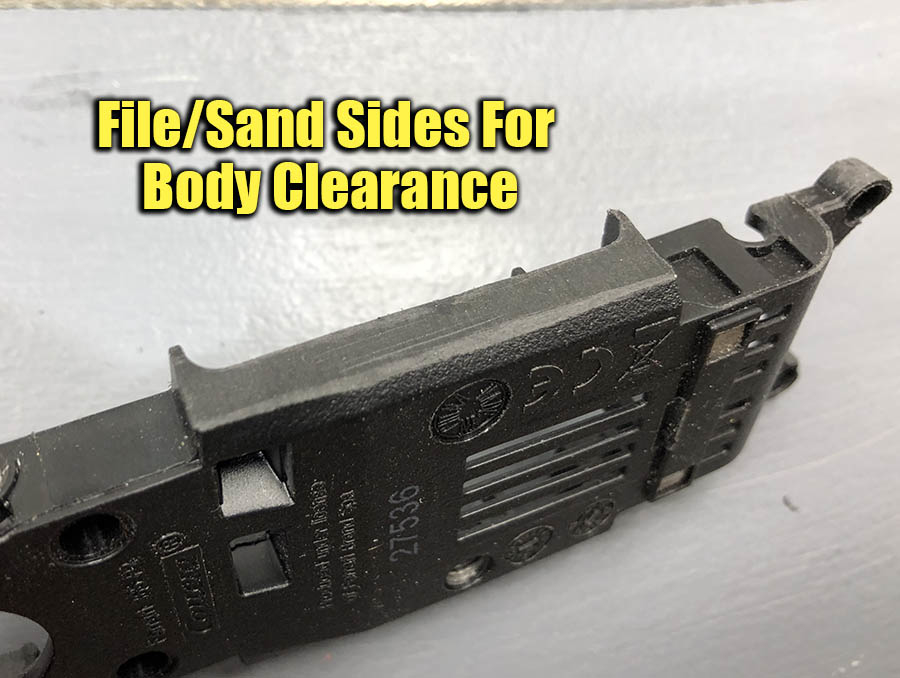
Time to test fit the chassis on the body. You should see a gap around all sides. The chassis should also move easily sitting on top of the body posts.
Running Gear
Now that the chassis is ready, time for wheels and tire tuning.
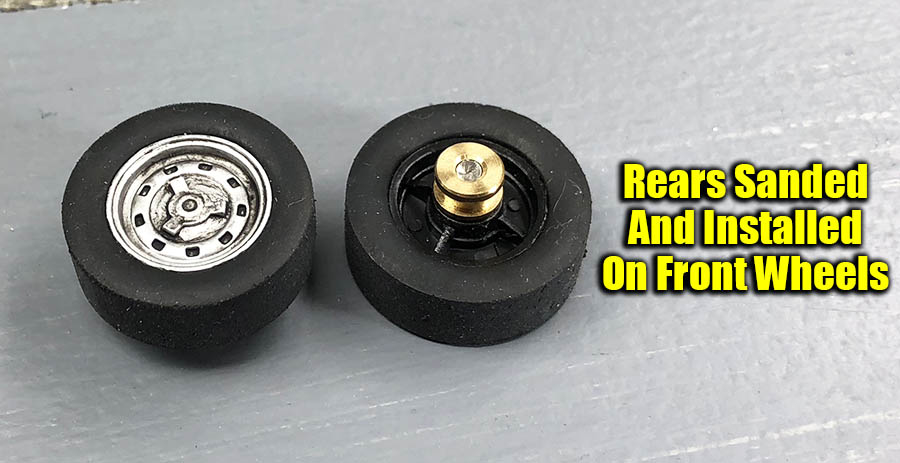
This model has independent front wheels and there is not much you can do with them. But thanks to the tires being the same size all around, you can true the rear tires and install them on the fronts. This is exact science here, but it does help smooth the car out more than you might think.
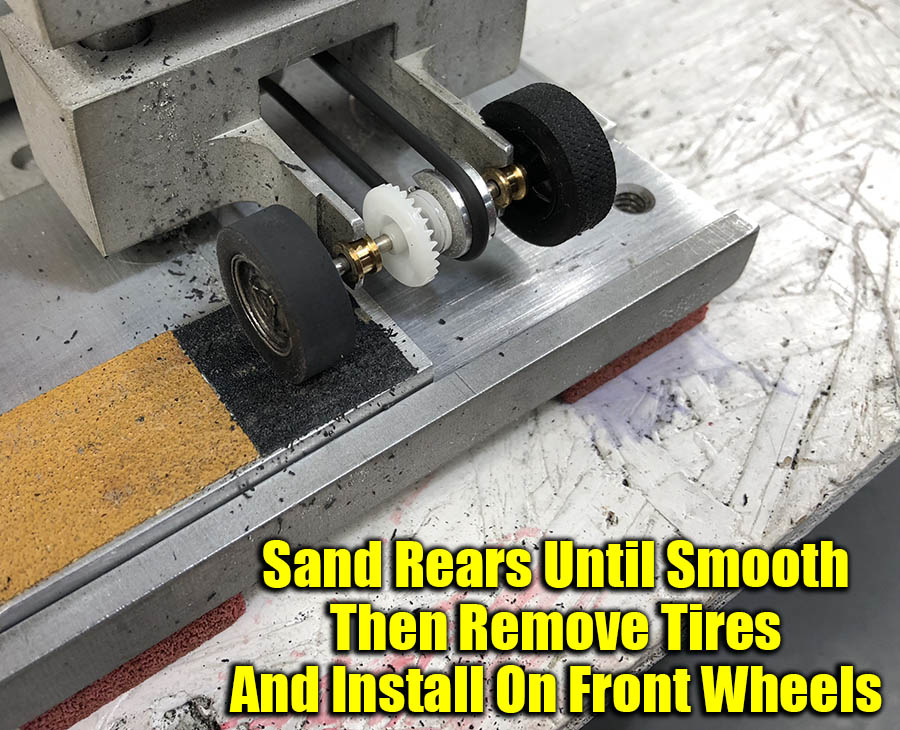
I just sanded the rears as shown and then removed them and mount them on the front wheels.
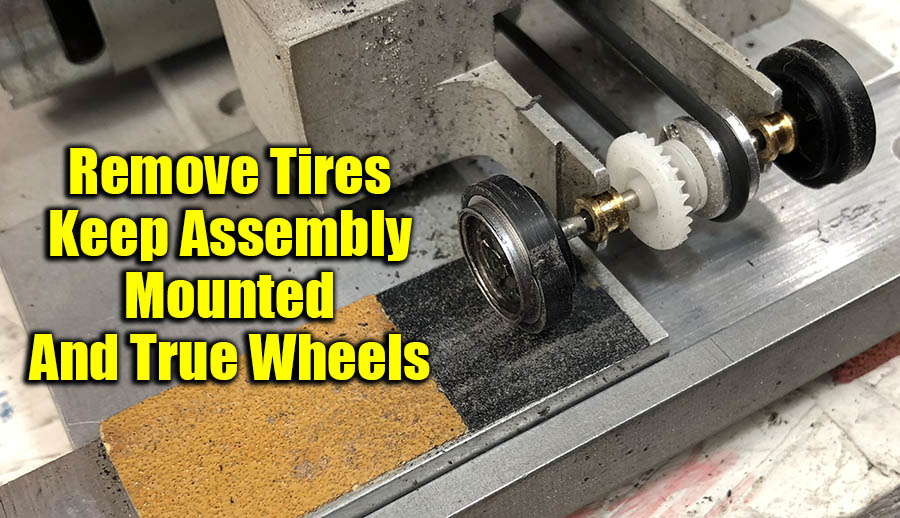
With those tires removed, I just kept the rear axle assembly in place and trued the wheels before installing the PG tires.

I usually start with a coarse grit such as 800 or 600 to get the tire true and evenly sanded.
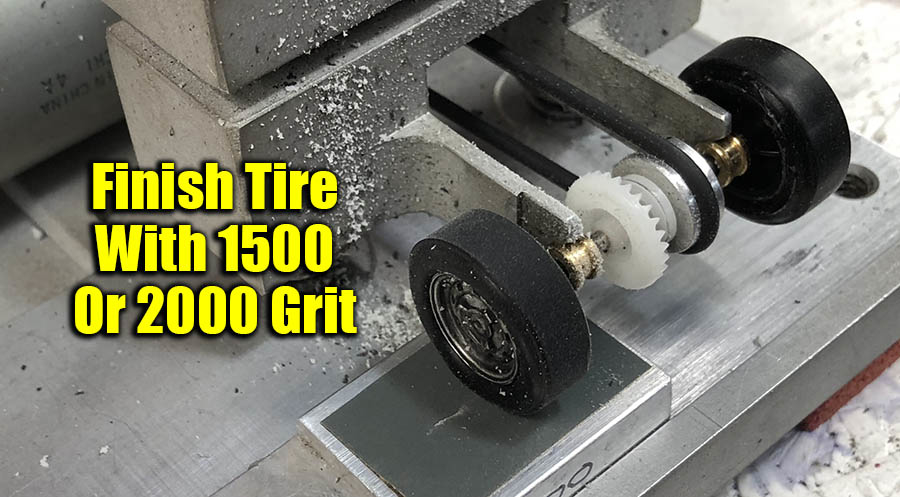
Then I switch blocks to a fine grit for a smooth finish. I like to use a water application to sort of “wet sand” them. I show this HERE IN THIS TUNING ARTICLE.
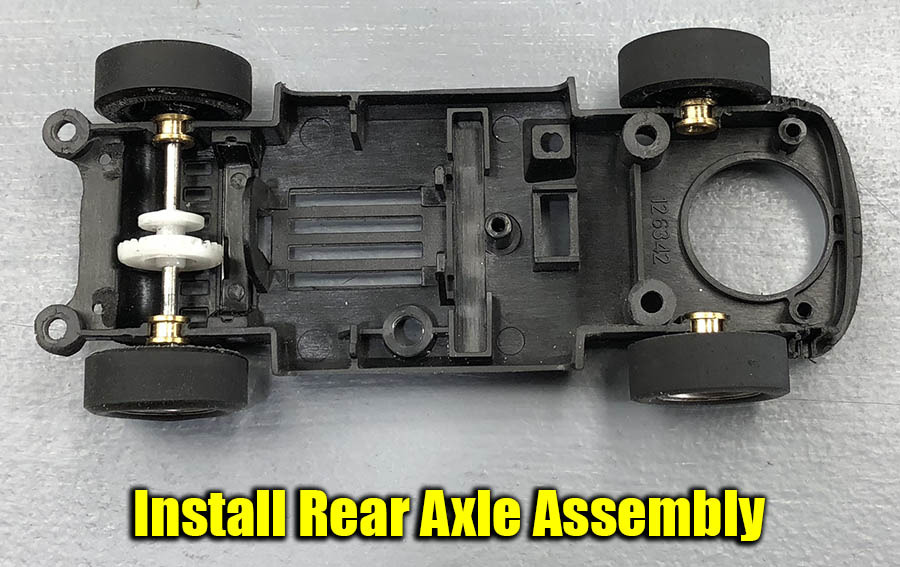
Install the rear axle assembly and time to install out motor.
Motor/Guide Installation
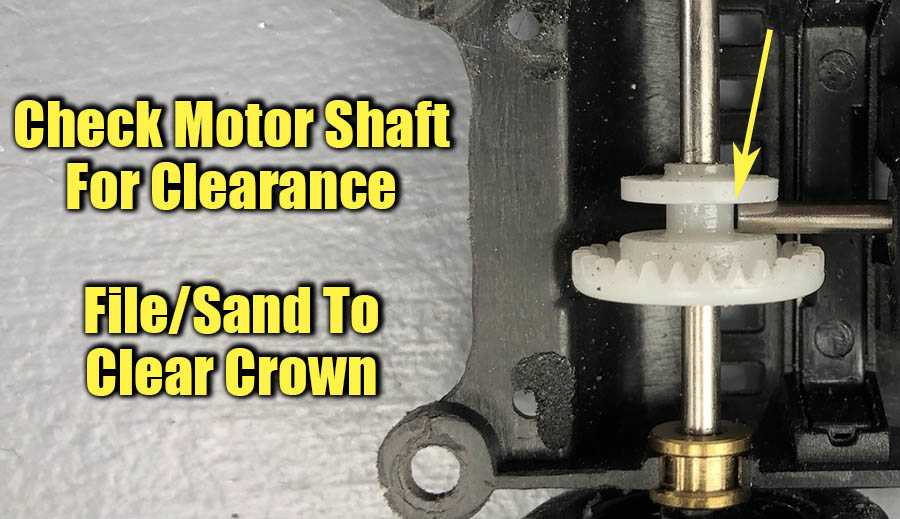
The Classic Tuna motor has dual shafts. I trim the front off for this model as shown below.
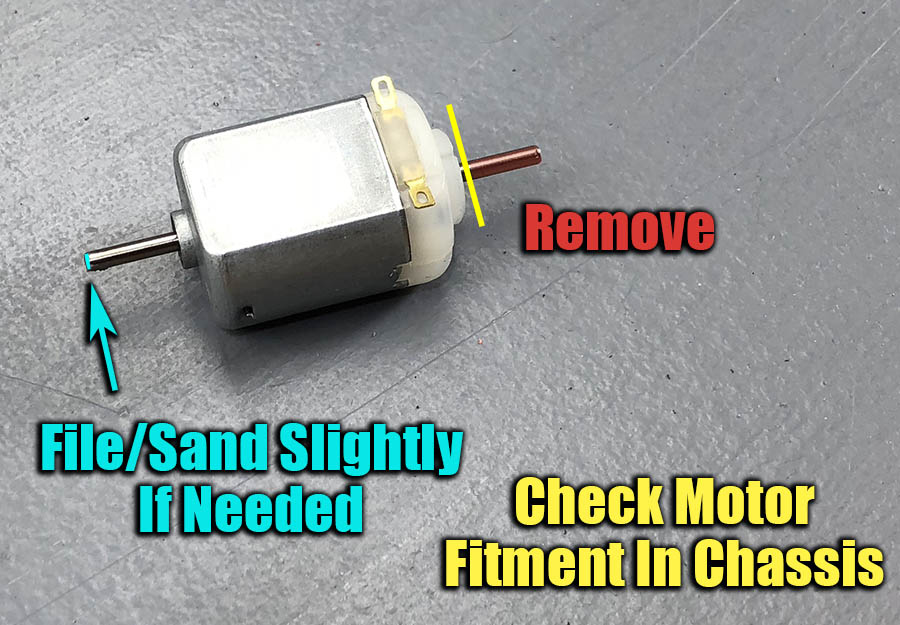
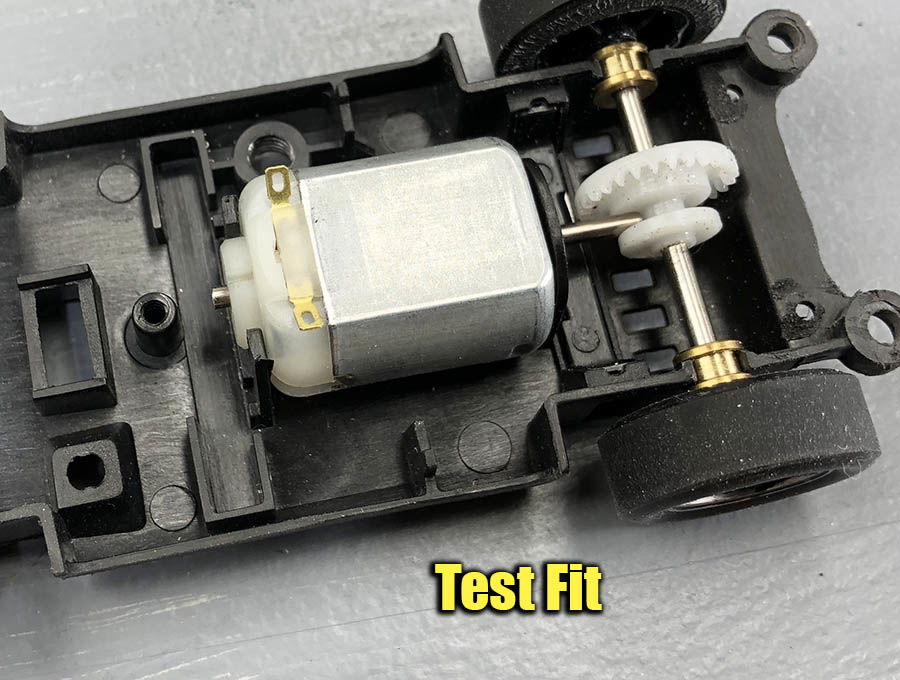
Now test fit the motor and see of the motor shaft is clearing the crown gear. It might be rubbing or so close you don’t want to chance it. In this case just lightly sand the end of the motor shaft until you see that it is clear.
Now that we have done that, time for pinion installation. Although many suggest changing to a brass pinion (for good reasons) I stayed with the stock. Always use your pinion puller for consistent results. Since the pinions had no damage/splits I decided to use them again.
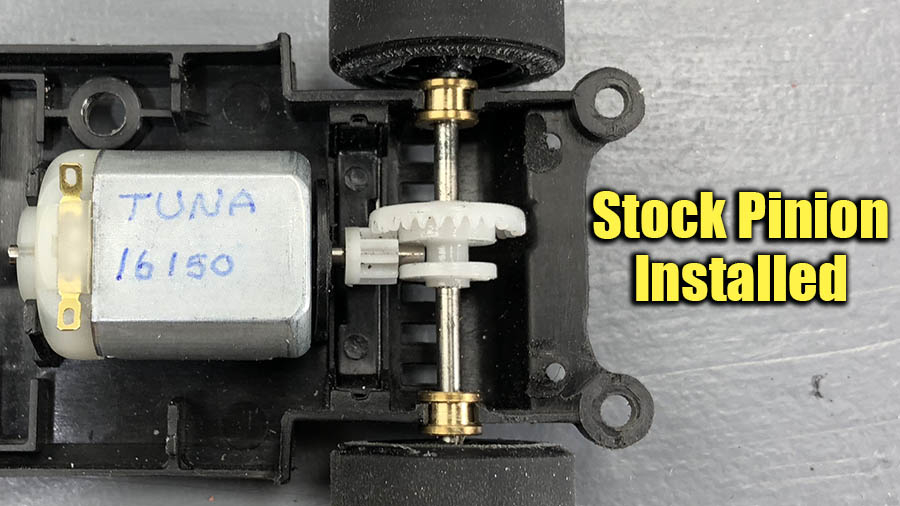
Pretty easy task here. Now to move up front to the guide.
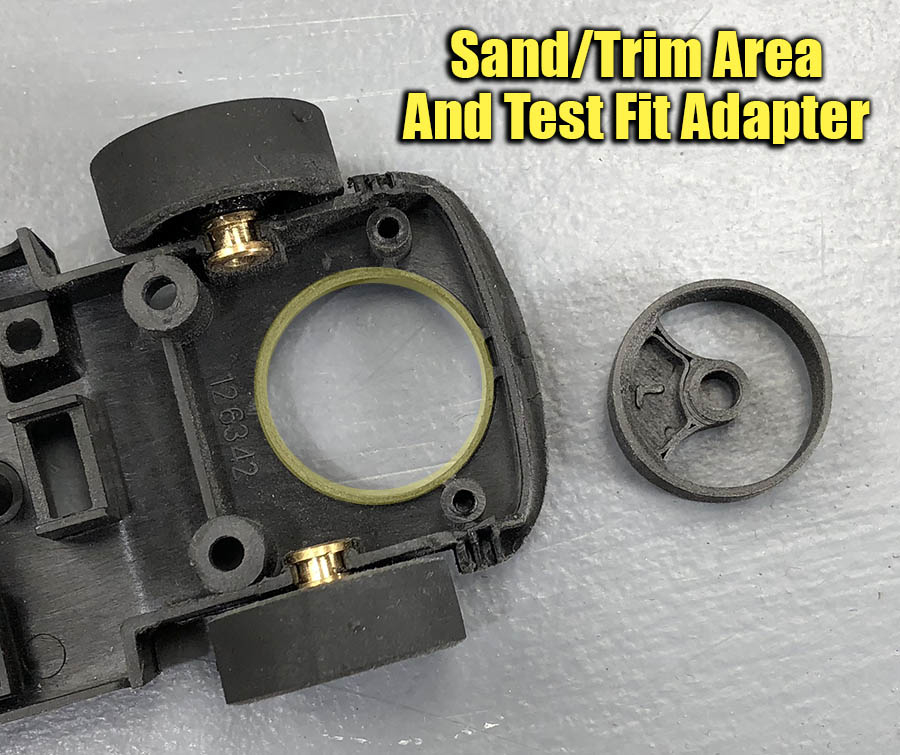
We have covered using the CG Slotcars guide adapter before. Check out this article HERE.
Basically we are sanding the chassis as highlighted in yellow above until the adapter slides in easily. Just test fit as you go.
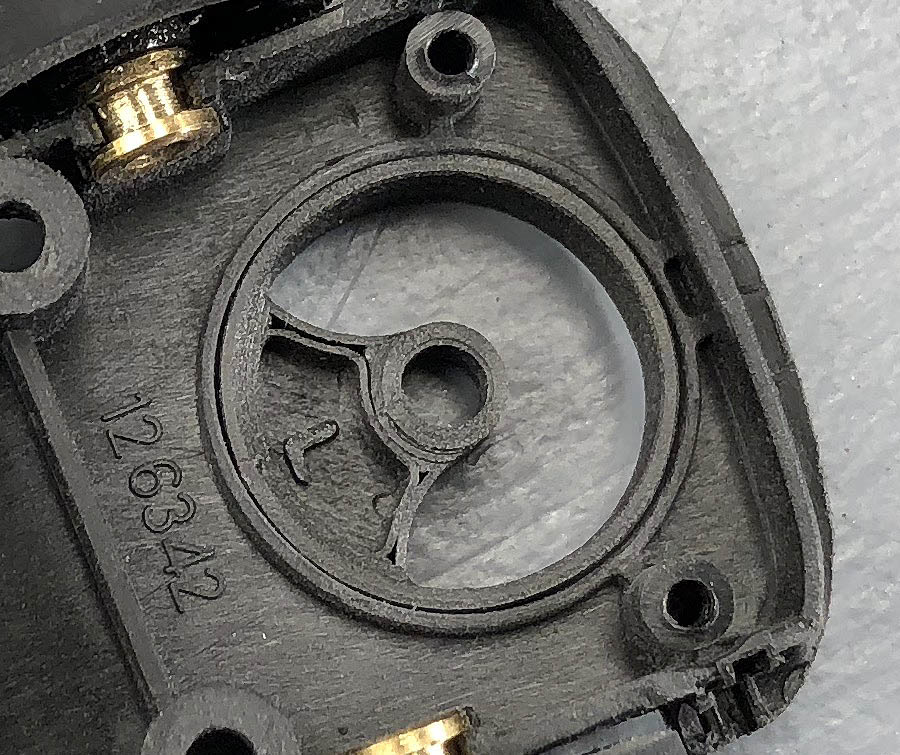
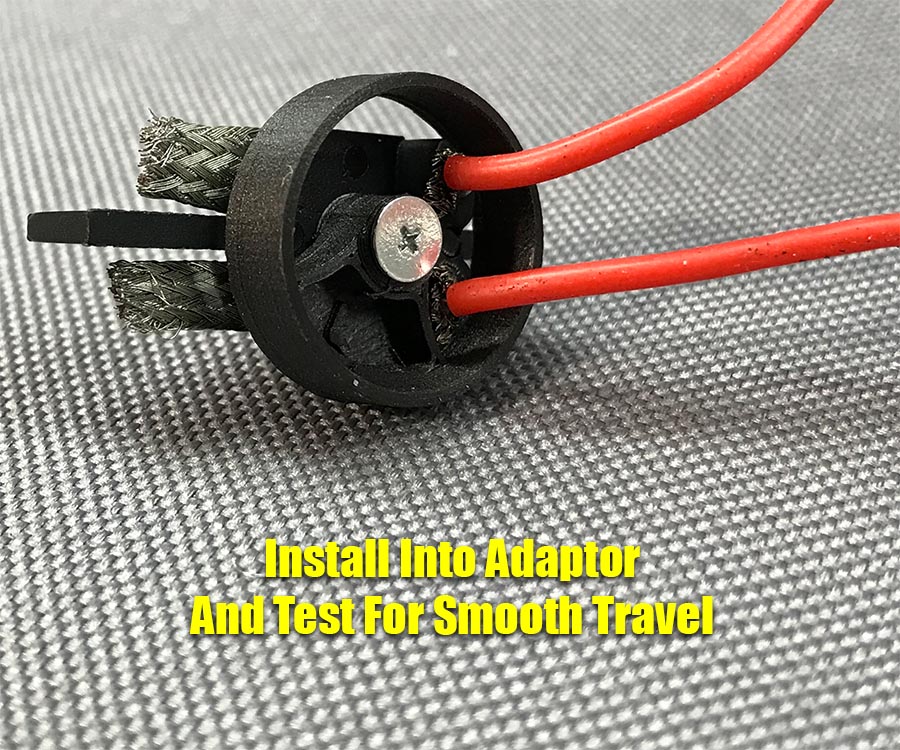
Time to assemble the guide and test fit. Again, please refer to this article for complete guide assembly instructions.
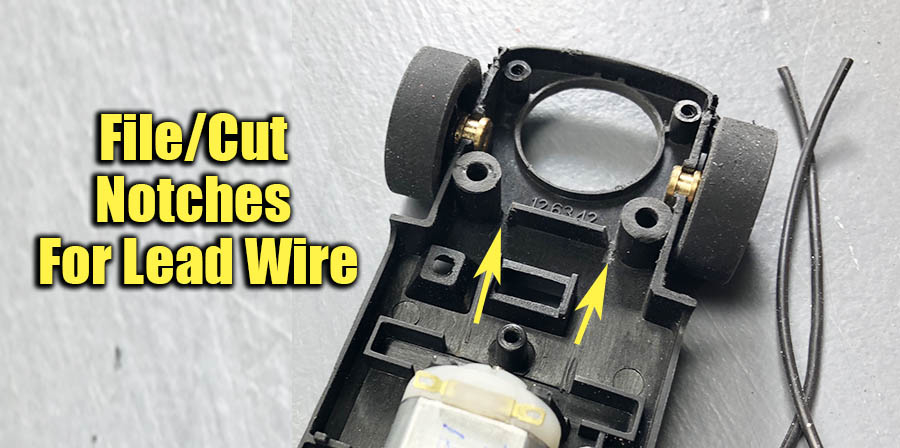
An optional step but sort of handy. I cut/filed some notches in the chassis as shown above. This helps keep the lead wires tucked in rather well. I test fit with the wire as I sand.
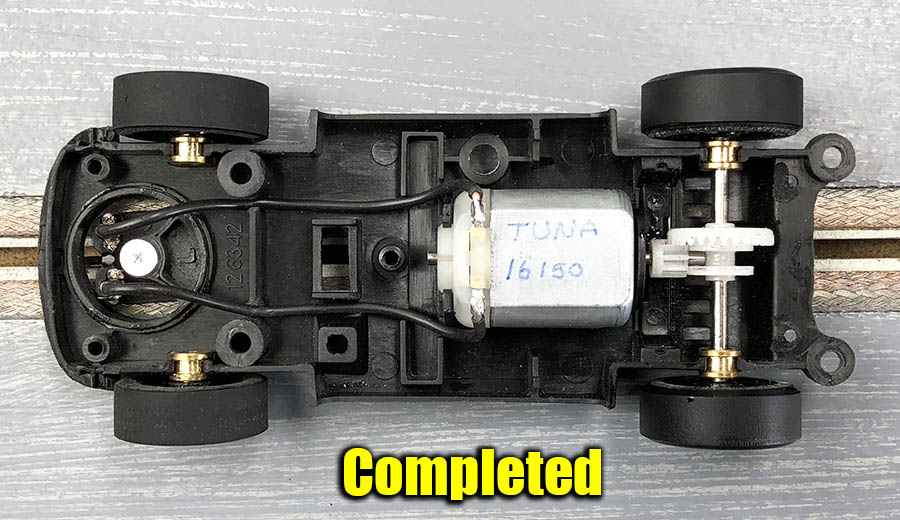
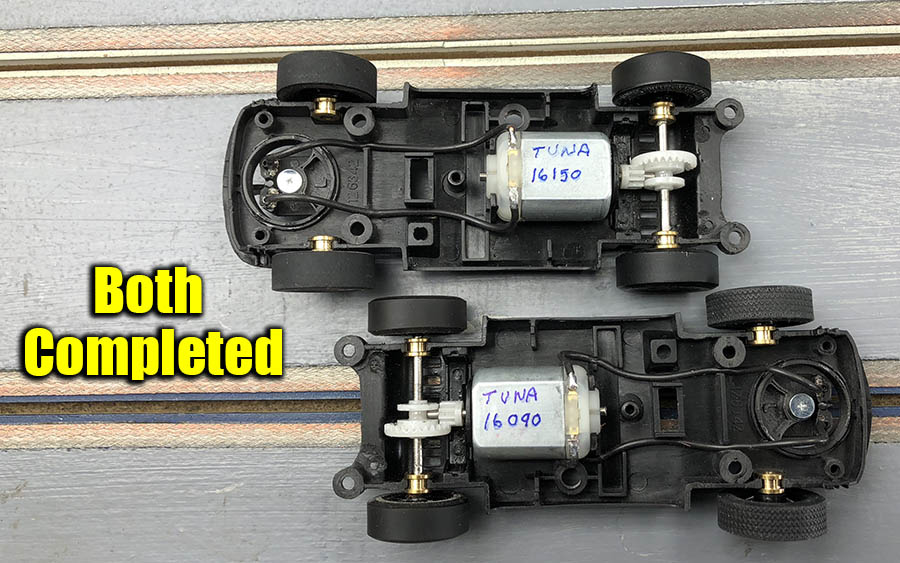
You will notice the motors have numbers on them. These are the RPM readings recorder on my test rig. Very closely matched and nothing that will change things on race day for our smaller track.
ROAD TEST VIDEO BELOW
Well I am very pleased with the outcome. I wanted to tame these smaller classics down a little, yet still desired that driving challenge. Mission accomplished. Very smooth and responsive with the speed I was looking for. Braking is good as well although I tend to dial out some of it for my own driving style.
It is fun to take what you have and make it work. There were a few parts changes but with keeping the chassis and stock running gear, that kept the project cost minimal. Each car is about $20 for the parts which is pretty good for my wallet.
Hope this helps some of you looking to tune these models in the future.
-Harry
All parts purchased at Slot Car Corner

