
A Complete Look At Creating A Resin Casting Master Body
*** by Mark Thomas ***
This is a picture tutorial of what it takes to complete a master of a 1/32 scale early 80s` late model or ASA type Camaro stock car for casting purposes.
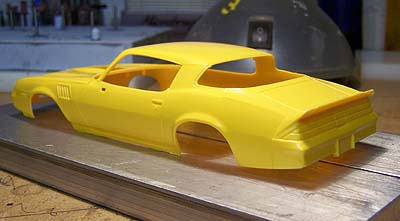
Here is the body I will be staring with, a 1/32 scale Monogram basic street Camaro snap kit.

First thing I did was to mark areas that were to be removed.

Starting with the lower half of the body I carefully cut off/out the designated areas.


Next I lowered the nose a bit, to do this I used a couple stir sticks to get the height I wanted to achieve. I then boiled a pan of water and dipped the front up to the center of the hood. Once warm enough, I removed the body, sat it on my aluminum plate with the stir sticks. I then simply applied pressure to the nose downward until it touched the sticks. After it cooled, the nose remained in that position.


Body sides were next in line for a adjustment, same procedure as above. Used stir sticks again cut to the length I wanted to create the look I was after.

Once both sides were swelled out a little, I repeated the procedure again with a little longer sticks. This time though, I only dipped the left/drivers side in the boiling water, as I wanted it a bit wider than the right.
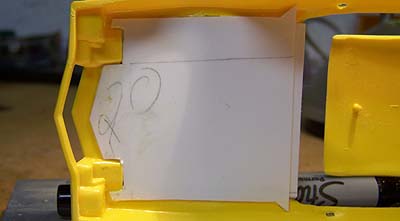
Now that all the body adjustments are made, it’s time to remove the roof.


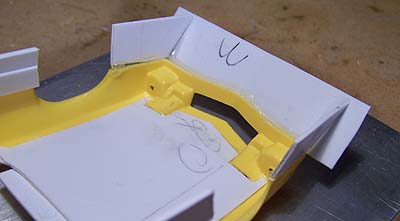
Now the rear roof pillars have been cut to lower and rake the roof. Front a posts were removed, not sure yet if I will replace them, they ran both ways. Also with the time I would have invested in closing the hole properly in the hood, it would have been about the same as replacing it. Plus I also wanted the hood to have the appearance of a fiberglass hood.

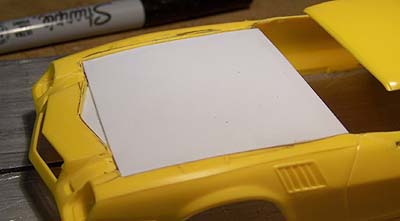
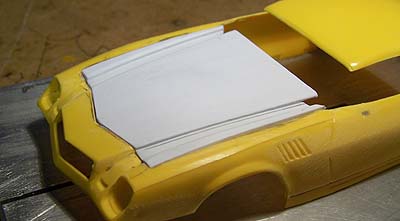
The inner base trimmed and glued in place, and the flat area of the hood glued on top.
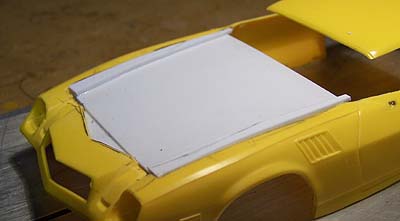
The two raised side parts cut and glued in place, picture shows the hoods higher side view, this will drop a bit after sanding.
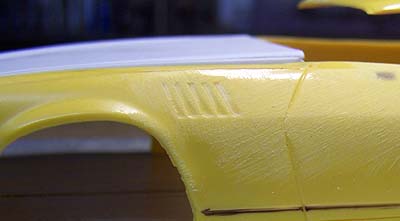
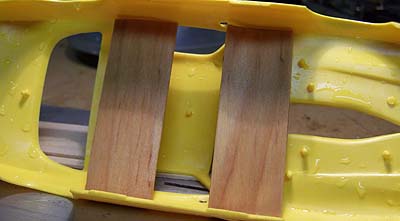
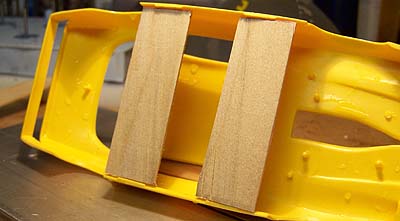
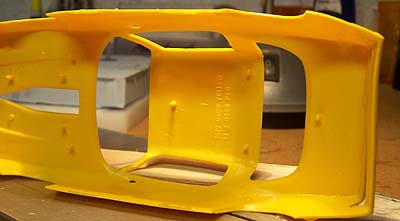
Center hood section cut and glued in place now, and there is no picture but you can see the black line along the rockers area. This was cut off and replaced with the styrene you see in the next picture. This was done to increase the side height of the body, some may be trimmed off later.
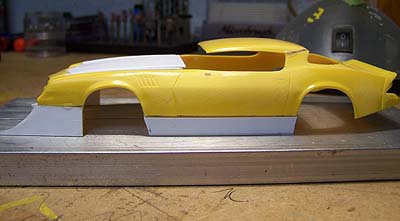
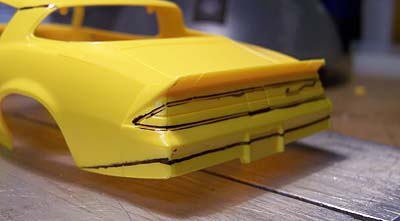
Front nose also constructed from the styrene and glued in place.

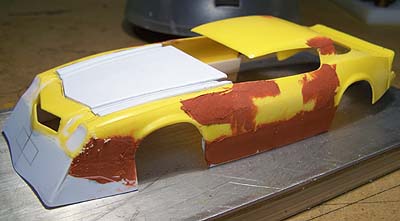
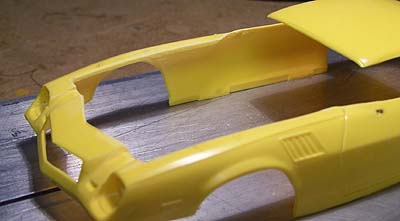
Everything all together and a few pictures of the first putty fill. Headlight areas were filled with resin to level the out with the bezel edges.


Not real sure if I like this nose so much, I’ll have to smoke it over a bit before I decide.