Page 1 of 1
RMS 66 Mustang Build

Posted:
Sun Nov 16, 2014 2:35 pmby ccobra
At first I thought I make a brass chassis for this little beast but after completing it I noticed it was way out of alignment on the motor mount.
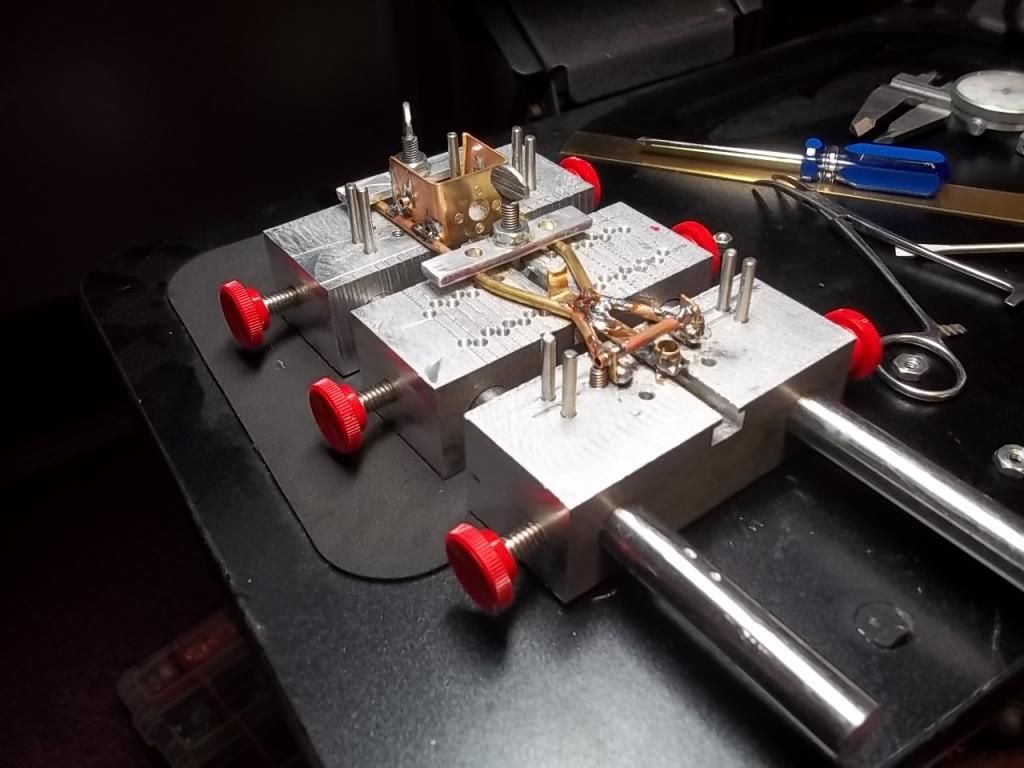
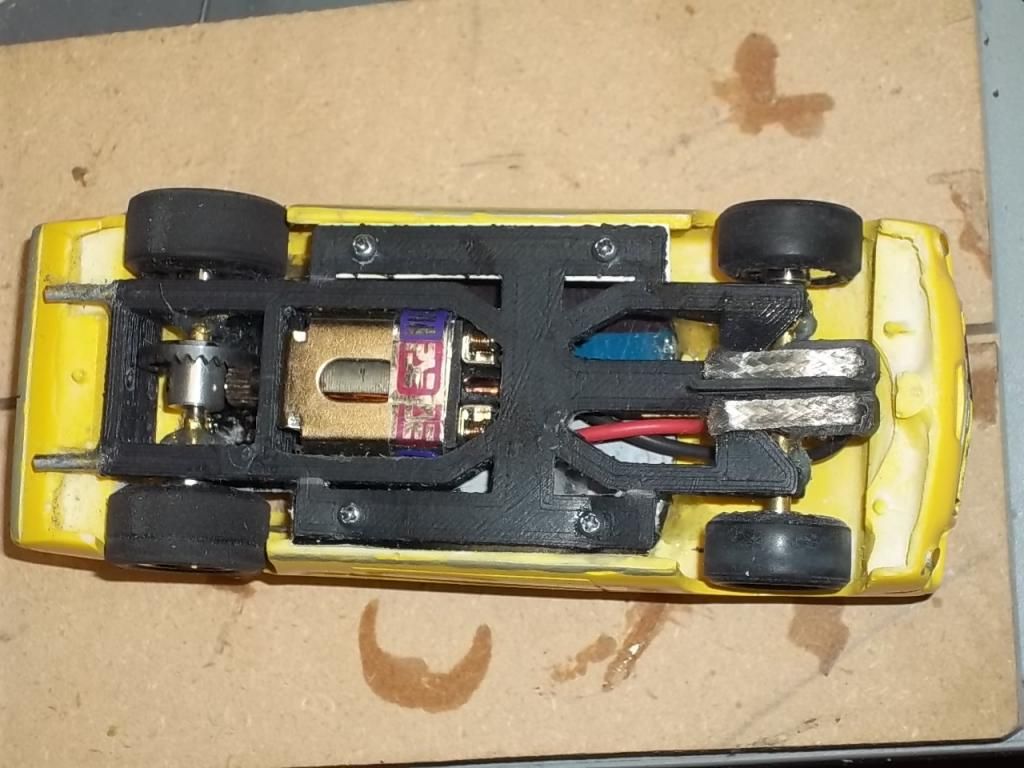
So I decided to get out the CAD program and printer and start a plastic one instead. That turned out to be a little better. After some modifications to a plastic card I was able to put a PM driver on it and install in the body along with the chassis. I also beefed up the plastic chassis in the flag area so it wouldn't be awaiting work like my One Ugly Falcon is.
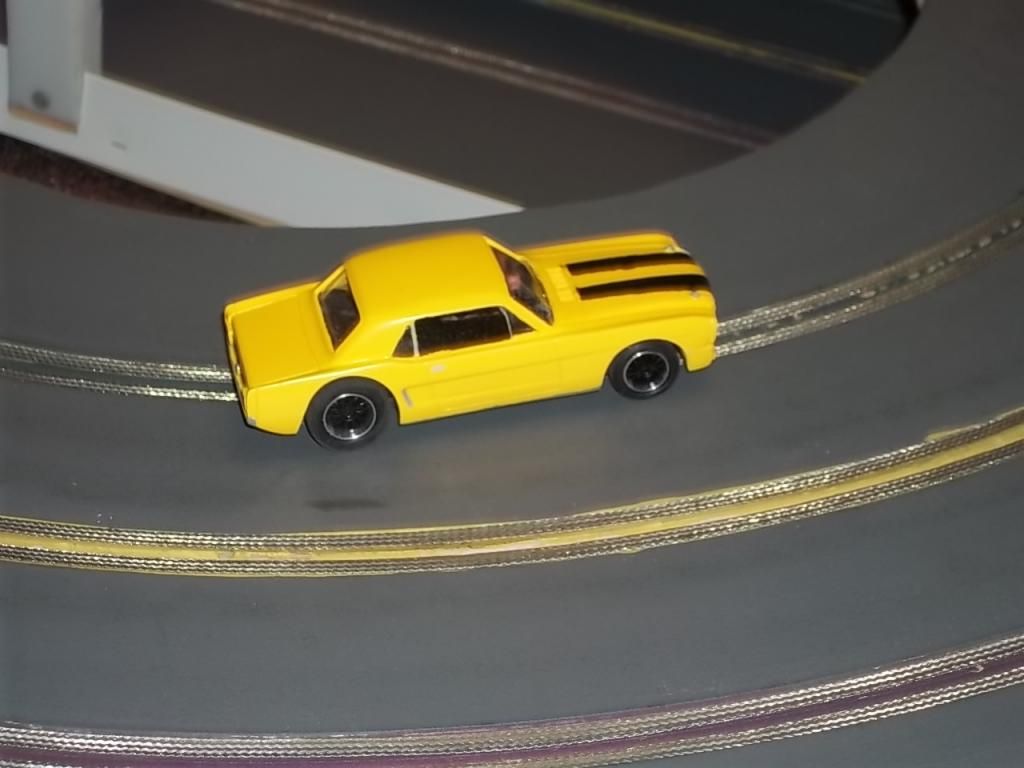
Anyway I am happy with the results for with the parma deathstar motor it only tips the scales at a hefty 118.8g. I used Parma gears, slotit wheels and axles and PG tires. First run around the track turned a 8.04 which I don't consider to bad.
Now to start on another project car from RMS.
Re: RMS 66 Mustang Build
Posted:
Sun Nov 16, 2014 3:14 pmby bill from nh
Don't give up on the brass chassis. You say your misalignment was in the motor mount. Did you happen to drill your axle holes before you bent the mount into a "U" shape? If so, next time try placing them after the mount is bent. You should be able to more accurately locate them then.
Re: RMS 66 Mustang Build
Posted:
Sun Nov 16, 2014 4:48 pmby ccobra
I didn't do it my normal way, I took a short cut. What I normally do is print out the motor mount full scale, cut it out and glue it to the brass. Then I punch out the holes and bend it. Once bent, I then scrub off the paper and solder it on. I'm thinking of getting one of those miniature press breaks to do the bends instead of the pliers method.
Re: RMS 66 Mustang Build
Posted:
Sun Nov 16, 2014 5:01 pmby dreinecke
Looks like it will be quick! Nice build!
Re: RMS 66 Mustang Build
Posted:
Sun Nov 16, 2014 6:49 pmby ccobra
The plastic chassis. I tried to simulate the brass version as best as I could and left out the front suspension this time which I have add to previous chassis. Notice the brass stiffener for the flag. I thinking of filling the brass tube with JB Weld and then drill it out for the flag to get rid of some of the slop
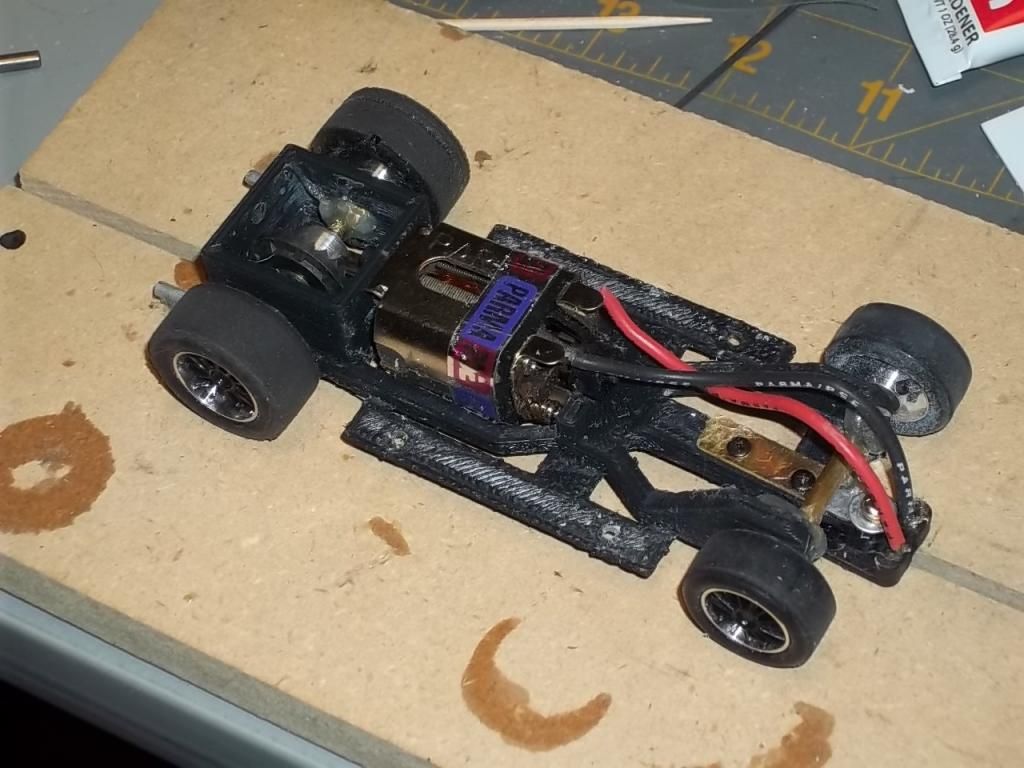
There is a little flex in the chassis so I just mounted on the sides to take advantage of the flex.
Re: RMS 66 Mustang Build
Posted:
Sun Nov 16, 2014 8:11 pmby TuscoTodd
Pretty slick!
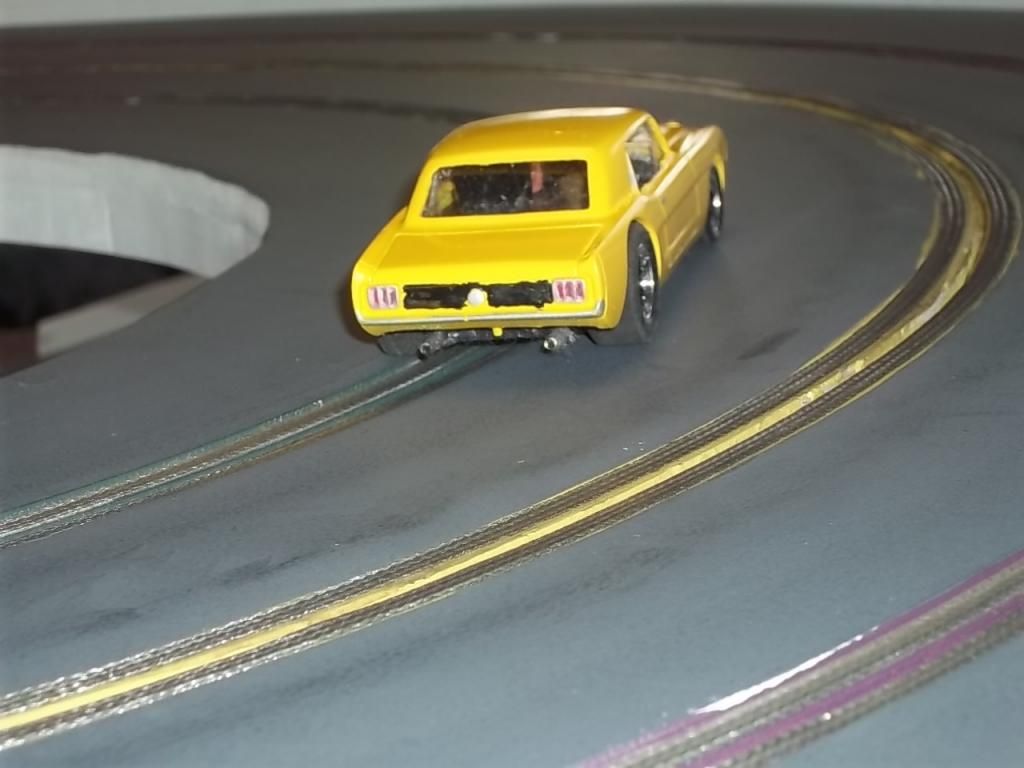
I imagine with that 16D in there, she has noooooooooo problems drifting out of the corners if you are so inclined! :D
Re: RMS 66 Mustang Build
Posted:
Sun Nov 16, 2014 10:45 pmby slothead
I really like the chassis you made. This is a 3D chassis that you designed and printed? If so, this is dangerous 'cause I have a CS degree and could really get into this, but then I'd end up ignoring my cars and track.
When I'd build a car using a resin or model kit body, I'd buy an RTR car to use the chassis. But, the newer RTR cars are so detailed I can't match them appearance-wise, so now I just buy the liveries I want and race them as is. If I could get a plastic chassis just for resin & model kit builds it would be great. (I've scratch built brass chassis too, but they outperform RTR cars and defeat the purpose of having a series.)
If you have a chassis available that's sized for the '66 Mustang coupe resin body, let me know.
Slothead
Re: RMS 66 Mustang Build
Posted:
Mon Nov 17, 2014 7:46 pmby ccobra
When I design the chassis for the car that I plan on building, I first research the car and set the wheelbase and width to scale. Nice thing about the RMS bodies is they are to scale so I only need to fine tune the chassis mount width.
Right now I only have the 66 Mustang chassis for the parma motor but am working on the Javelin, Chevy II and Maverick with the H&R motor, a motor labeled Evil 9, and another JR motor.