F100 with a printed chassis
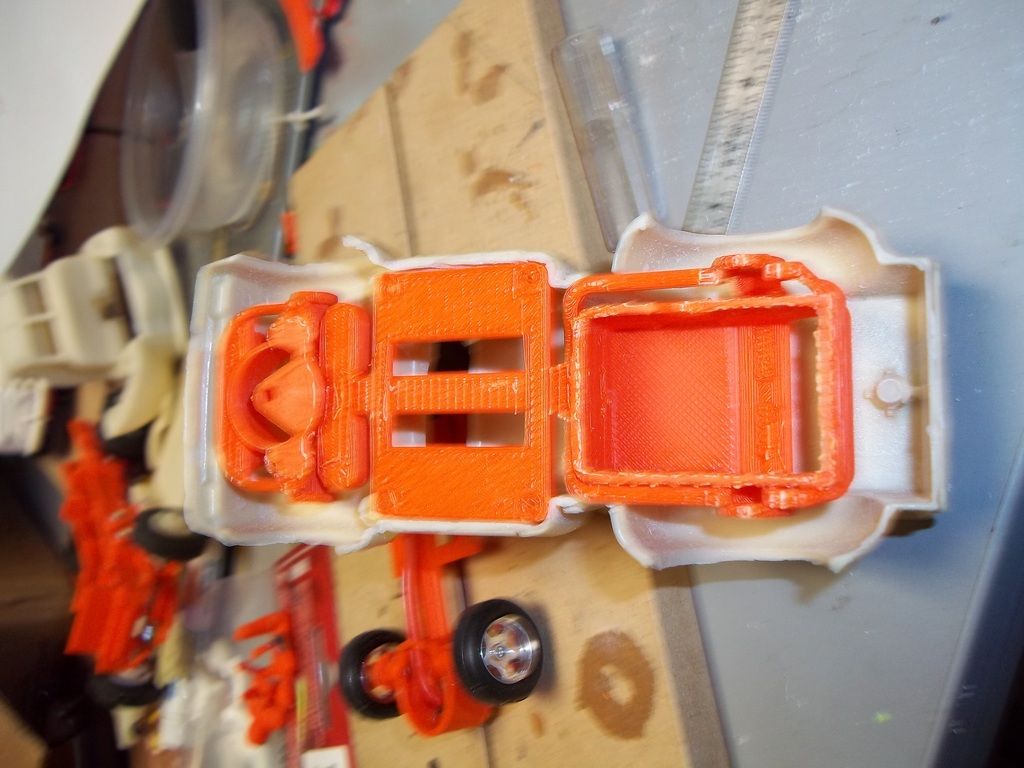
I received a F100 body from one of our good fellow members, Gameover. After seeing the body in hand, I decided to make a copy of my Son-in-laws pickup. I thought about printing out a 4.6 DOHC engine and placing it into the chassis but decided against it. Anyway here it goes.
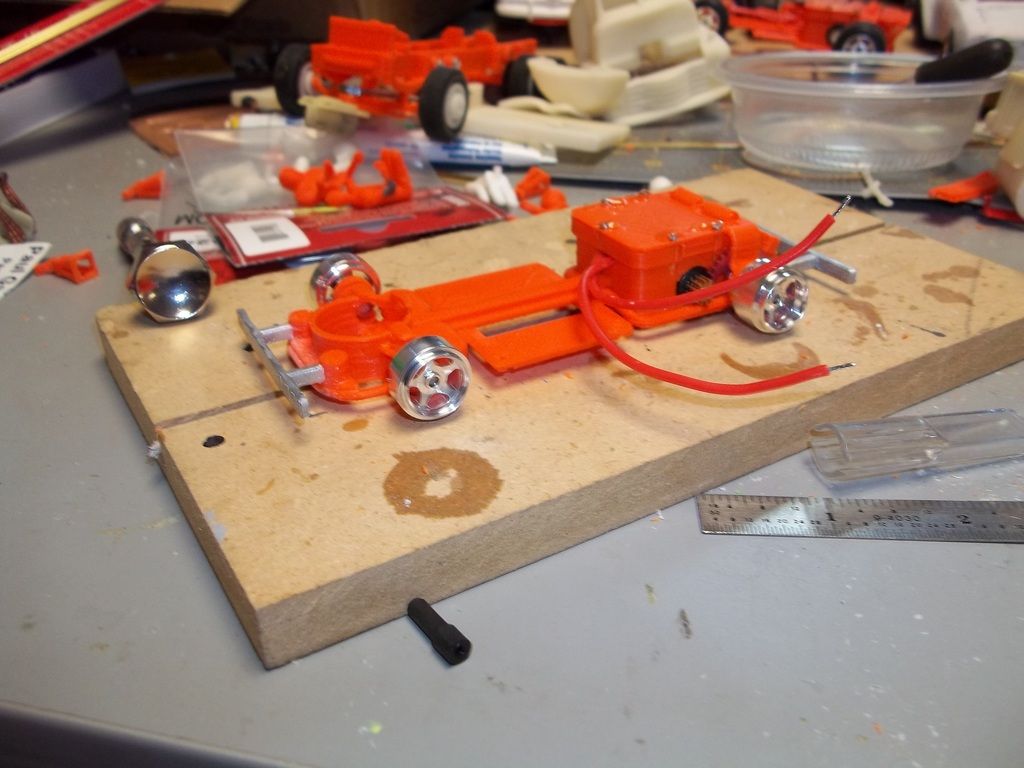
Looking at the model, I decided to add some counterweights to lower and move the CG forward. All the while still allow some body flex with the mid mounts for the body.
After printing out a new idea, I gave the chassis a clear coat before assembly and adding glue to the screws on the motor cover. Then I added front and rear bumpers to further lower the CG.
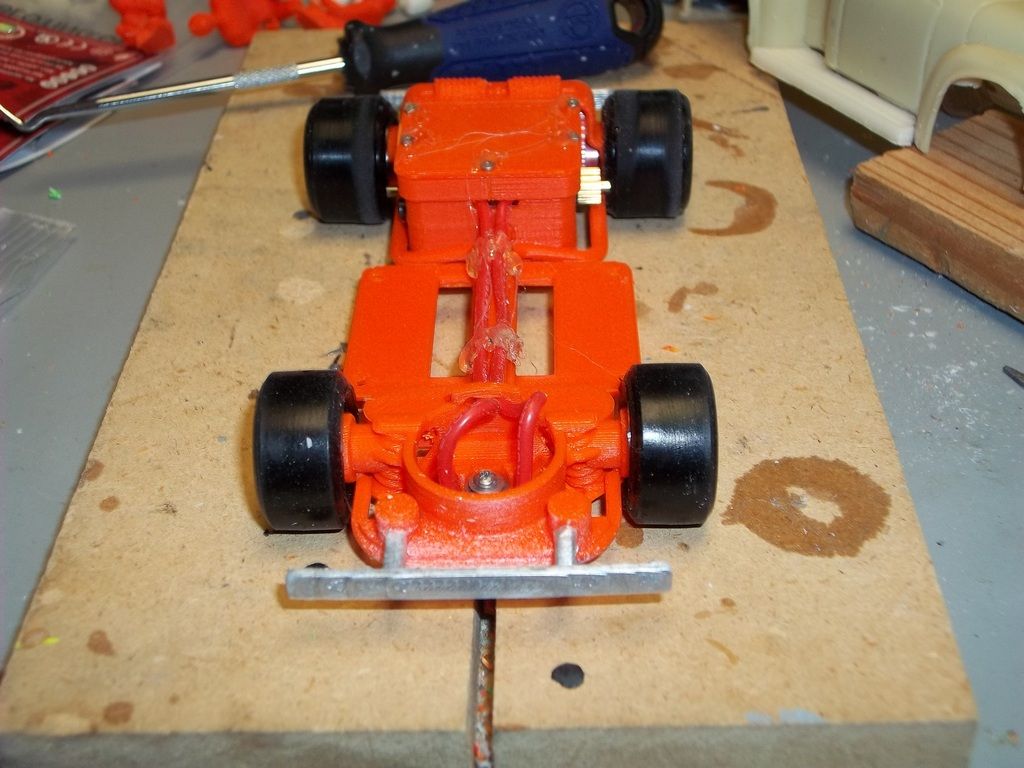
Look Ma, no front axle. Instead I decided to try out independent front axles. I used two stainless steel rivets turned down to fit the CB Designs wheels.
With the added high tech body mount system I just had to try it out. With the 12-33 gear setup it proved too much for me to drive on my track so a rear gear change is in order to a 35 tooth.
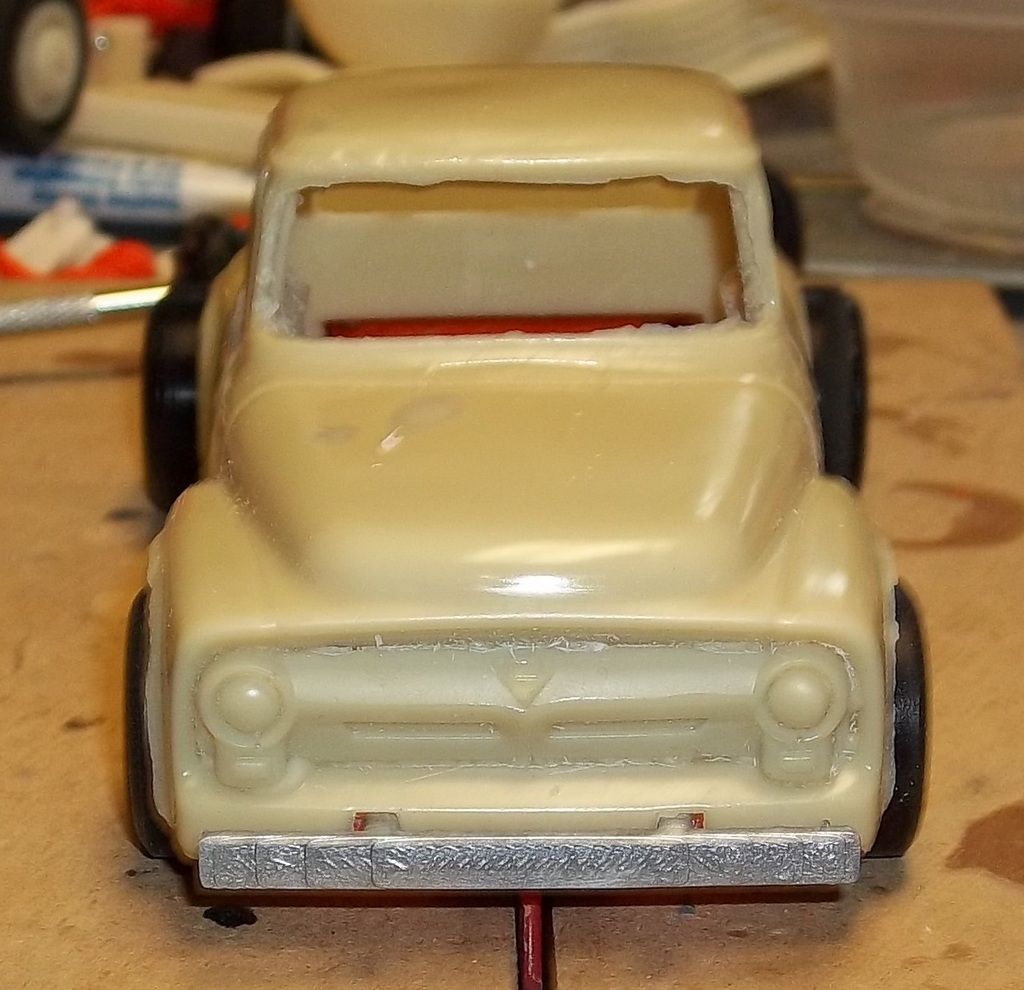
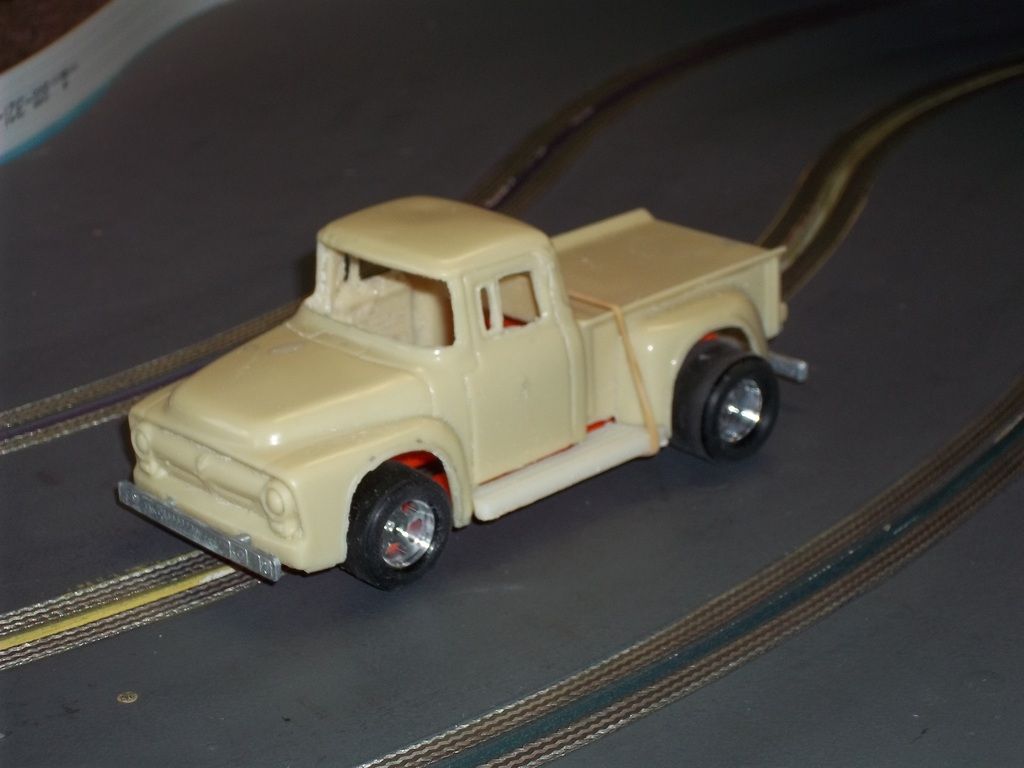
With the stance I was looking for it will be off to the paint and body.
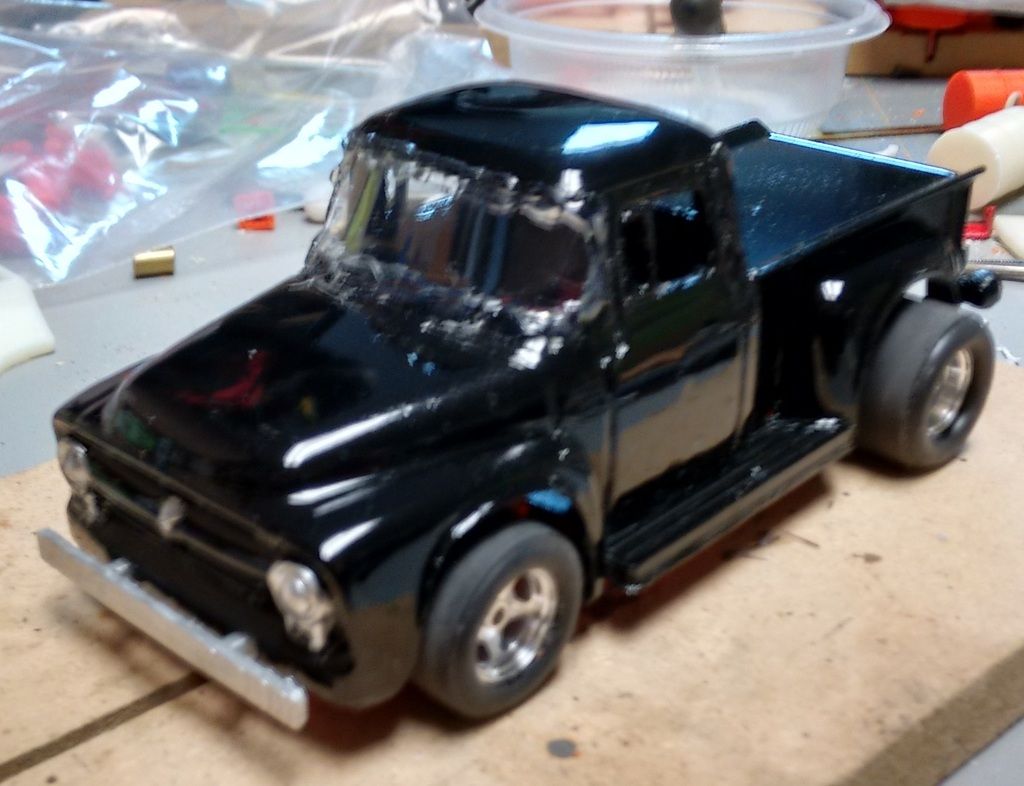
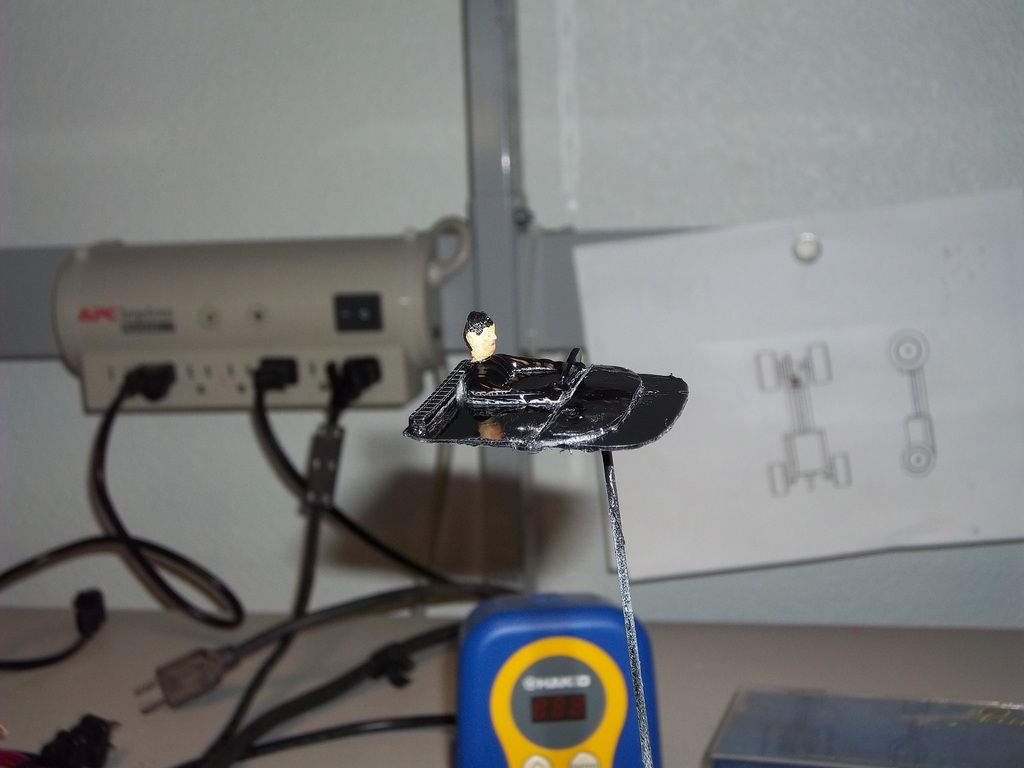
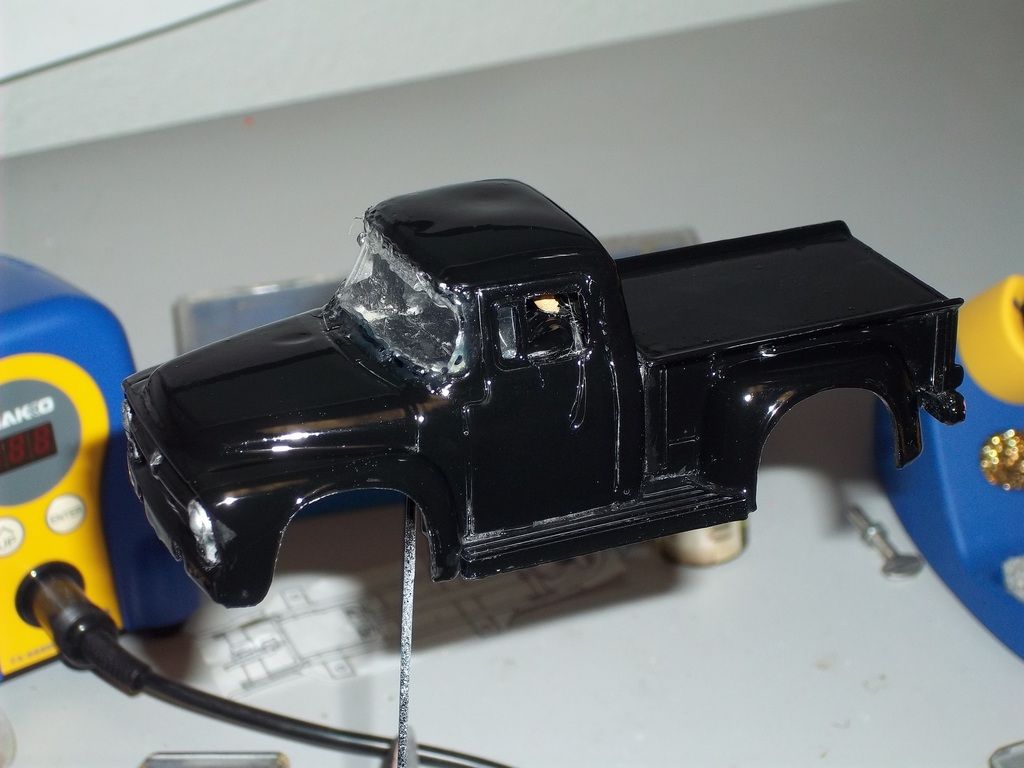
With the body painted, the windshield install complete, now it will be the on to the side vent and rear window install. Now just to add a driver and interior.
Looking at the model, I decided to add some counterweights to lower and move the CG forward. All the while still allow some body flex with the mid mounts for the body.
After printing out a new idea, I gave the chassis a clear coat before assembly and adding glue to the screws on the motor cover. Then I added front and rear bumpers to further lower the CG.
Look Ma, no front axle. Instead I decided to try out independent front axles. I used two stainless steel rivets turned down to fit the CB Designs wheels.
With the added high tech body mount system I just had to try it out. With the 12-33 gear setup it proved too much for me to drive on my track so a rear gear change is in order to a 35 tooth.
With the stance I was looking for it will be off to the paint and body.
With the body painted, the windshield install complete, now it will be the on to the side vent and rear window install. Now just to add a driver and interior.