
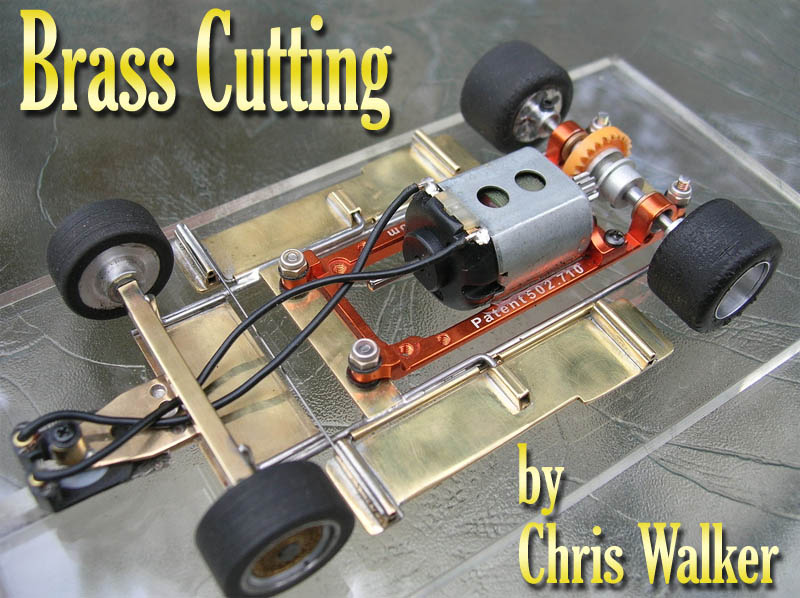
Scratchbuilding Tips – “Cutting Brass/Metal”
*Remember to always use eye protection and other appropriate safety gear when using power tools and working with metal.
It is great to see more of you discovering the fun of scratchbuilding (nothing better than seeing your own handiwork scoot around the track) and the intention of this article is twofold:
- To provide a few tips/techniques to the new or inexperienced builders
2. To encourage those still looking in by showing you that it is easier than it looks.
I have had a few PM’s asking about brass cutting and this article will focus on just that. Additionally, most of you (me included) do not have a shear or any other high tech metal cutting machines, so we are talking about easy, low cost methods to cut the bits for our amazing little creations.
Tools
All of the chassis that I have posted on this forum have had the metal (brass/wire) cut with the following tools.
(Actually a short list, most of which you probably already have)

1/ Dremel (Many other Brands as well)
I personally prefer corded models (I hate recharging stuff), and the corded ones don’t fade. That said, many love the rechargeable units, and I can’t argue their merits.
It is really nice to have a variable speed unit (different speeds for different jobs), but, when cutting metal, the high speed setting should always be used.
2/Cutting discs

I use a standard dremel cut-off disc (#409) and have used these for years (I prefer not to tell you exactly how many years!!). I do not recommend the fiberglass or reinforced discs, as they provide a much coarser cut hey hack through quickly, but do not provide the precision of a standard disc. The diamond discs are perfectly fine, but there is absolutely no need to use anything but the standard discs.
You are going to break discs!!!!

I have broken hundreds.
Dropping my dremel, dropping tools onto my dremel, twisting the disc, etc,etc. it is going to happen so it’s another reason I love the standard discs!
3/ Files
A couple of good quality files (flat, and a small square file), are needed fortouching up/removing burrs from the cut edges, The square file is very useful for finishing square notches that are often found on many chassis designs, although, the flat file can also be used. Round, curved, and odd shaped files are a bonus, but, are just that….a bonus.
4/ Emery/Sand paper
400 and 800 grit paper is all that is needed for a final finish for the cut edges. The 800 grit is also very useful to clean the brass/metal prior to soldering, but this is another story!!
5/Pliers
A mid sized pr. of needle nose pliers are just fine for holding the bits (flat stock only) to be cut. A much more secure way to hold the bits, and useful in minimizing the screams that occur from holding hot brass.
6/ Masking tape
Applied to the brass prior to cutting. It eliminates the marrs caused by the pliers, provides a non slip surface between the pliers/metal, and is a good surface for the Sharpie when marking the lines to be cut.
7/ Sharpie
Obviously used to mark the cut lines.
8/ Small “C” clamps
When doing a long straight cut, C clamps can be used to secure a spare bit of brass along your sharpie cut line to act as a guide/fence.
9/ Xacto
You can use the tip of an old blade to clean/remove the burrs from the inside of the tubing you cut. Using an xacto is also a very neat way to cut small diameter brass/aluminum tubing.
10/ Steady Hands!
If you follow the upcoming procedures, these are not absolutely necessary, but, they sure do help!!
Cutting Procedures
RoundStock/Tubing
1/ Measure/mark your required length with a Sharpie
Remember that the cutting disc may be wider than your sharpie line, so, if you cut in the center of your sharpie line, the piece may be a fraction too short. It is better to err on the long side. You can use the flat side of the cutting disc/files to trim to the perfect length. You may choose to wrap a piece of masking tape around the tubing, and then mark with the sharpie.
2/ With the dremel on high speed (don’t forget to tighten the Dremel chuck), hold the Dremel in one hand, and the tubing in the other.
With the Dremel steady, touch the tubing to the disc, and rotate the tubing in your fingers, making a score line all the way round. Continue rotating/scoring the tubing until the complete cut is made. You can just slice straight through the tubing, but, on larger diameter tubing there is the distinct possibility that unless you attack the tubing at a perfect 90 degrees, the disc will bind, and
break.

3/ Clean and finish the end with a file/sandpaper
You can take an old Xacto blade and insert the tip into the end of the tubing and twist to remove any internal burrs.
This looks a little more finished and if you are inserting an axle into this tube, this process will ensure the axle will turn freely.
*There is really no need to hold tubing with pliers when cutting. The walls are generally thin enough that they cut before heating up too much and excess plier pressure can easily crush the tubing. Besides, without a few blisters, you really can’t call yourself a scratchbuilder-:)
Cutting thin brass/aluminum tubing with an Xacto knife
This procedure works great with small dia (up to 3/32) brass and aluminum (up to 1/4) tubing.

Find an axle/piece of piano wire/brass that slides snuggly into the tubing you are planning to cut. Find a hard flat surface (counter top), and while pressing the Xacto, (use an old blade) roll the tubing back and forth
a half a dozen rolls and presto!
While this does not improve the life of your blades, it is a very easy way to cut small dia. tubing. And an old blade should be good for many many cuts, preferably only the tubing!
Squarestock tubing
1/ As with tubing, measure and mark with a sharpie. Err on the long side.
2/ With the Dremel on high speed (it is always on high for metal cutting) make a score line on all 4 sides of the piece. Continue until the complete cut is made. Again, you can go straight through, but any misalignment in the cut will cost you a disc.
*Most square stock has thicker walls than round tubing and its shape is less susceptible to crushing. So wrapping with masking tape and holding with pliers is not a bad idea.
Flat Stock
As most of the flat stock you will be using is relatively thin and therefore flexible, it has a tendency…no,I should say it definitely will
flex when you cut it. This flexing will grab the disc and? Right. Another broken disc.
The longer the piece you are attempting to cut, the better chance you have of this happening.
So a slightly different approach is advisable
1/ Cover the piece you are cutting with a layer or two of masking tape. Youwill be using pliers and/or clamping on another piece of brass to act as a guide/fence.
So the tape prevents: Marring from the pliers/clamps. Is easier to grip with pliers than the bare metal, and is easier to mark with the sharpie.

2/ Mark the cut lines with a sharpie and again, remember, it is easier to remove a sliver than add one.
* If you need to make a cut that is a couple of inches long, I would strongly recommend that you use the C clamps to attach a spare piece of metal along the cut line to be used as a guide/fence.
If you go this route, you can hang onto the C clamps while cutting, and don’t need the pliers.
3/ Make your first cut a shallow score, with the dremel smoothly and continually moving down the fence/cut line, and repeat with
additional shallow cuts until done. With practice you will quickly get the hang of it, and will be able to increase the pressure/depth/ speed of the cut.

4/ File and sand the edges.
You are now a scratchbuilder!
To those who already knew all this, sorry that this was a wasted read. To everyone else, if you picked up just one tip, I am happy.
Cheers,
Chris Walker
Copyright © 2016 Home Racing World
