

The latest releases from Scalextric are very nice slot cars, but the guide system is not ideal for many advanced racers. In this article I will share my approach to improving them and hopefully it aids you in your own tuning process.
Before we get started, here is a parts and tools list you can click on in case you are in need of them.
Slot Car Corner Guide Shims (choose 1 of each to get the different sizes)
Slot Car Corner Tinned Copper Braid
Sloting Plus Universal 1/32 Guide
Tools:
Adhesive (Super Glue Type Preferred)
Soldering Iron (if needed to extend wires)
Some items like the brand of guide can be different of course. Any quality guide from Slot.it, Scaleauto, Sloting Plus, etc, will give you great results. Just choose your favorite guide and get started.
*There have been pre-made aftermarket adapters made for these models. There are also NEW adapters being tooled up as I write this. When those become available you can skip the part of making your own. Here is an older article featuring one of these adapters.
*If you are running on Scalextric Classic track, or any other brand plastic that has very shallow slots, then you will have to trim the guides to fit.

After removing the original guide system, it’s time to get started. I am using standard sheet plastic by Evergreen or Plastruct in .060″ thickness. Just place a section of plastic under the car and trace with a fine marker. This will be a rough guide, but close enough to trim and allow you to file/sand it to fit.

Why create this entire base and not just stack sims?
Because the shims are not that precise a fit. They are designed to fit a variety of guide post that range in diameter. Without a more precise fit, the guide will have excess freeplay and we don’t want that do we?
The other reason is STRENGTH. Adding this full plate strengthens the original chassis mold and that is a major factor as this original is prone to breaking under hard racing.
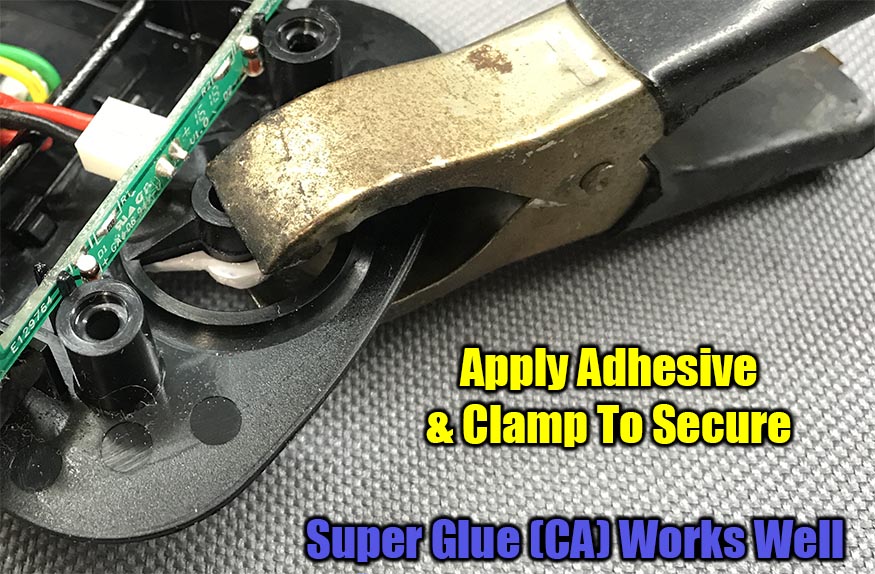
Once your plate is made, use adhesive and secure it to the bottom of the original. Want to know a modeler secret? The cheapest super glue you can find at the local dollar store works the best.
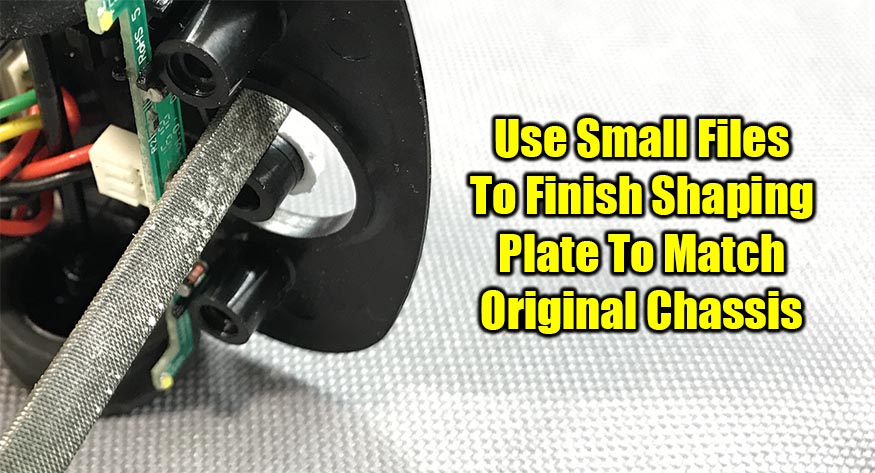
Now you can finish shaping the plate to match the original chassis. I like to use a combination of an Exacto knife with a fresh blade and very small hand files.

You can drill through either end. I prefer to just measure and start from below.
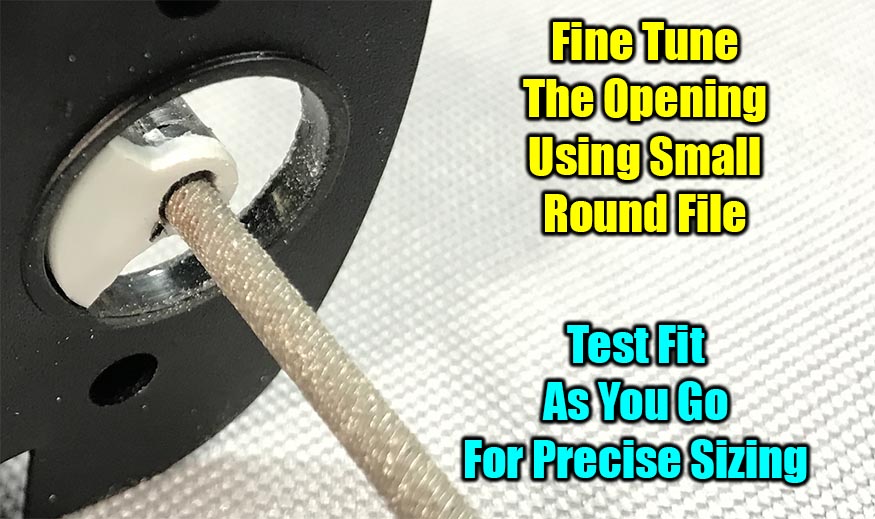
Now you can “fine tune” your opening for the specific guide you chose. A round file makes quick work of it.
Time to prepare the wires.
I am showing the use of the small brass ferrules that come with the Sloting Plus guide. You can of course use set screws to secure the wires and also solder the ends. CLICK HERE TO VIEW THIS METHOD.
TWO methods of wiring. Your particular car may not have wires long enough to just use what is left after trimming the ends.
I am featuring TWO models. The Audi R8 and McLaren GT. One has wires that require no extensions. The other (McLaren does).

For the models that have long enough wires. Just cut and trim the ends as shown.

For models that require extensions. I cut and soldered on 22 AWG wires. Used small shrink tube to seal the joint.

Notice the wire above. About the length of the ferrule is the excess wire from the bottom. Fold it back onto the ferrule.
Now crimp ONLY near the bottom or half way. You want the top to stay in the round shape as it provides the pressure needed to fit into the guide without popping loose.

Now it’s time to set the guide height. Using the size plastic we did for the adaptor will likely require a couple shims. I like the shims from Slot Car Corner. Just get a pack of both if you plan on doing more of these in the future.

I like the tinned copper braid but you can use standard if you prefer.


These guides are DESIGNED to be trimmed/adjusted to suit your specific track requirements.

All finished. Please watch the video as it summarizes the final install.
VIDEO of Guide Setup

I hope this article has helped you improve your own fleet of models. The difference in performance and reliability is well worth the effort.
-Harry


