
A Complete Look At Creating A Resin Casting Master Body
*** by Mark Thomas ***
Mastering A Body Part 3
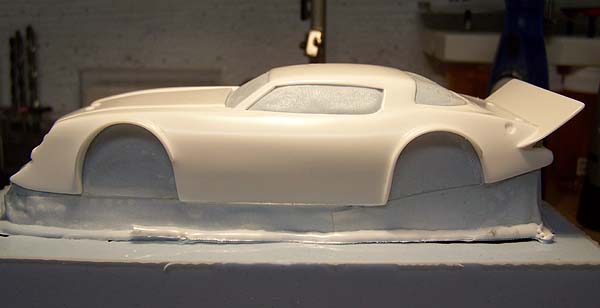
Windows all sealed up good, now to the wheel openings. I used the 1-1/4″ tape and cut each piece to just overlap on each side of the wheel openings. Once again very important to burnish around the edges to ensure no leaks.

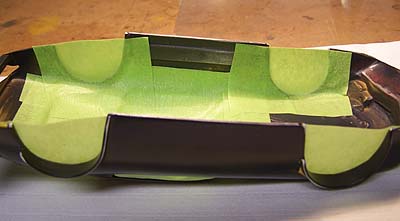
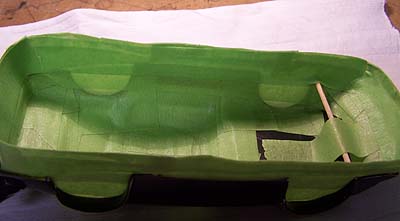
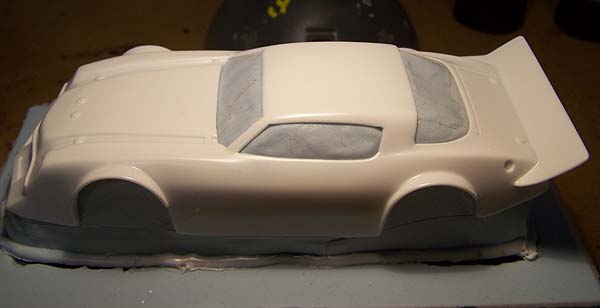
This illustrates the good tight bond all around the wheel openings. After this I ran another piece of tape all around the inside overlapping the 4 that cover the wheel openings. Then another piece just at the bottom edge of the body. With a pair of scissors, I made cuts about 1/4″ high & 1 ” apart all around the body, then folded it over to double the thickness. You want this to be strong enough to support the weight of the body and about 1 lb. of rubber.
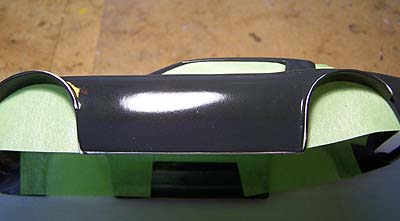
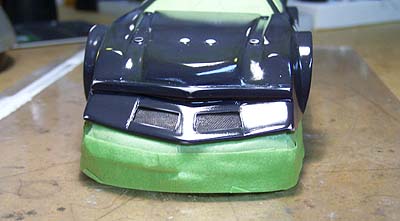
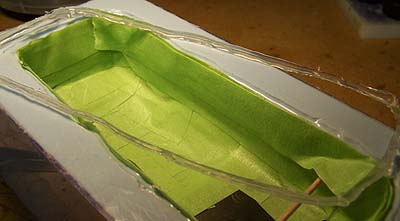
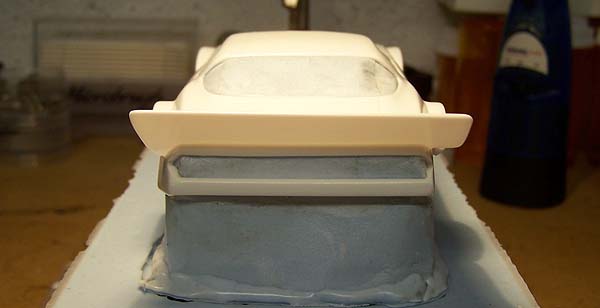
Just a view of the front, and inside after all taping is finished. Toothpick is a backup just to ease my mind about the flared area of the nose, it’s simply holding the tape against the body.
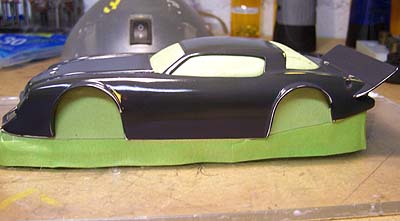
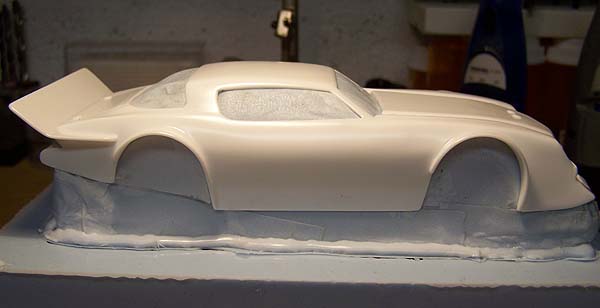
The body was then wiped down and hot glued to my Plexiglas base. I then taped the plexy all around the body so when I sprayed the mold release it doesn’t get on the area where my next hot glue beads need to adhere.
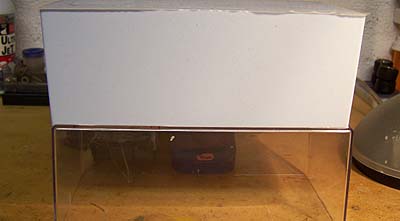
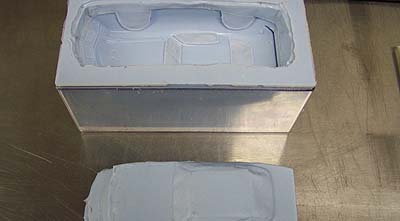
My mold box is now been hot glued to my base with the body inside.
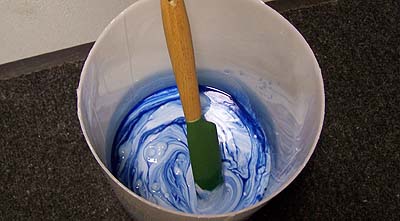
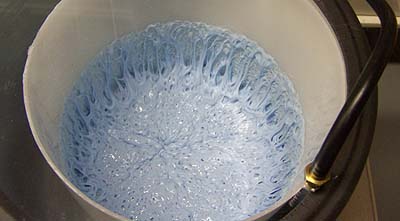
Time for the rubber, this required right at 2 lbs to cover the unit well. It was then placed In the vacuum tank.
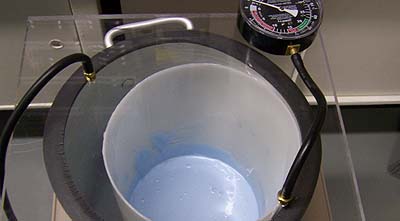
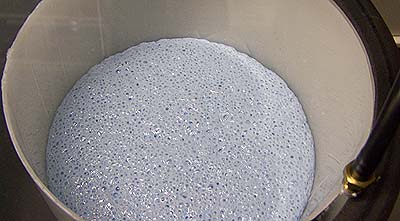
Vacuumed until the rubber rises and collapses, then let sit for about 2 minutes and release the vacuum.
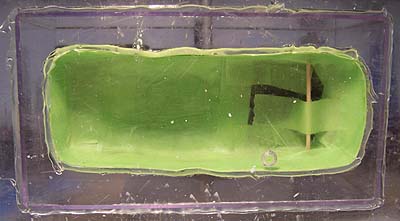
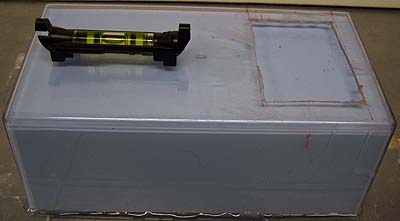
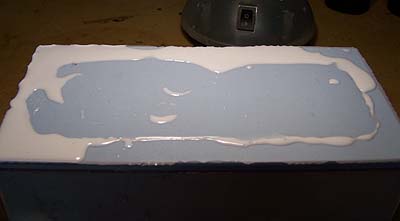
Mold box is leveled on my bench and pouring begins. Pouring slowly at the lowest point and letting the rubber flow all around and settle. Then fill to about 3/4″-1″ above the roof line of the body.

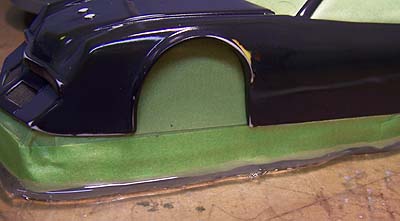
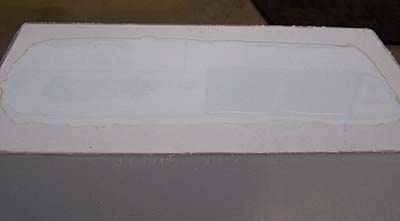
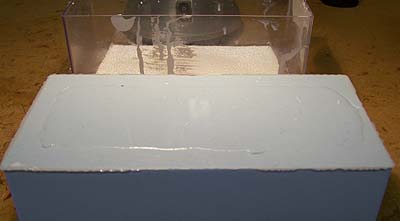
24 hours later, the silicone is well cured, so it’s time to inspect and remove the mold box from the base. Flipping the unit over reveals that my care in taping paid off, no seepage. Now to remove the base, I use a low temp hot glue that makes for a great sealer, but is also easily separated by just bowing and lifting the plexi by hand.
Once removed, I give it a once over and proceed to remove the hot glue bead around the body edge.

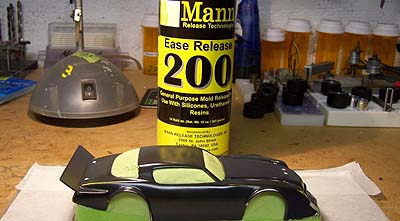
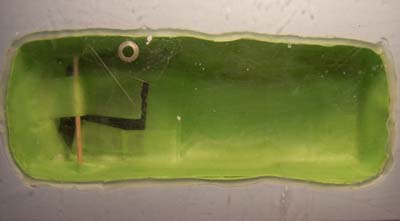
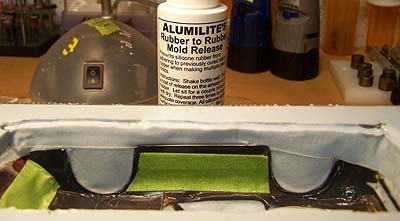
Can’t stress this enough, be sure to use mold release before you pour the inner plug or you will have a embedded body. I like the Alumilite brand because it works very well and I’ve had no problems ever. Just make sure you brush it on everywhere. I do this twice just to be sure. Also this is where I use my leftover rubber that sets up in the bottom of my mix bucket.
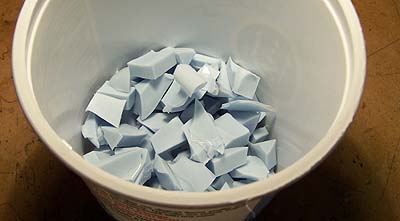
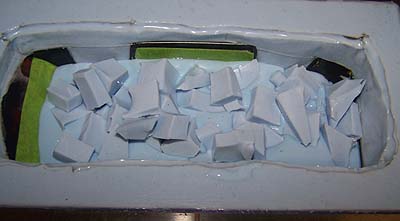
I just cut it in small pieces and sprinkle inside the plug after I have poured a layer over the bottom. I also use dead molds for this, you just have to be sure not to enter any pieces that have release agent on them. I only do this with the inner body plug because there are no details to worry about. Then I fill to level and wait another24 hours.
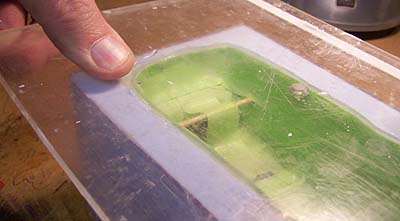
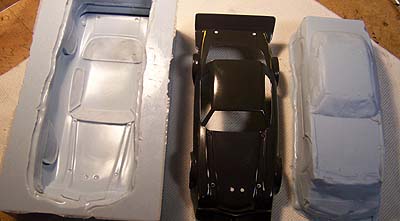
Complete mold is now removed from mold box, now, I go around the whole outer mold and pull away from the inner plug to break the natural seal of two slick flat surfaces.
The inner was removed without any issues, I’m letting the two parts sit for a day before I try the first pull. Just to let them air for a bit, not a instruction, just something I like to do. One thing with this type master is, with the semi complex areas like the spoiler and the fender flares. It will take much care, and needs to be allowed to set up well before removing from the mold.
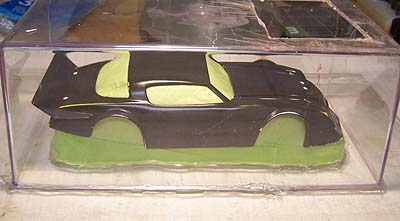
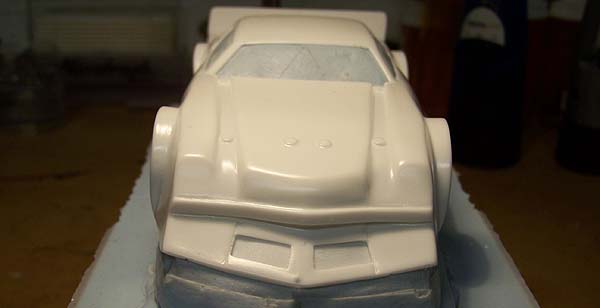
First pull removed from the pressure tank, and then from the mold box. I pour all my body’s with the mold inside the box. This keeps the mold in it’s original form. I found early on that not doing this, the mold would eventually sag on the sides which made body sides very thick and out of proportion.
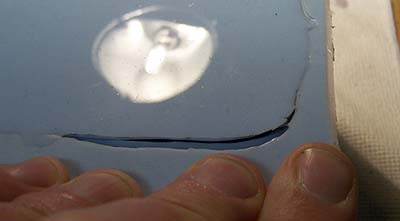
First pull, and I am very happy with the results, as you can see just at the tip of the nose there is a bubble. That is the only flaw !! 😉
I hope you enjoyed the ride.
