

Building a Simple and Lightweight Track Table
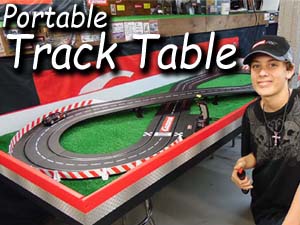
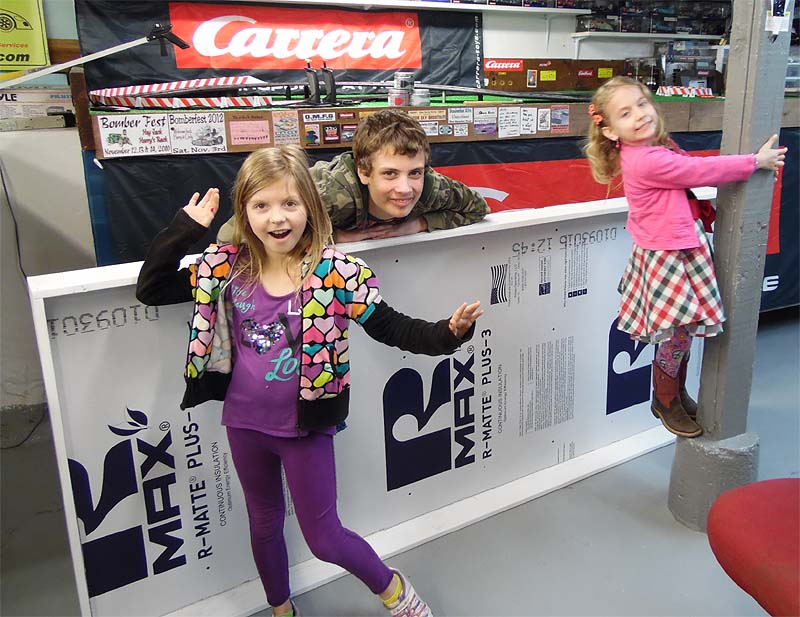
Our grandson Cameron has shown interest in the hobby for a couple of years now. Not just the normal quick playing, he has really been into practicing and the guys that visit here have seen him do pretty well. He has wanted to build his own track and the time was right. I had this planned when I purchased the Carrera set featured here and since trying it, he really liked it. A lot.
I knew what we needed to do.
The first step was a track plan and size. After going over it a few times, the answer was easy: Keep it Simple! We have a more complex routed track, so this one needed to be simple for our younger grand kids and their occasional friends. I also wanted to show you don’t need a huge track to have fun. Finally, we needed a table that was lightweight that could easily be moved when we have race events.
The dimensions were 38 inches by 8 feet.
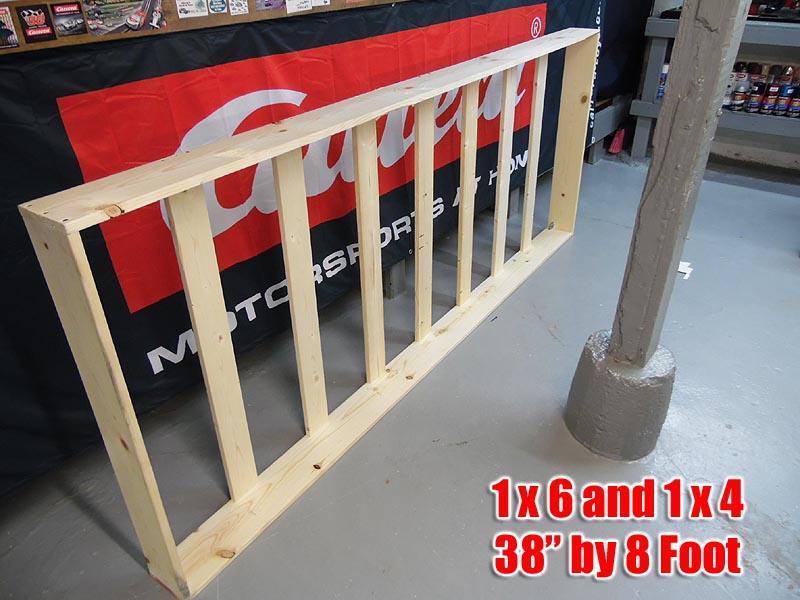
The frame would be made with 1×6’s for the outer frame and 1×4’s for the cross bracing. I pre-drilled and then attached the screws. I used wood glue on each joint as well.
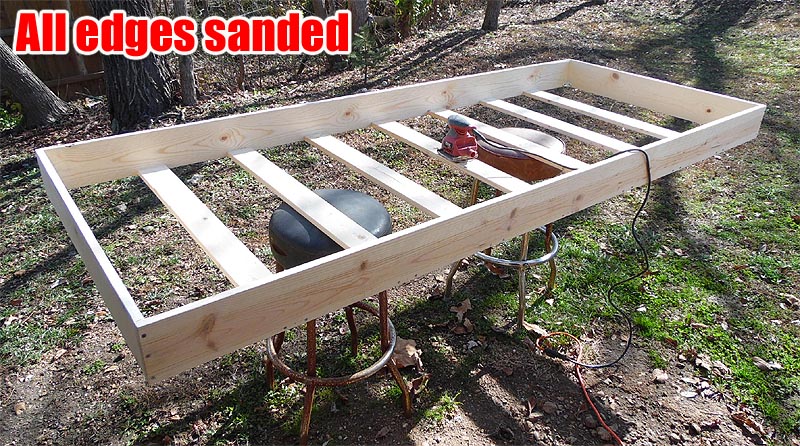
Once completed I took it outside and gave it a good sanding. With handling and little hands, needed to keep it splinter-free as possible.
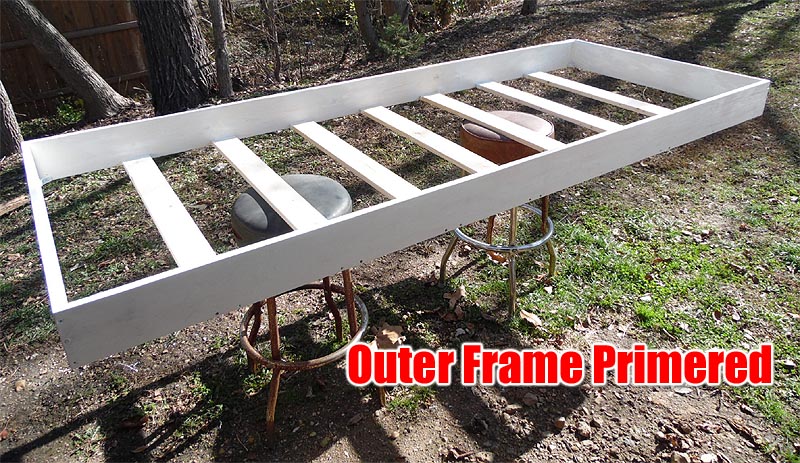
It would be painted with a certain theme my grandson and I chose. First was to prime the outside. We used inexpensive flat latex. Works fine on the pine.
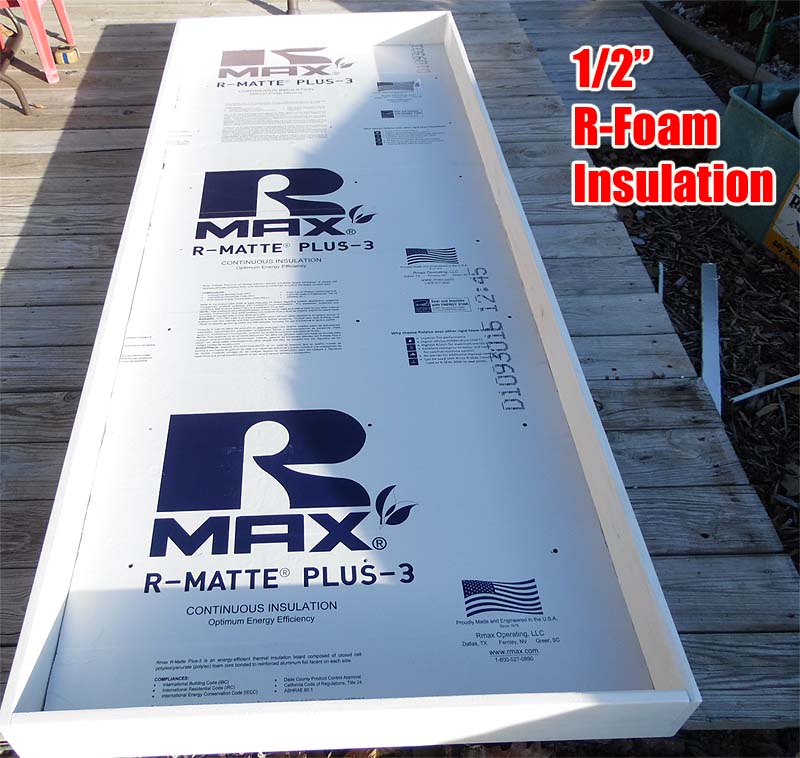
For the base I had a couple choices but went with this R-Board. It’s only 1/2 inch but compacted. It holds it’s shape well and with the support braces worked perfectly. It was also the least expensive option 🙂 $12.00 a sheet at my Lowe’s.
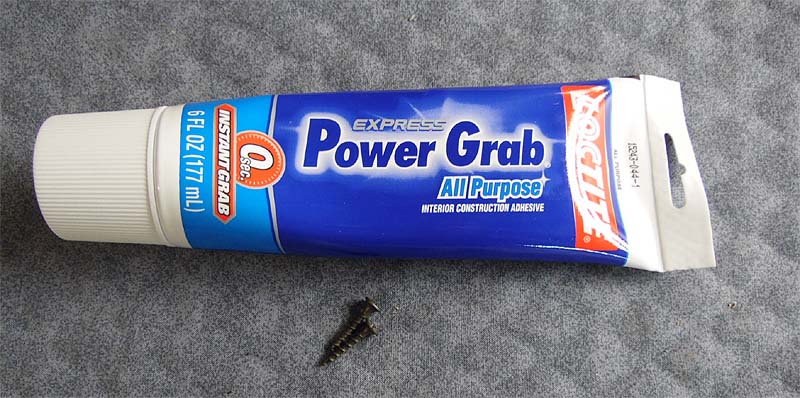
This standard adhesive would serve a dual purpose. I used it on the R-Board along with the small screws you see. It would also be used on our “grass” that comes later.
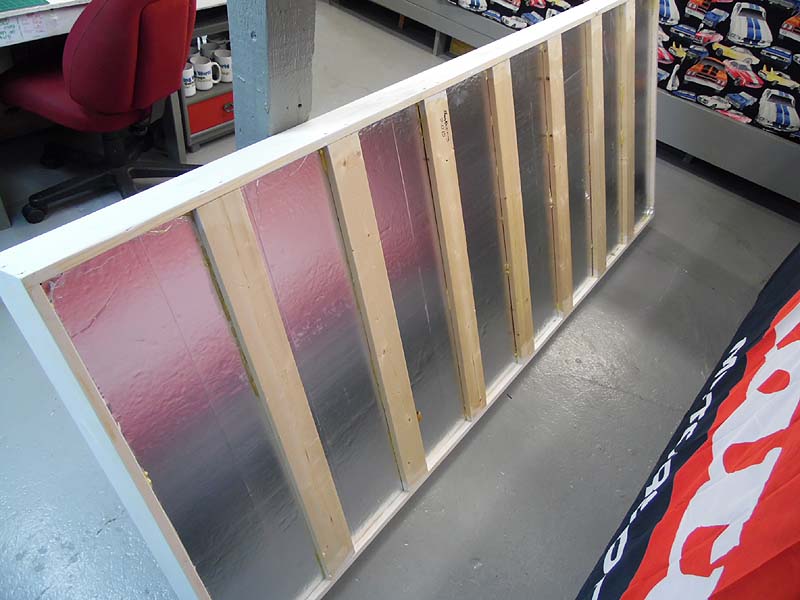
All dry and secure.
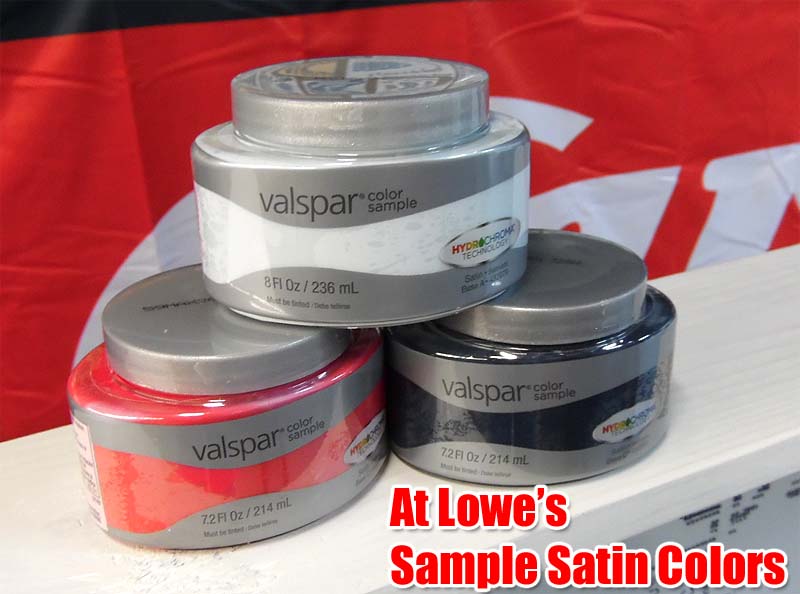
This might be the best slot car project paint I know of. At only $3.50 a jar, this satin paint is easily mixed in just about any color at Lowe’s. We chose to have our theme match the CARRERA logo, so basic charcoal black, red would do. We also chose a “sky blue” for what little backdrop we would have.
Uh oh. It’s PAINTING day! Our granddaughters were wanting to be involved and who am I to say no?
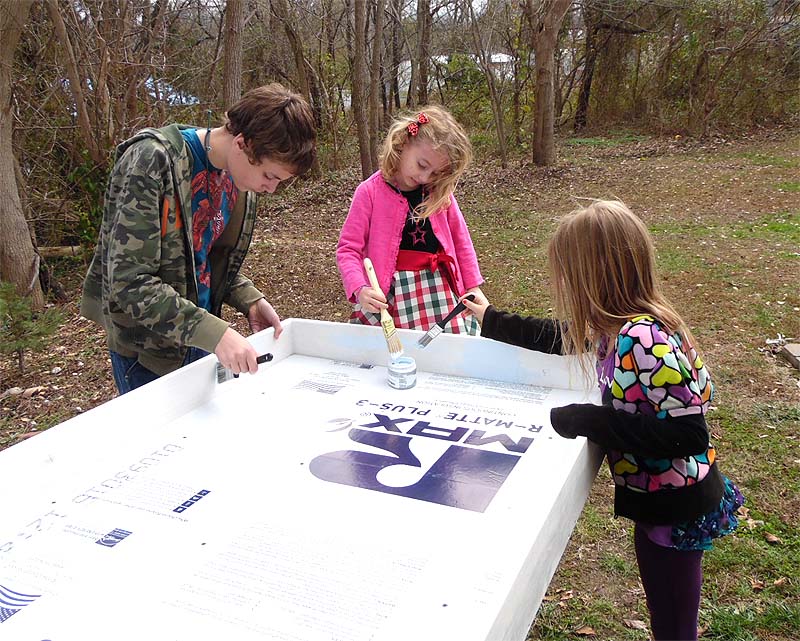
They painted the inside the sky blue first.
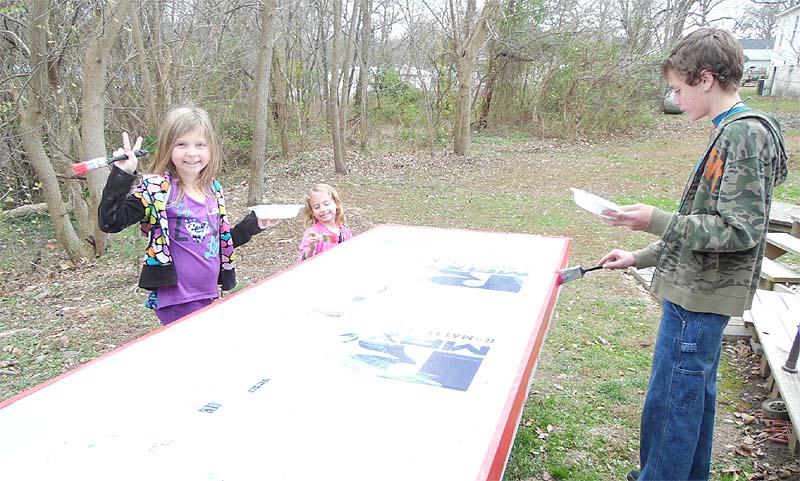
Time for the red!
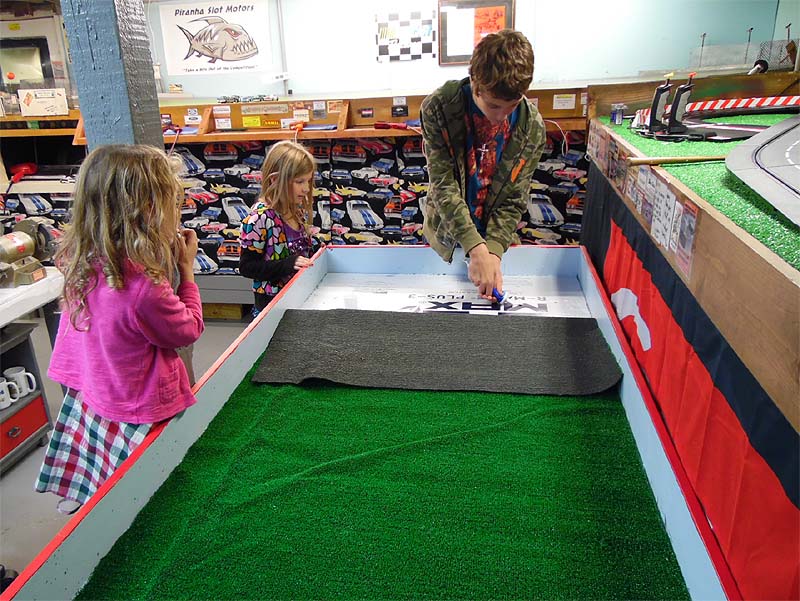
Ok, after the paint dried it was time to cut and trim the artificial grass. I went with the old standard product as it works great. Being plastic it helps protect the finish on the cars and no fibers to get would up around axles or into the braids. You can see we are using the adhesive again to secure the grass.
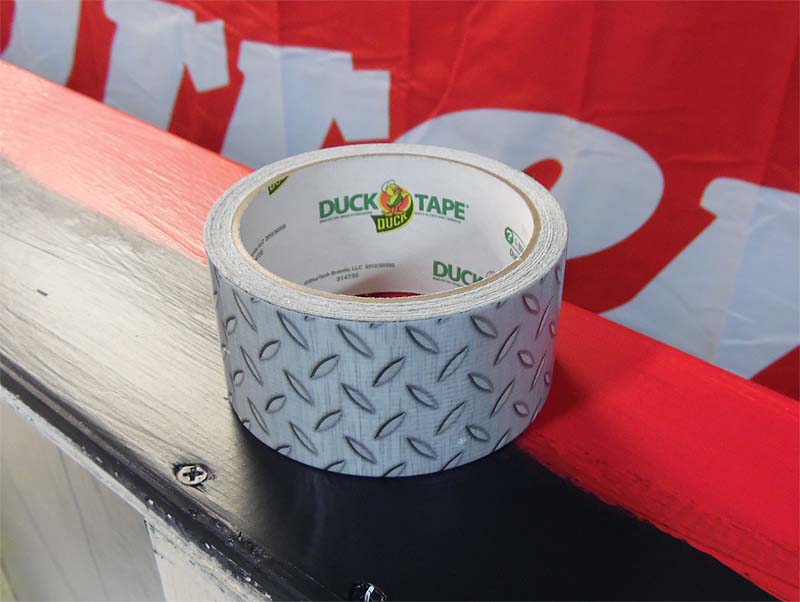
While looking around for a center stripe we came across some cool looking diamond plate tape. This will do just fine.

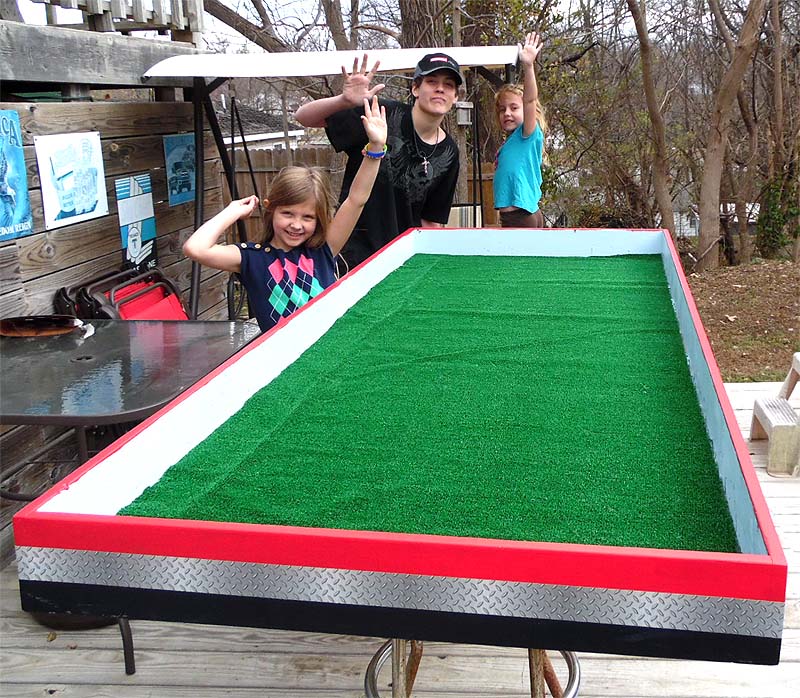
Finally finished! 🙂
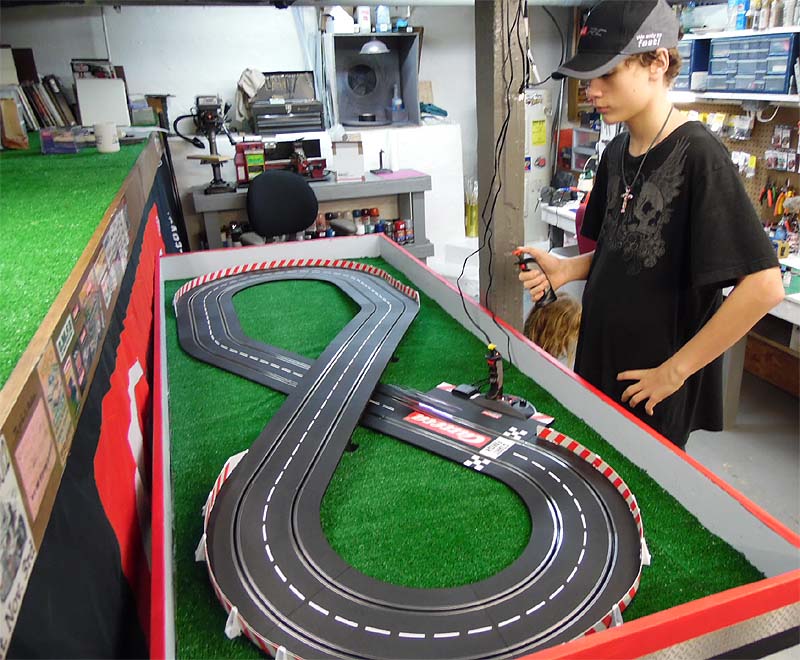
Looks like it’s all working just fine.
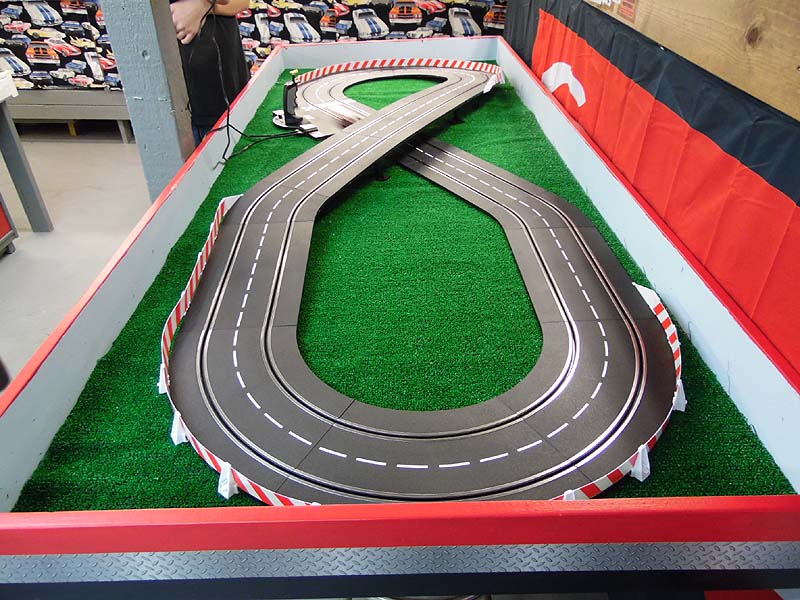
Yes, simple is sometimes best.
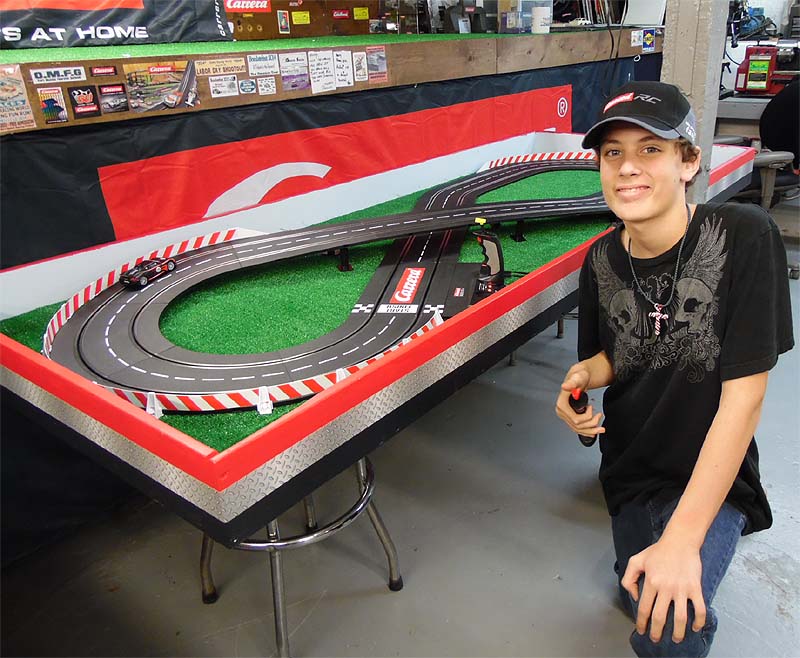
And here he is, the proud owner of his FIRST slot car track! 🙂
Having the whole family involved made it very special and not just family here, but on this forum. Thanks Steve Stone for the lap timer and extra corners, Razorjon for the track mounting clips to come. The folks at CarreraSlots for fast shipping in time for Thanksgiving too. And finally Locoracer Tom and The General for reminding me to keep it simple as well. 🙂
What a lot of fun. Hope that it helps some of you as well.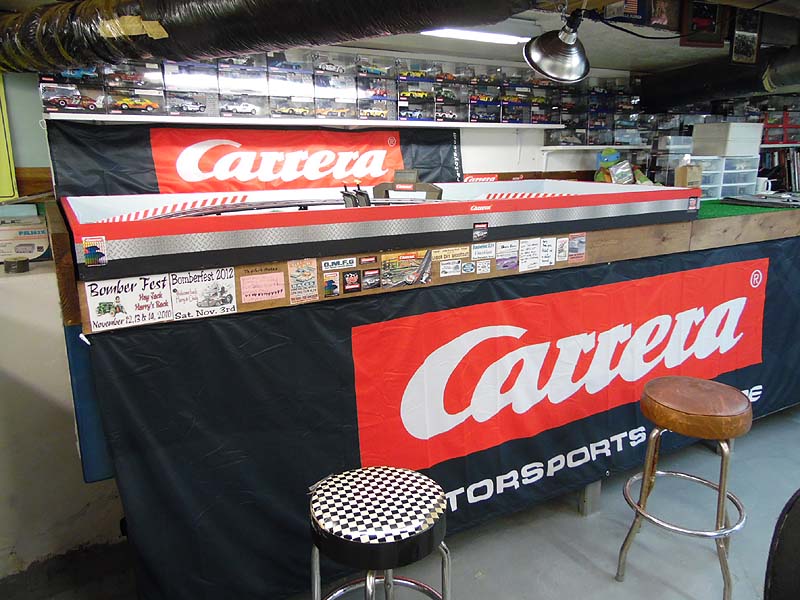
-Harry
Please feel free to comment.

Great post Harry. Nice way to show how a newcomer to our hobby can quickly and easily get involved.