Thanks for the comments
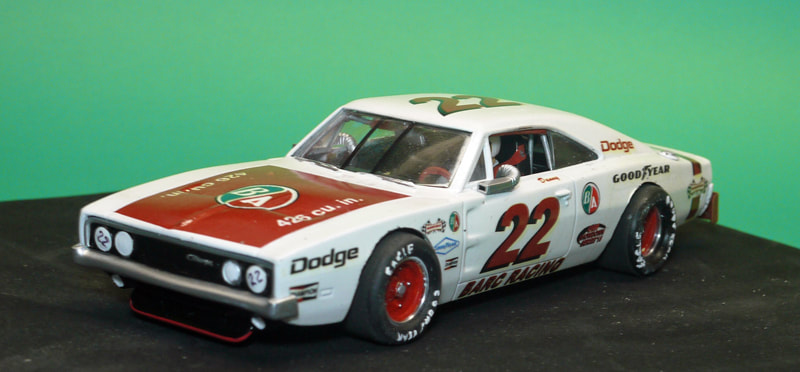
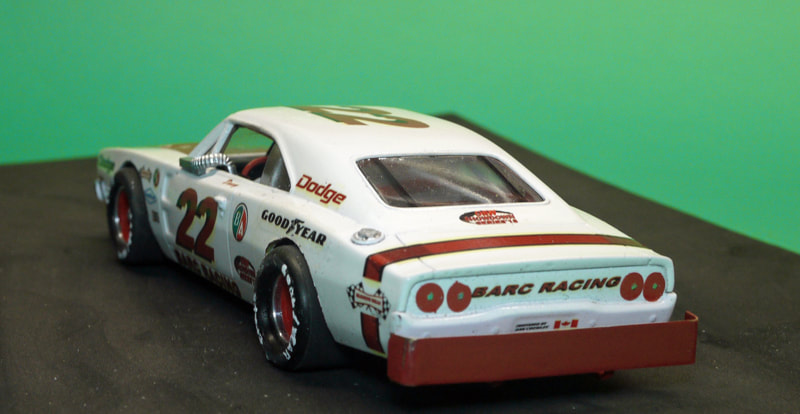
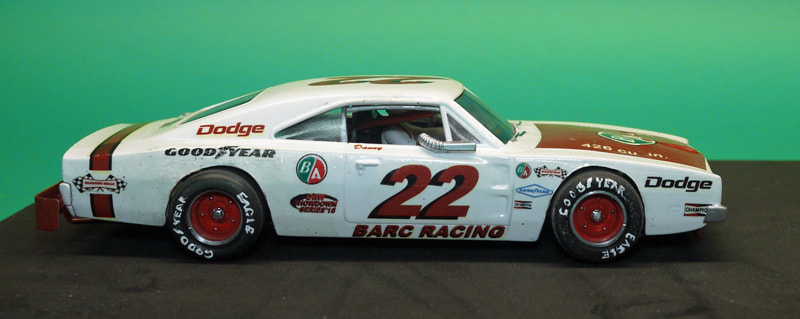
Decals are made using MS Paint. I find images online, save them and modify them for my use. I work in a large format and then print them out scaled down. For example this set was printed at 9%. The number font for the roof numbers was something like 600 pt. This results in a very fine print the is legible when printed out small.
I use decal paper from Microscale
Decals are coated with Tester Clear coat. However I discovered something this time . I forgot to print out an HRW event decal so did them separately. As it was small and I printed multiples I decided to not clear coat the decal paper prior to submersion in water. The Laser printing was unaffected by the water and stayed true. So next time I do decals, I think I will try this on a grander scale and see if the clear coat is even necessary.
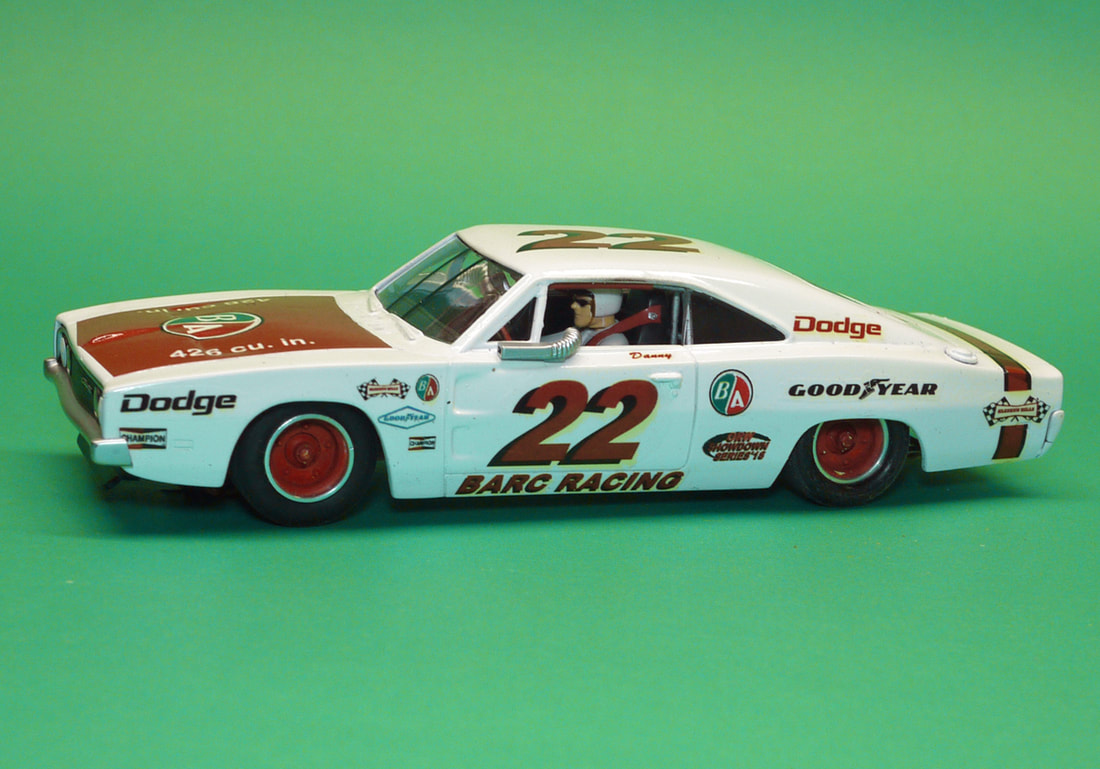
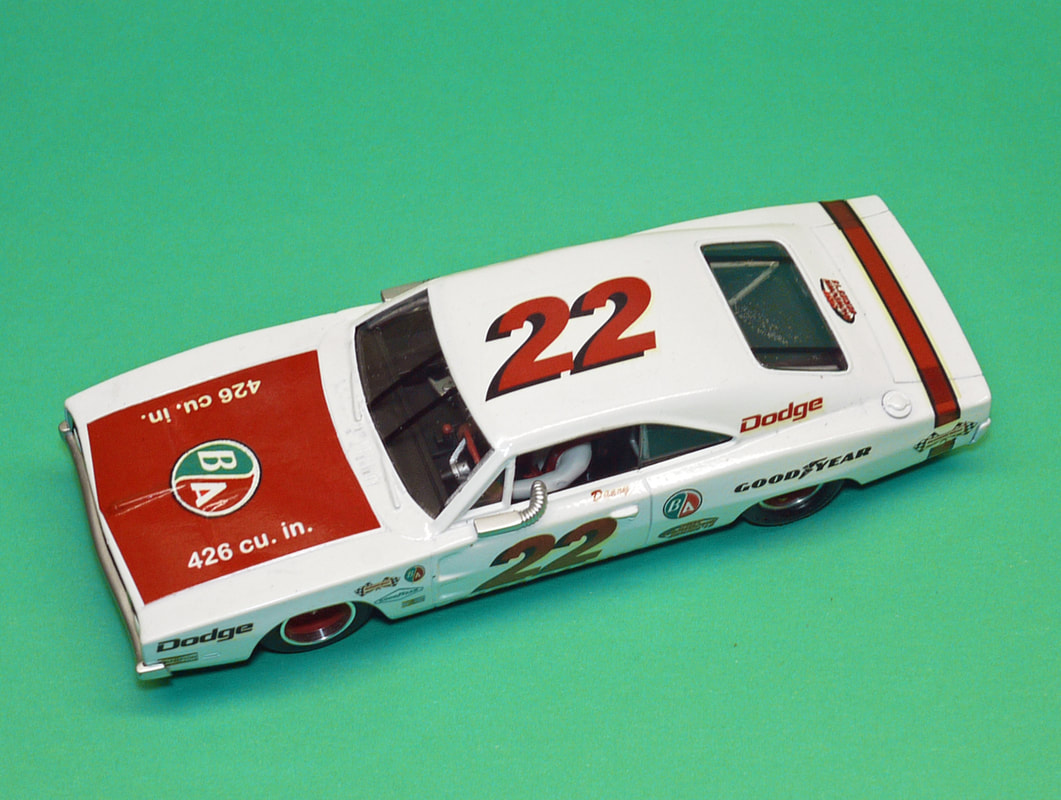
Of course using regular printers mean you don't have white as an option. For this reason all the BARC cars are painted white. The last few cars I have just used decals instead of paint. Ie the front hood is a big red decal with the BA logo and the engine displacement text part of one big decal.
After applied the car was sprayed with a testers product called "Wet Look" Basically a glossy clear finish.
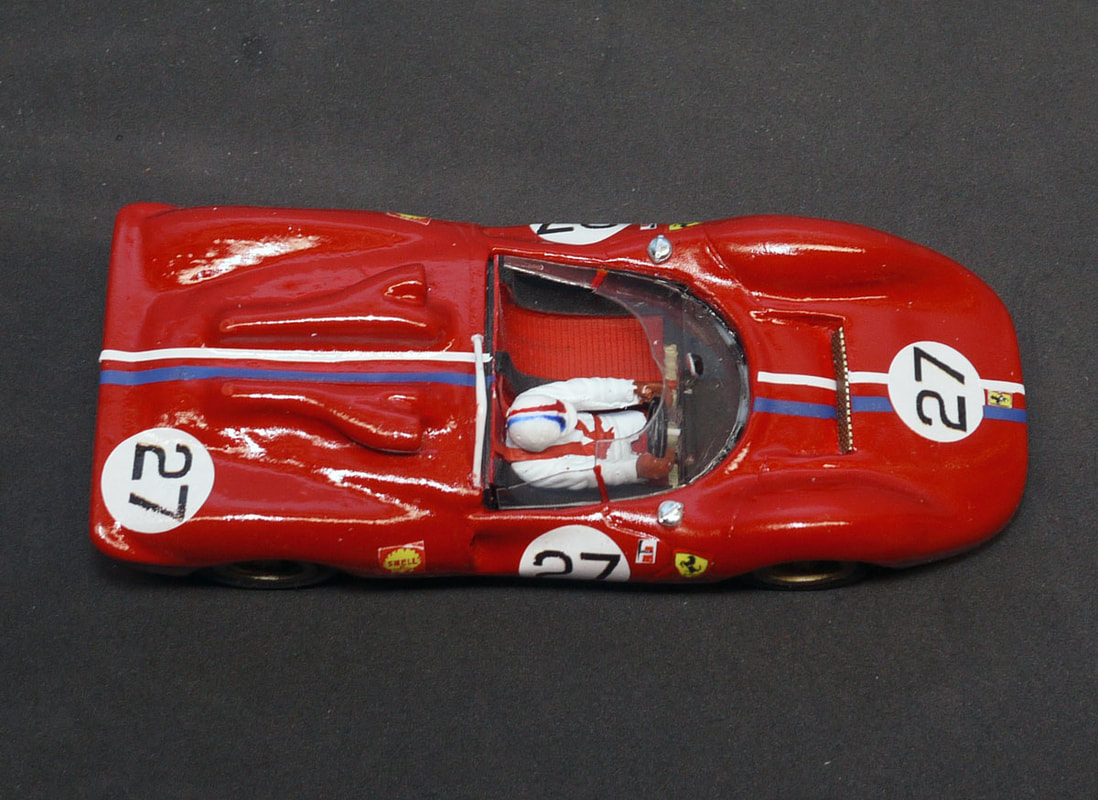
When making large scale model tanks I came up with a technique of using craft paint to make flags. The acrylic craft paint is spread thickly over a rubber pad, and allowed to dry. This paint is a latex and when applied thickly remains kind of flexible when dry. So this is how I make seat belts. A red paint is spread over a rubber pad and allowed to dry. Once dry you can peel the paint layer off the pad. The paint layer is then cut into seat belt strips. You can then pre-fit and get the belts cut to the exact size you need. When you go to apply them, you wet the strips of paint in windex, and then apply them. At this point you need to work quickly as the Windex attacks the paint and softens it much the same as decalset works on decals. After time the paint strip will settle down very nicely, but still has enough mass to span the distance between the driver and the frame attach point.
I have also used this in pin stripping. On the Ferrari Can Am car I did,the blue pin strip was done this way. The picture shows both the pin strip and the seat belts done using this trick