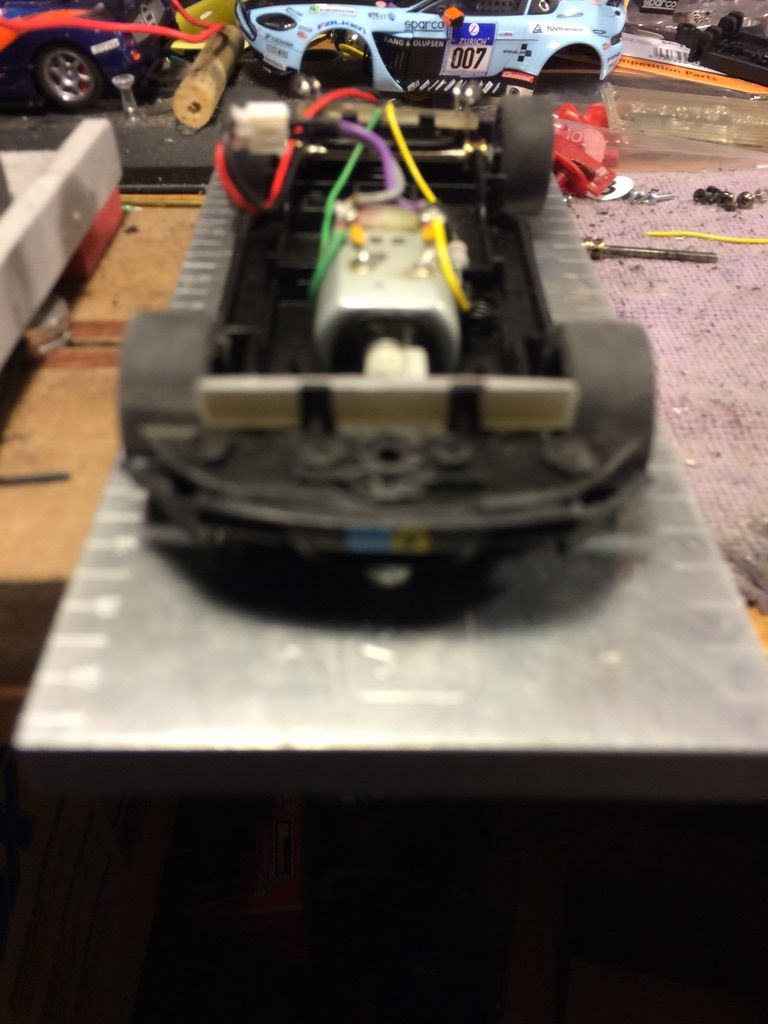
In my other thread I showed one way I am installing lights in my cars, without the use of a piece of PC board, and it requires separate wires running from each light and they have to be soldered together. Here I will attempt to use the PC board to mount the lights and then run only one set of common wires.
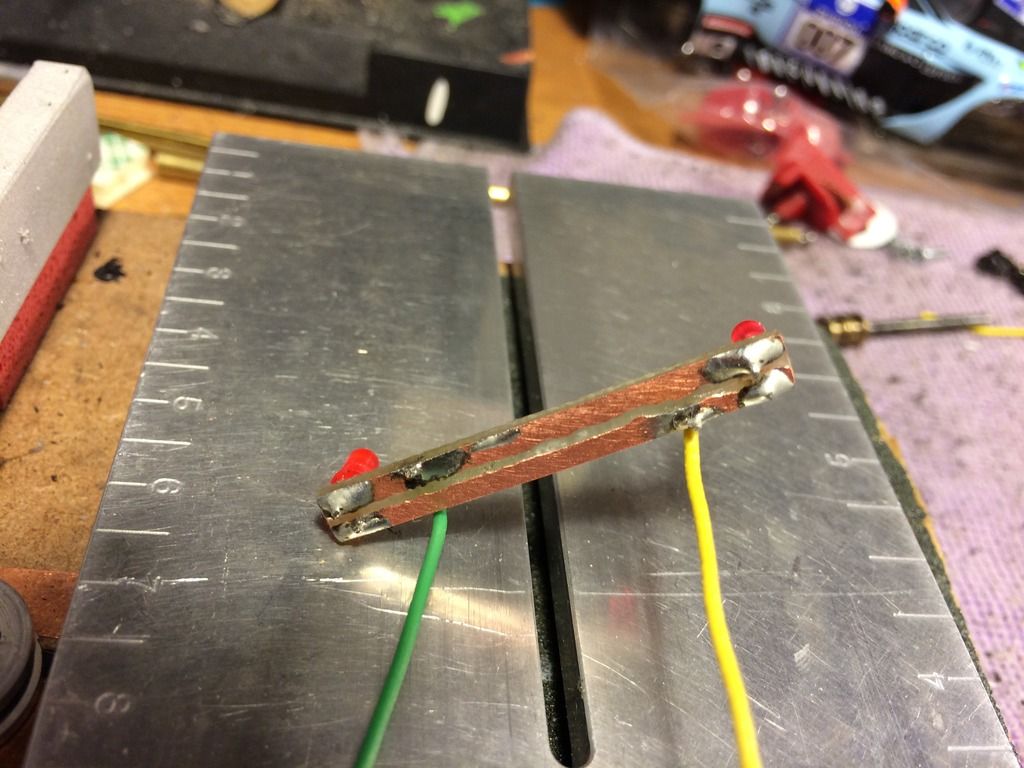
First I eyeballed the size of the piece of board I would need and set about trying to cut it. This stuff is extremely tough. I finally used a hobby razor saw and was able to cut through it pretty well. I have the ones from Xacto that fit in your hobby knife. After I sawed it apart I sanded the edges smooth and checked the fit.
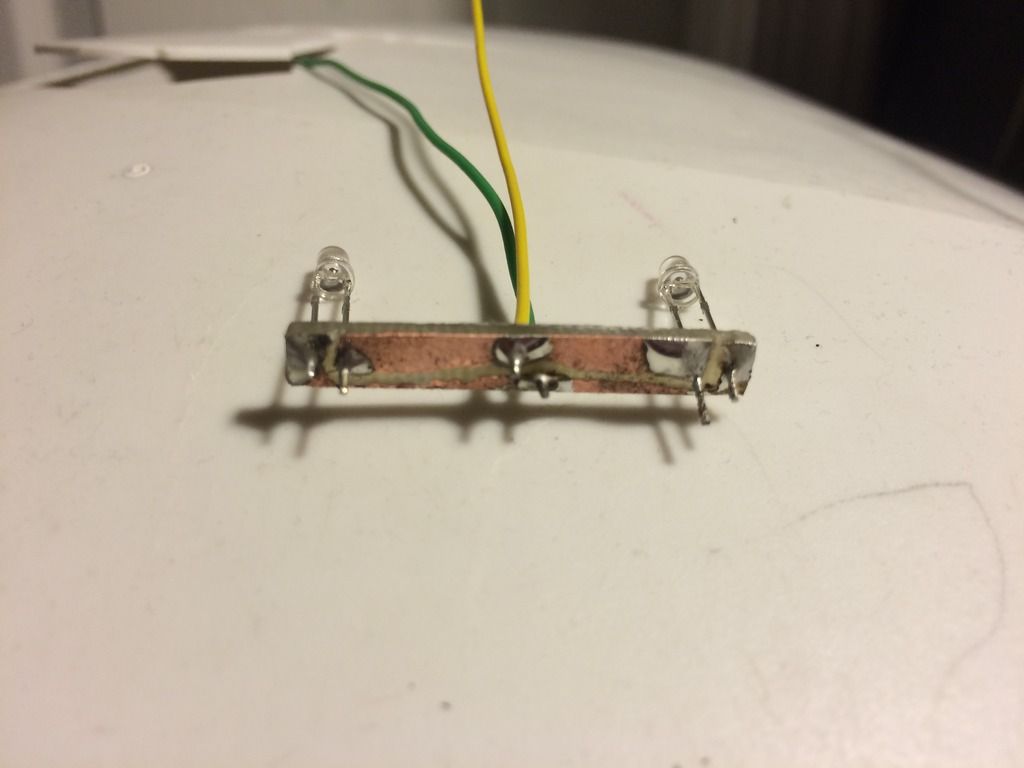
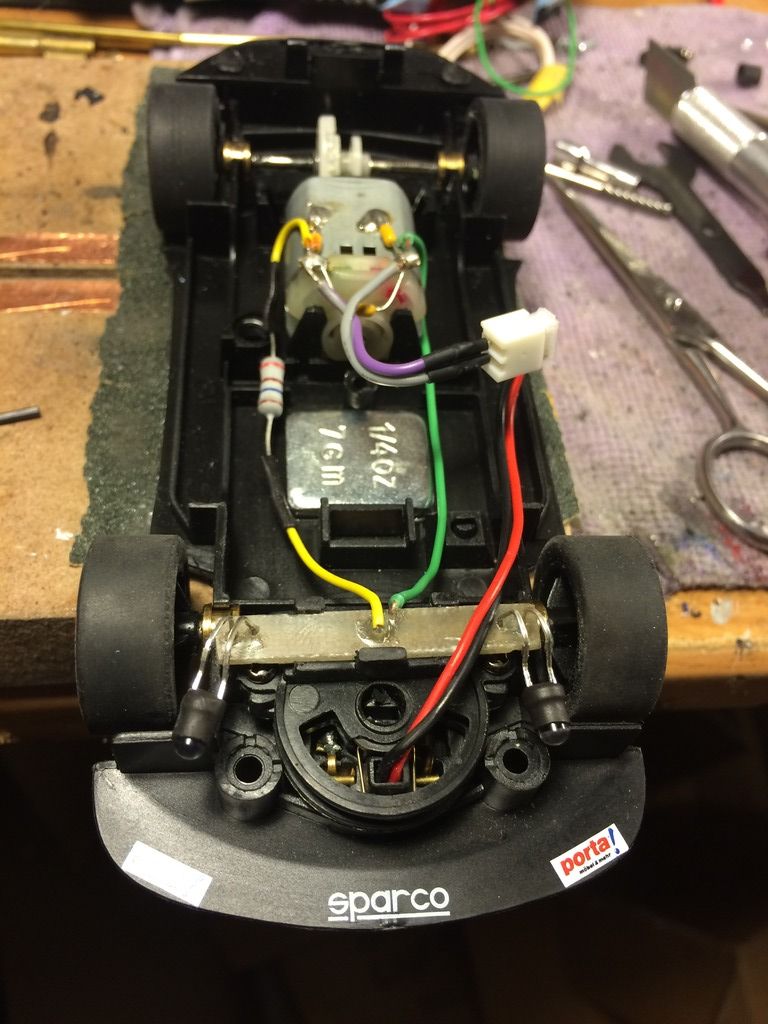
Next I used a pin vise and a guesstimate size bit and drilled two holes in each end of the piece of board for the LED's. I then used an extremely small carving bit in my Dremel to separate positive from negative by basically making a little trench between them. I just cut through the copper sheet to separate it so I wouldn't short out the lights. After that I drilled two more holes in the center on opposite sides of my "trench."
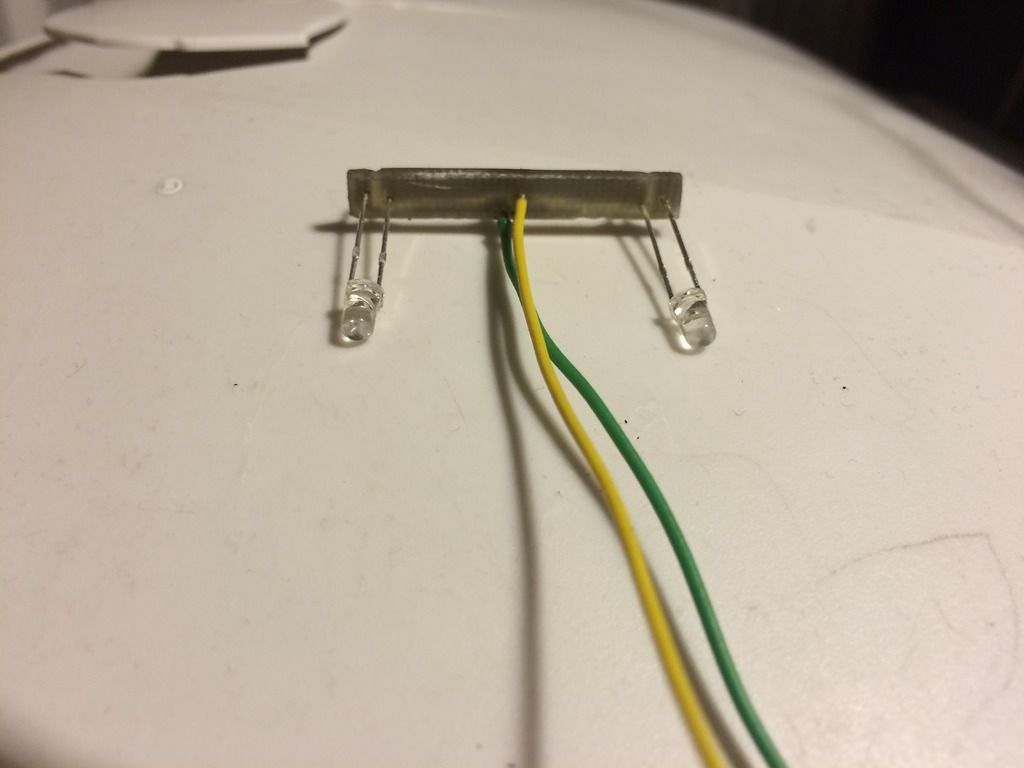
I soldered the LED's in place making sure I had the positive and negative poles of the LED's matched up on both ends. I then soldered corresponding wires for each side. Its not pretty but it is my first try and my goal is simply to get it to work!! Here are a few pics to help illustrate what I'm trying to explain.
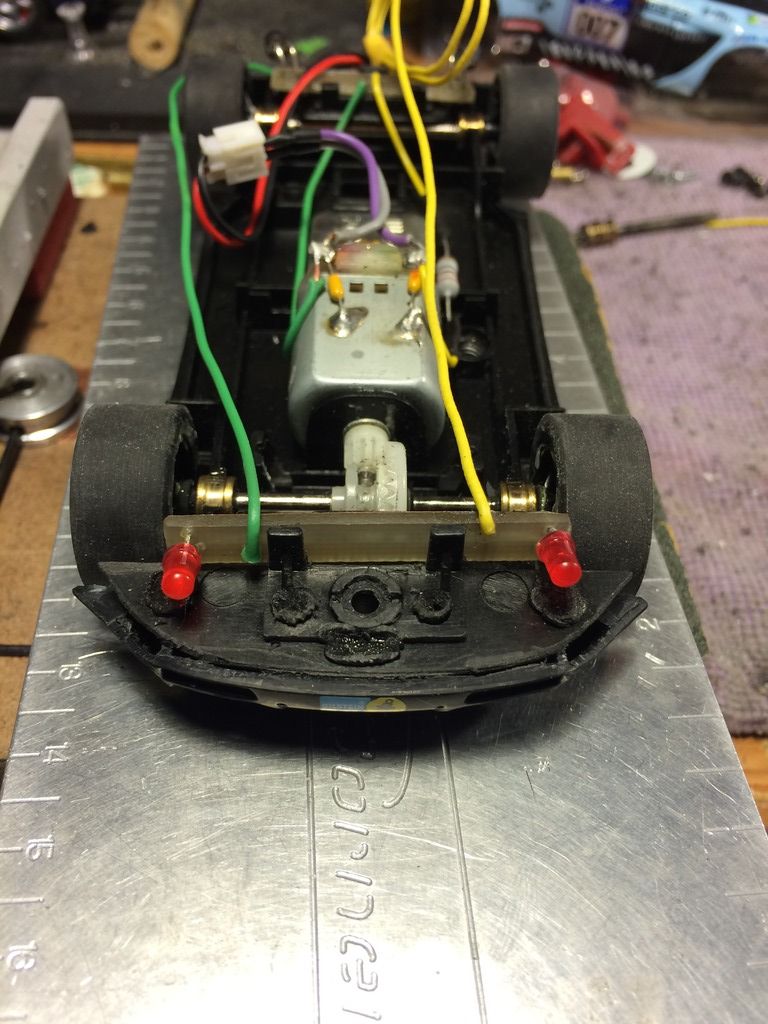
Now I mock wired it to the motor with the 160 ohm resistor in place to test it out.....

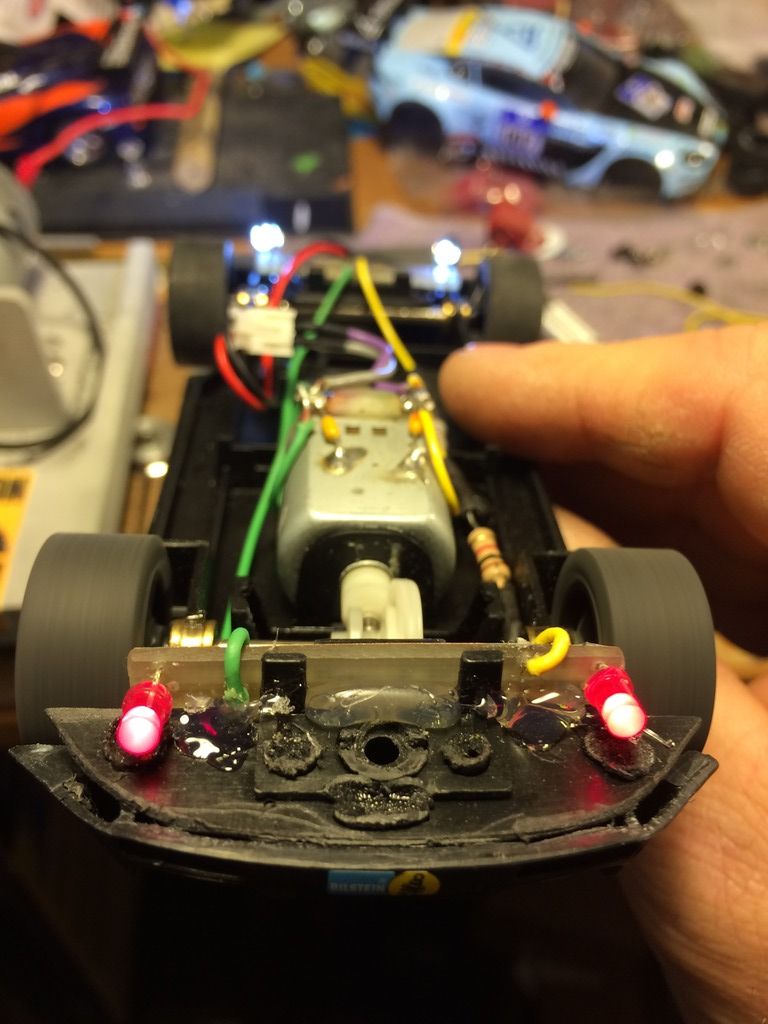
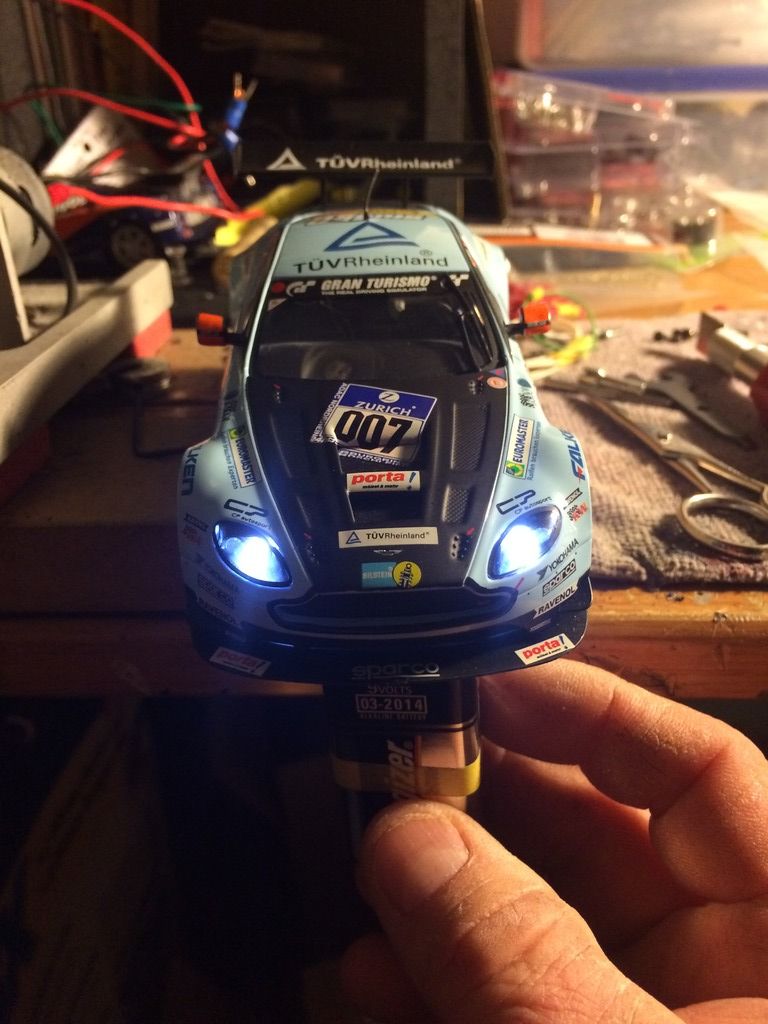
And HOLY COW IT WORKED!!!!! Eureka!!!!
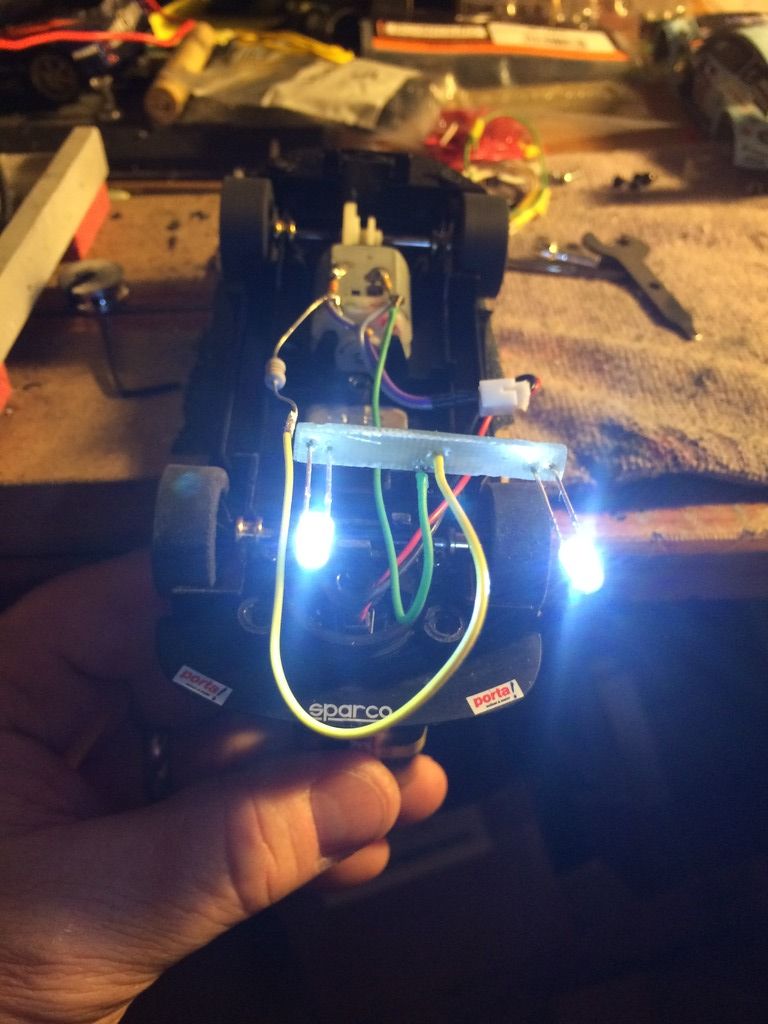
So now it was time to tidy everything up and solder the wires in place. Don't forget the little piece of shrink tube on the lights to prevent excess light leaking into the car.
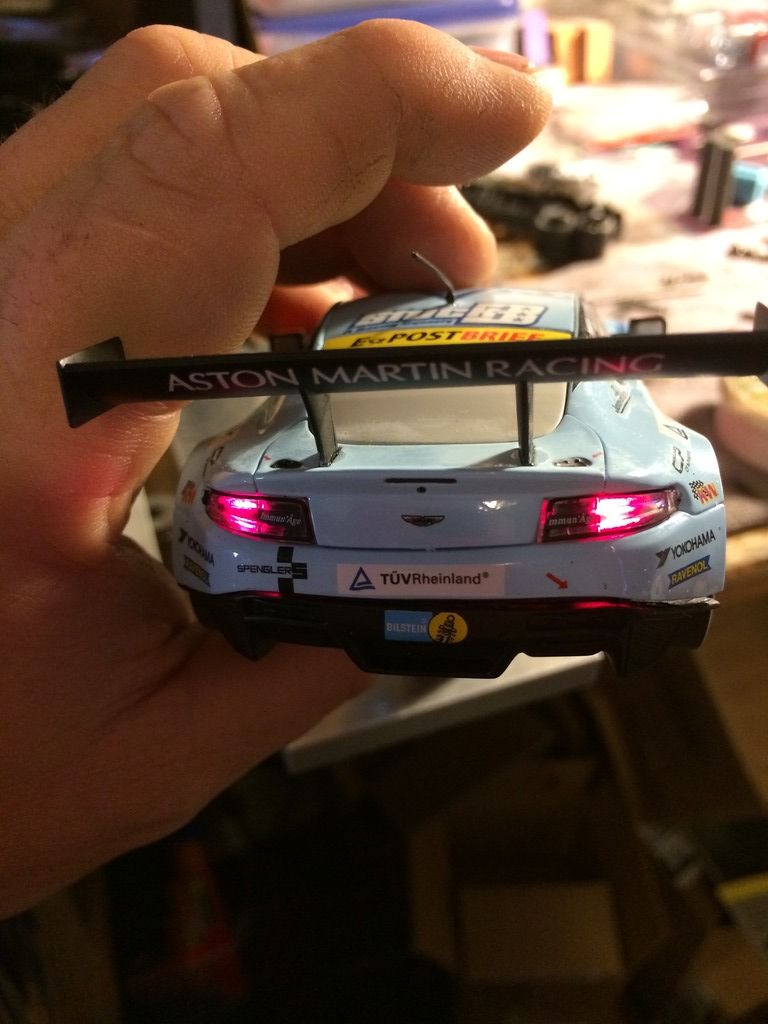
Finally time to put it back together and move the lights around to get them into the proper position and enjoy my little success.
So there you have it. Next it will be time to do the rear lights which should be a little easier because there is more room to work in the back.
Thanks for taking the time to read this.
John