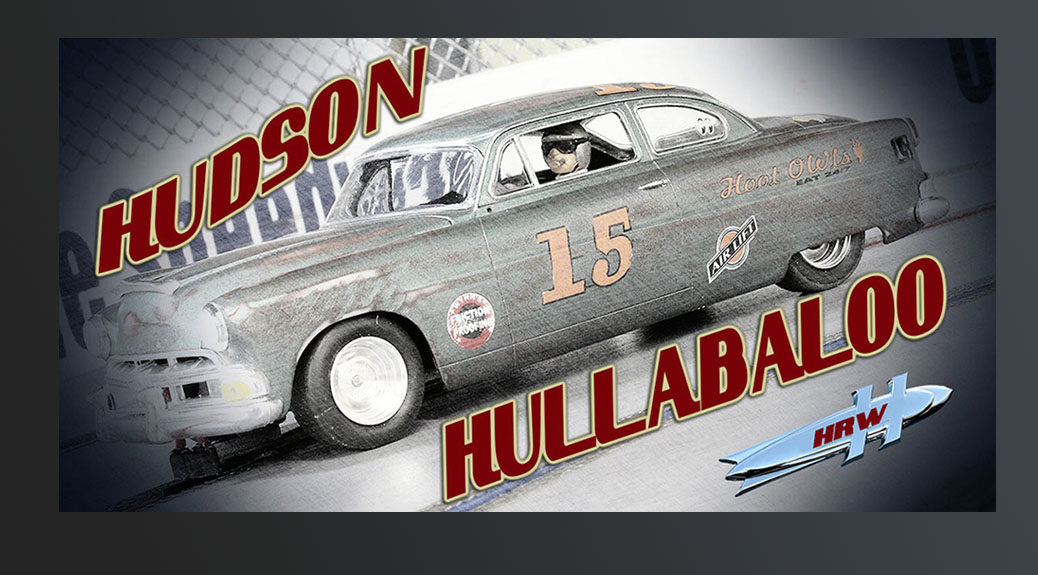
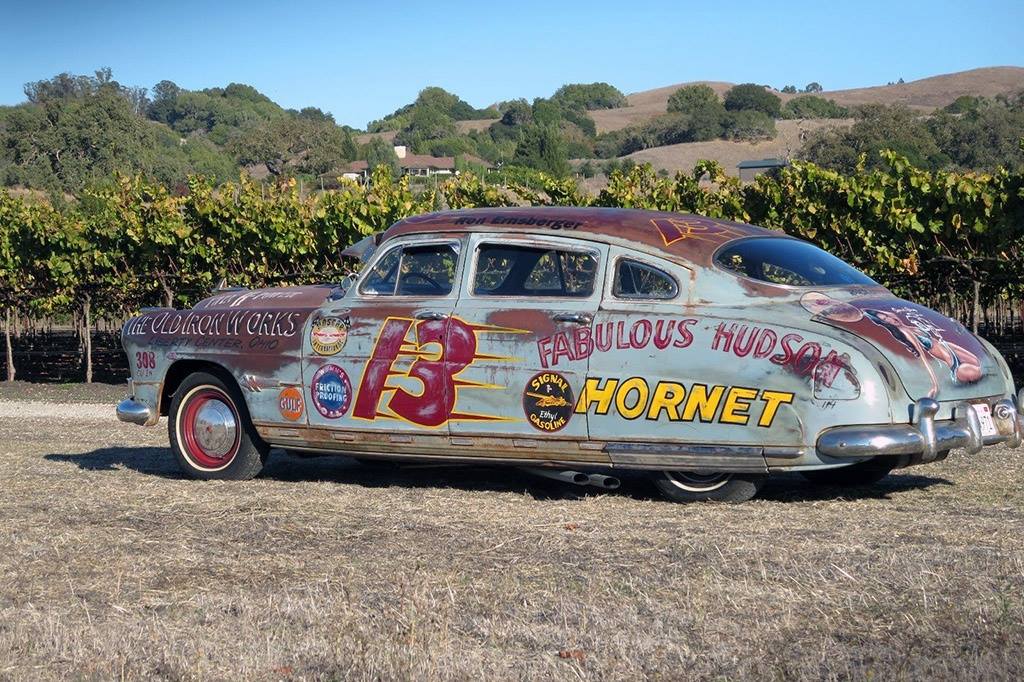
The Hudson Hornet just has an instant following that no other car seems to have. In the early days of NASCAR it ruled the roost with famous drivers such as Marshall Teague and Herb Thomas. At that time, the design of this car provided everything a good driver needed to win races and the “Fabulous” nickname soon took hold.
EDIT* There was not any special race event for this model as we just build what we like most of the time. However, since this model was finished a fun run has been announced using just these old Hudsons. The challenge was started with the modeling efforts of Robert Taylor and Shotgun Dave from our forum.
CLICK HERE for more on our Hudson Hullabaloo!
It was the modeling by them that inspired me to join in the fun.
Moebius models makes several kits I could choose from in 1/25th scale. Instead of going with the standard 1953 version, I chose the 1954 Club Coupe.

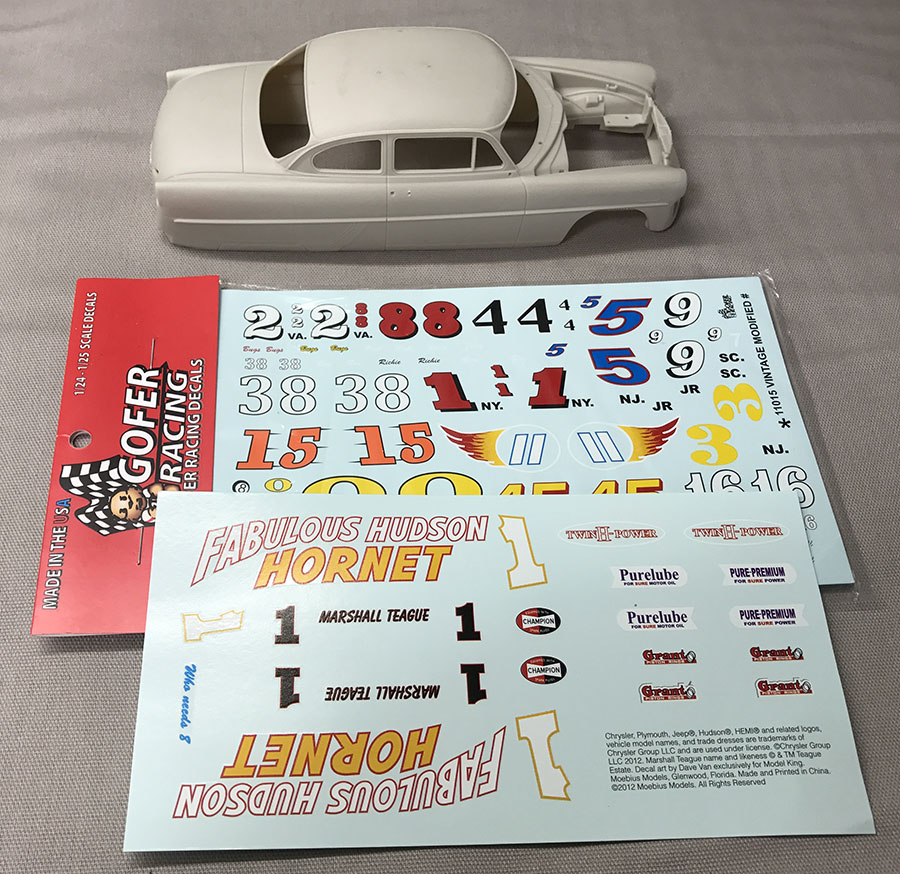
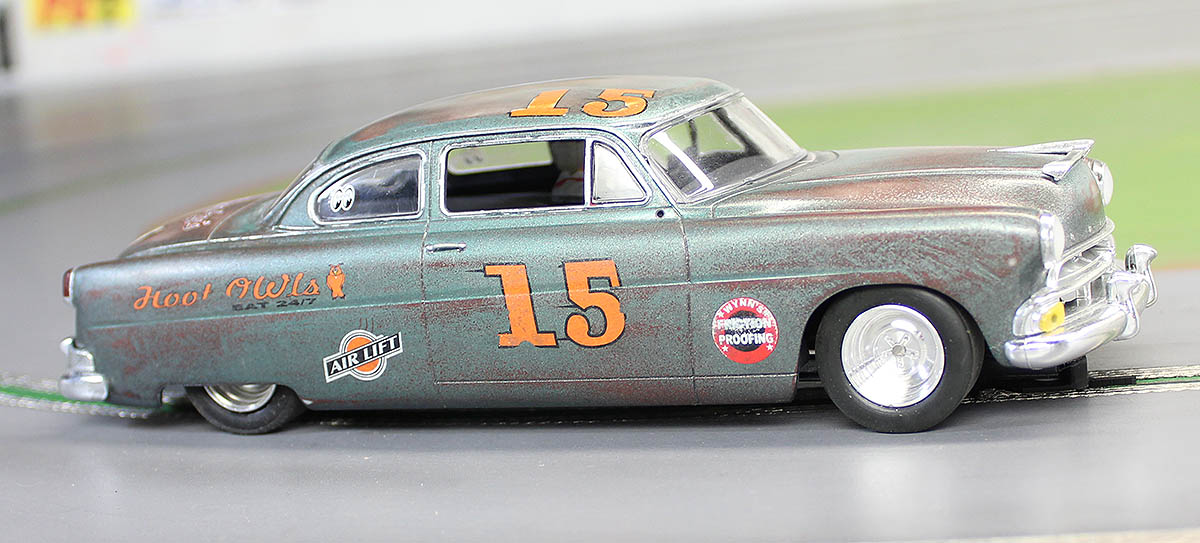
I decided to make my first Hudson a pure fantasy scheme. The decals behind the Moebius sheet are from Gofer Racing. They created very high quality decals that are basically the kind you see in your kits. I purchased two of these sheets in order to have more numbers for the builds I create. Even with a double order, the value is there. Quite a few models can be made with these sheets. It’s also worth mentioning that the size of the decals will work with many 1/32nd builds.
PARTS LIST:
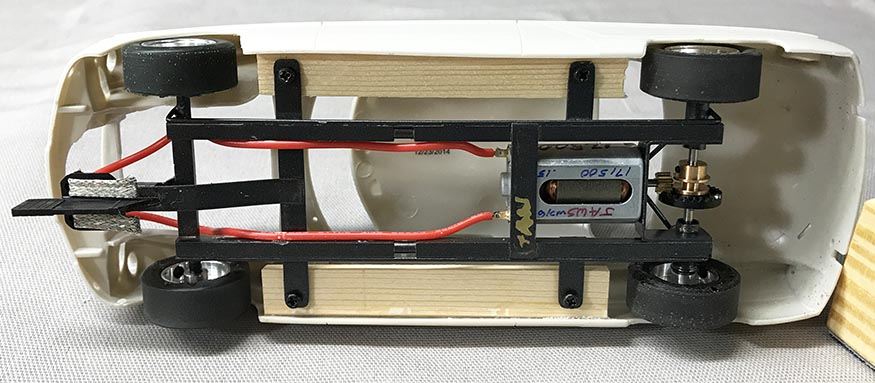
This chassis is built using 3/32nd bore sized wheels, axles, and gears. This 1/32 standard size axle works just as well as the 1/8″ and the parts are easy to find. Since I build both scales, basing it on this size just made sense. One less axle size to worry about.
CB Design Classic Steel Wheels ( 2 Pair, front and rear)
This challenge is based upon a brass chassis. Fitting concept to me. Old School Classic? Old School Chassis. I could have used an existing H&R chassis, but I just enjoy chassis building. This normally means my models are not the quickest in the pack, but the satisfaction of scratch-building trumps any checkered flag for me.
To set the width of the wheels, the good old mock-up approach. I adjusted the wheels with the tires in place for the maximum width. Then measured from the inside of each wheel to determine the length of the brass axle carriers.

I build all of my cars on these inexpensive “Honeycomb” jewelers blocks. Very inexpensive and give you just as much precision as jigs costing MUCH more. Here is a link if you want one: Chassis Building Jig.

The finished chassis. I painted it with Dupli-Color gunmetal metallic #BGM0536. I left the wheels in the stock finish.

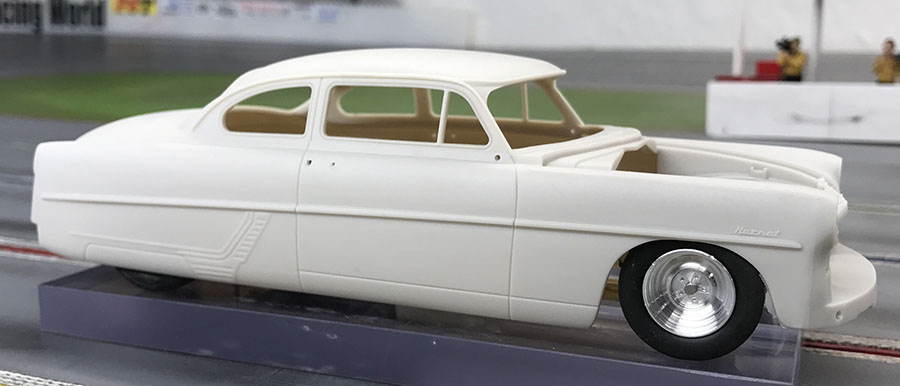
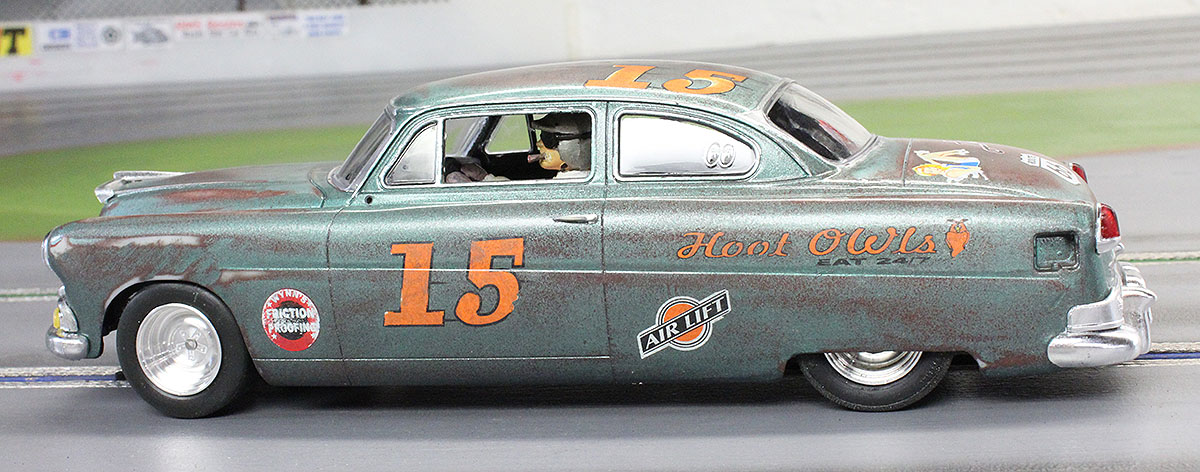
To set the body height the way I wanted it, I used craft sticks glued together. They were sanded to make them as flush as possible. I placed the body over the chassis and let the rocker panels rest on the sticks.


For the body mounts I used a simple paint stick. I measured and cut two sections as shown above.

The mounts are easily placed inside the car on top of the chassis mounts. I used drops of super glue to tack them in place. Then removed the body and flowed a heavier bead of glue along the full length to the mounts.
Pretty simple system for my kind of racing. It allows me to loosen the screws to give the body just a slight float.
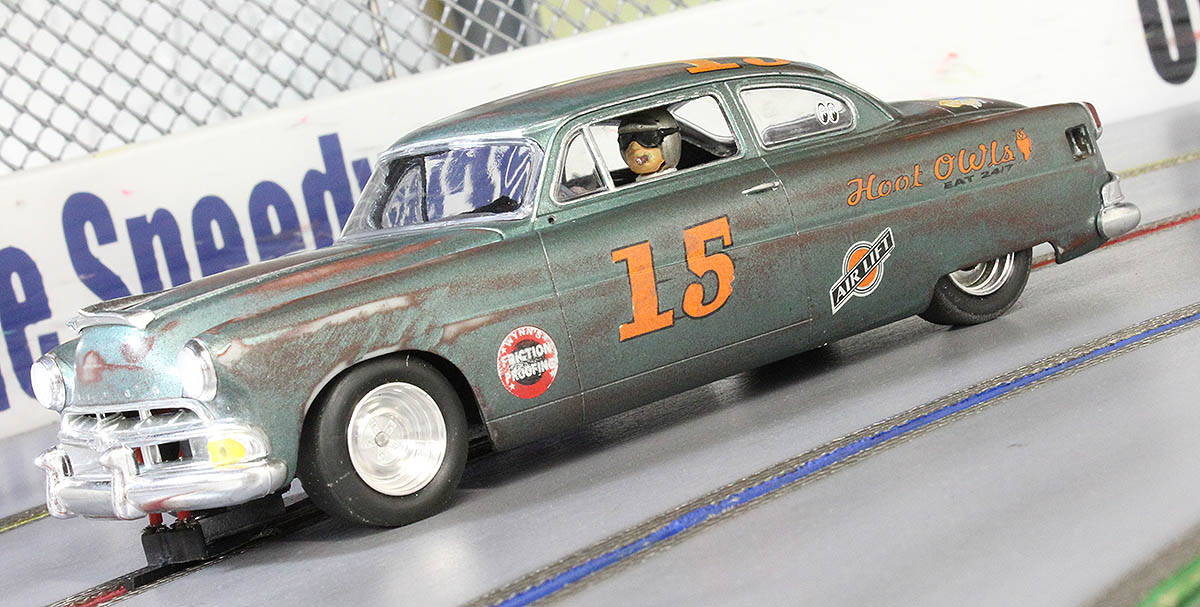
The scheme I chose was based on a photo I discovered. I rather like the weather worn look and decided to give it a try.
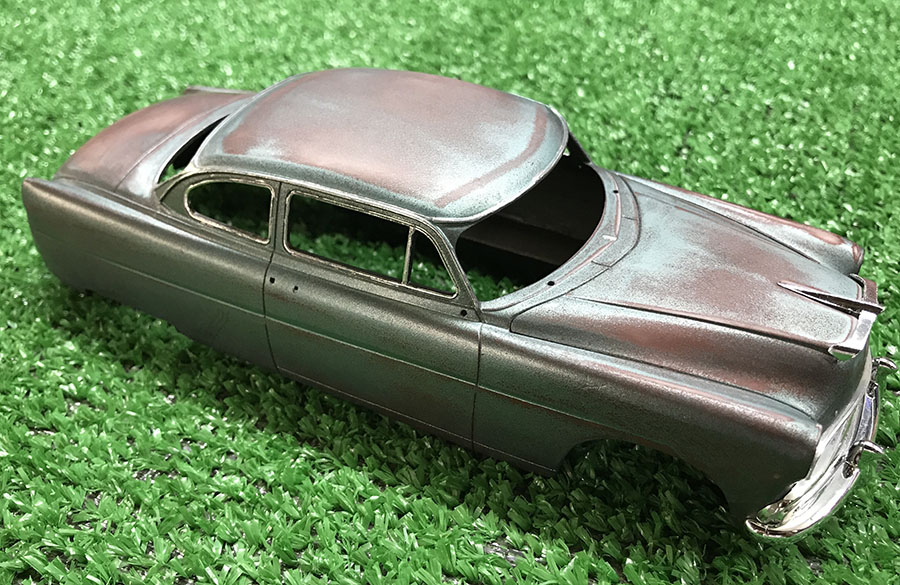
The process of this “patina” look is quite easy. I prepped the body as usual and then sprayed 3 coats of Rust Oleum red primer. I wet sanded the primer with 2000 grit and then laid on the top coat.
Top coat is Dupli-Color Hampsted Green Metallic #BHA 0906 I get from my local Auto Zone.
After drying I used 1000 to 1500 grit to sand through the top color coat until the primer coat began to expose. No real science here, I just sanded until the look I wanted appeared.
It was time for decals.
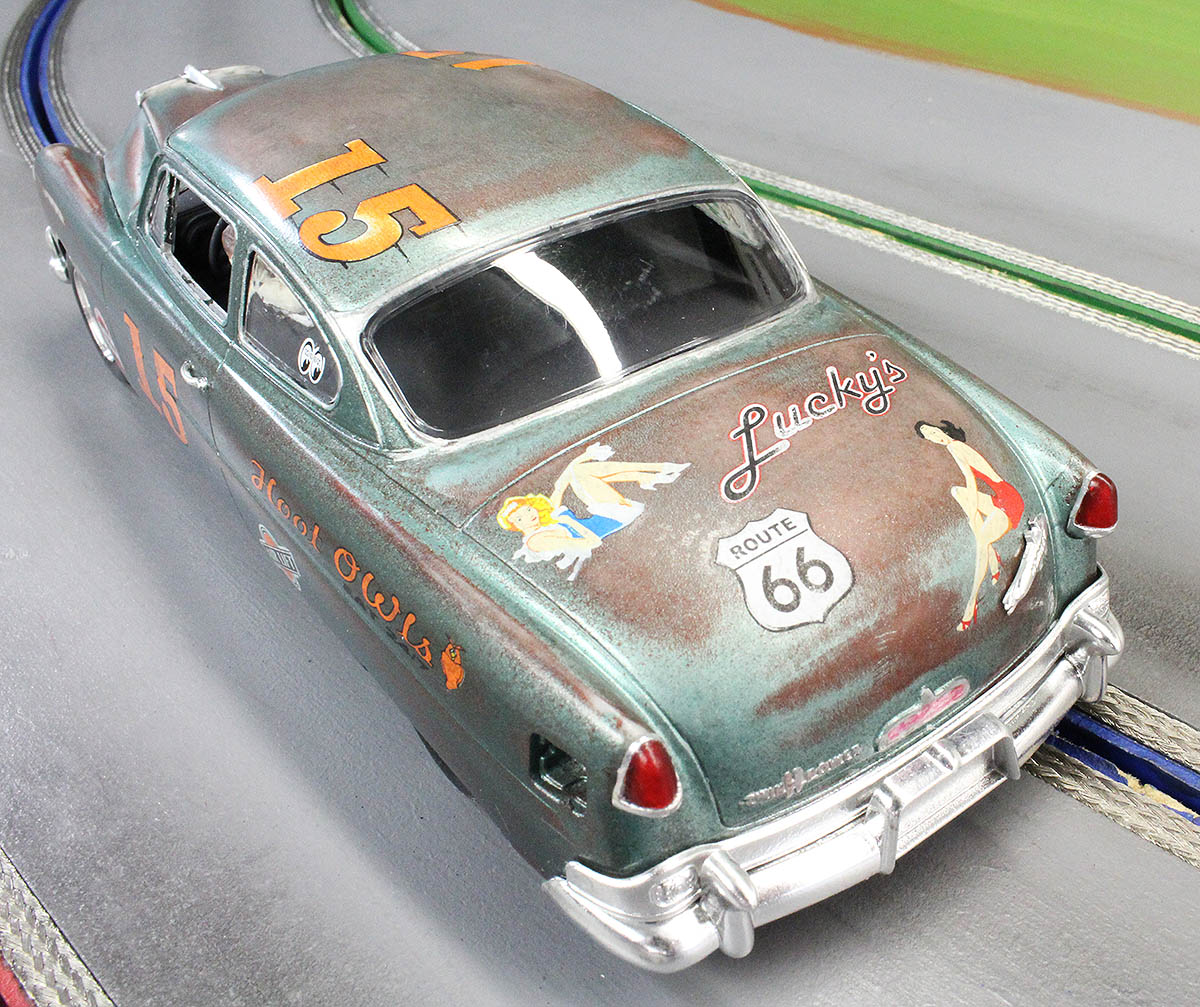
I could make out some artwork of a woman on back. I looked at my decals and didn’t have anything close enough, so I improvised. GOFER Racing decals were chosen again. They make 1/24 nose art graphics for the WWII era aircraft and I thought they would do the job.
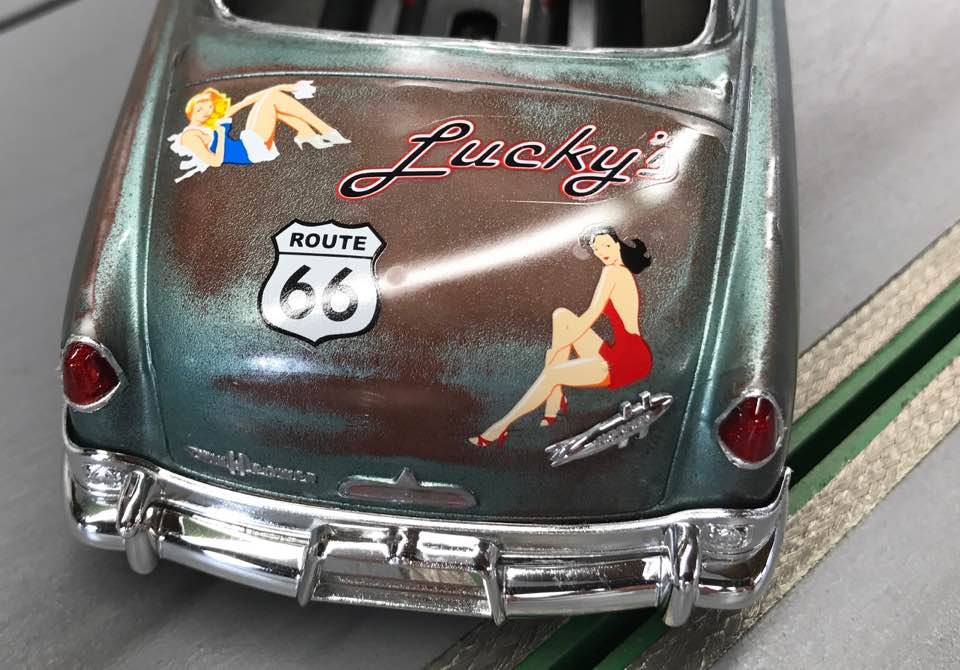
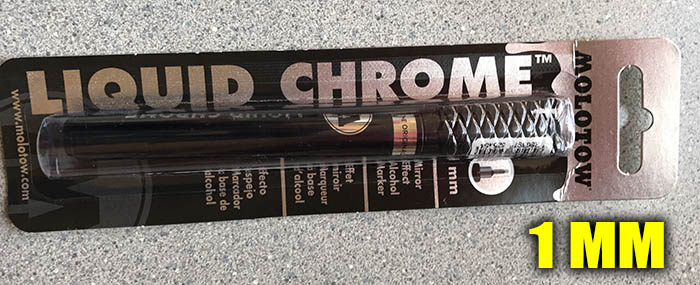
For the small amount of chrome trim I used the now famous MOLOTOW liquid chrome pen. I just can’t say enough about the finish this gives you. VERY shiny and well worth price of admission.
The final coat to dull things off is the cheapest floor “shine” you can find. I use the Dollar Tree “Totally Awesome” Mop and Shine. Using a simply Testors paint brush, I coated it twice.
So to be clear (ahem) there is no SHINE to this product. It drys to an awesome dull finish, regardless how many coats to apply.
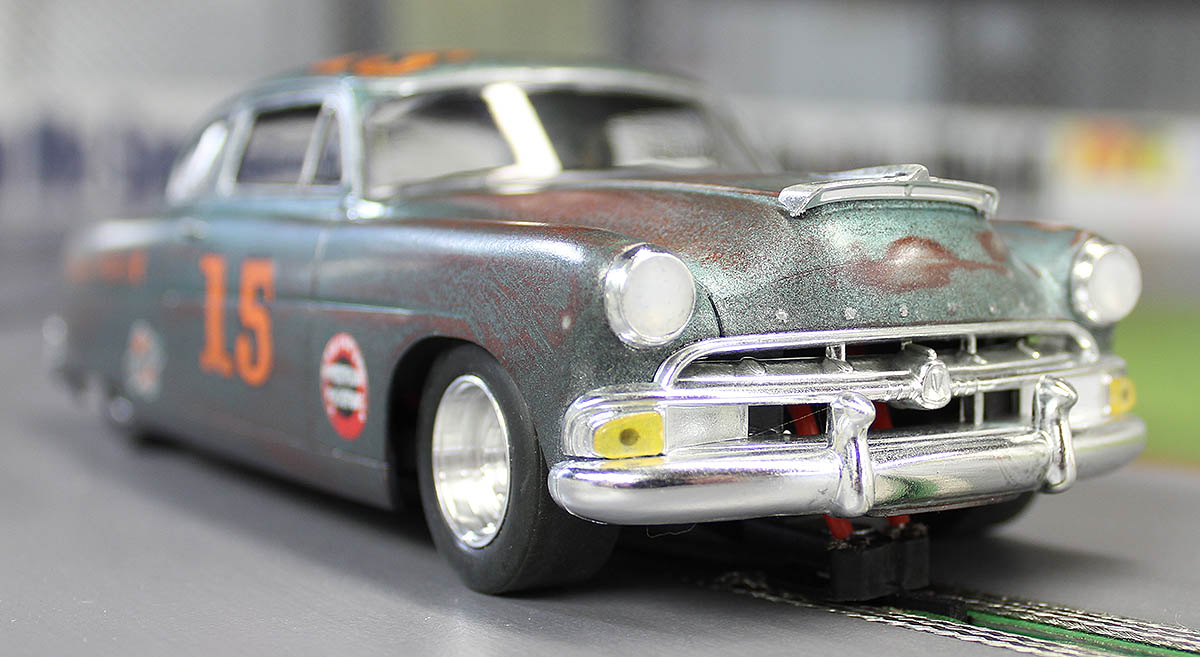
All finished. I am by NO stretch an award-winning model builder. My goal is to create something that looks the part well enough and this project seemed to accomplish that. This is a slot car after all and at speed on the track, it looks good enough for me.
Scratch-building a slot car is about the most fun you can have. Nothing seems to give you that feeling of accomplishment more than seeing a static kit come to life. I hope this article helps you in some way and that you decide to try one yourself.
-Harry
